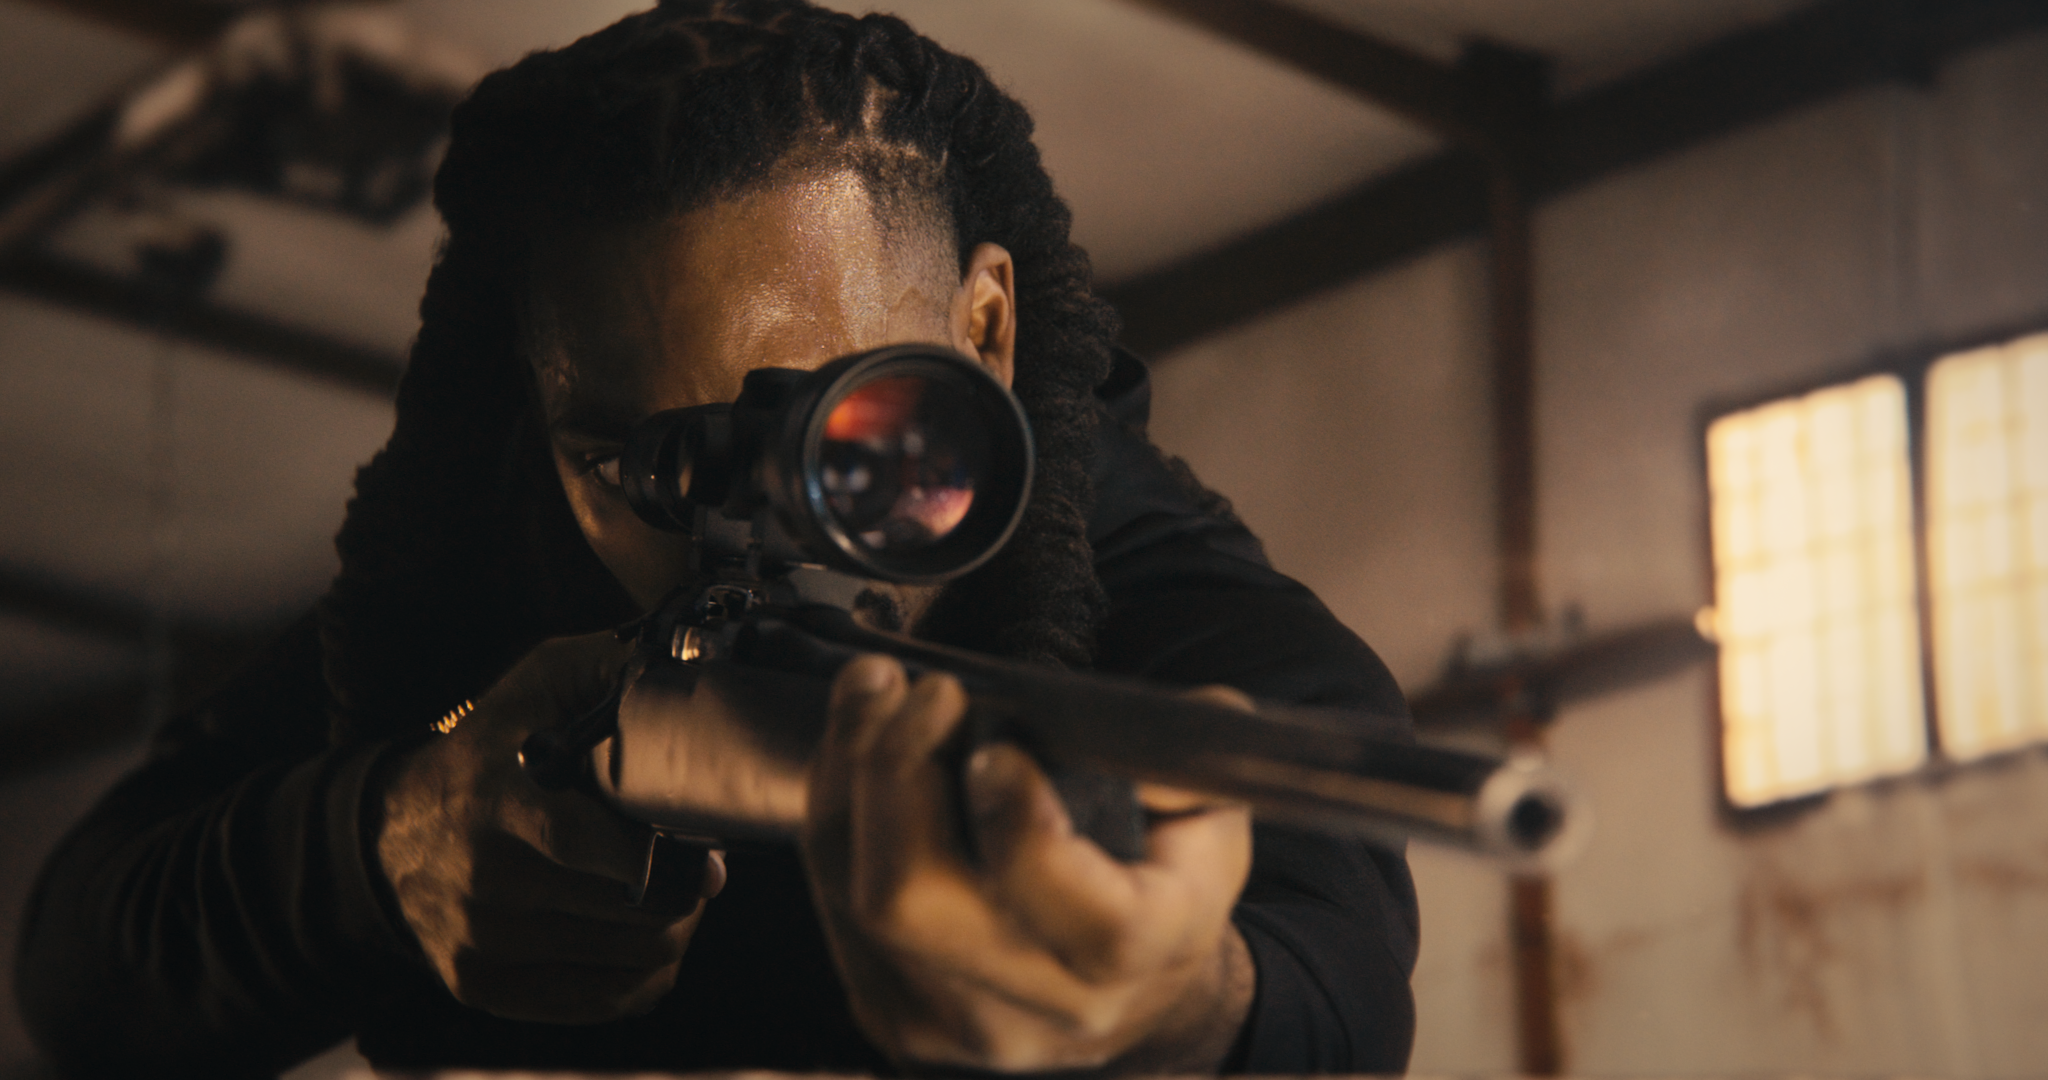
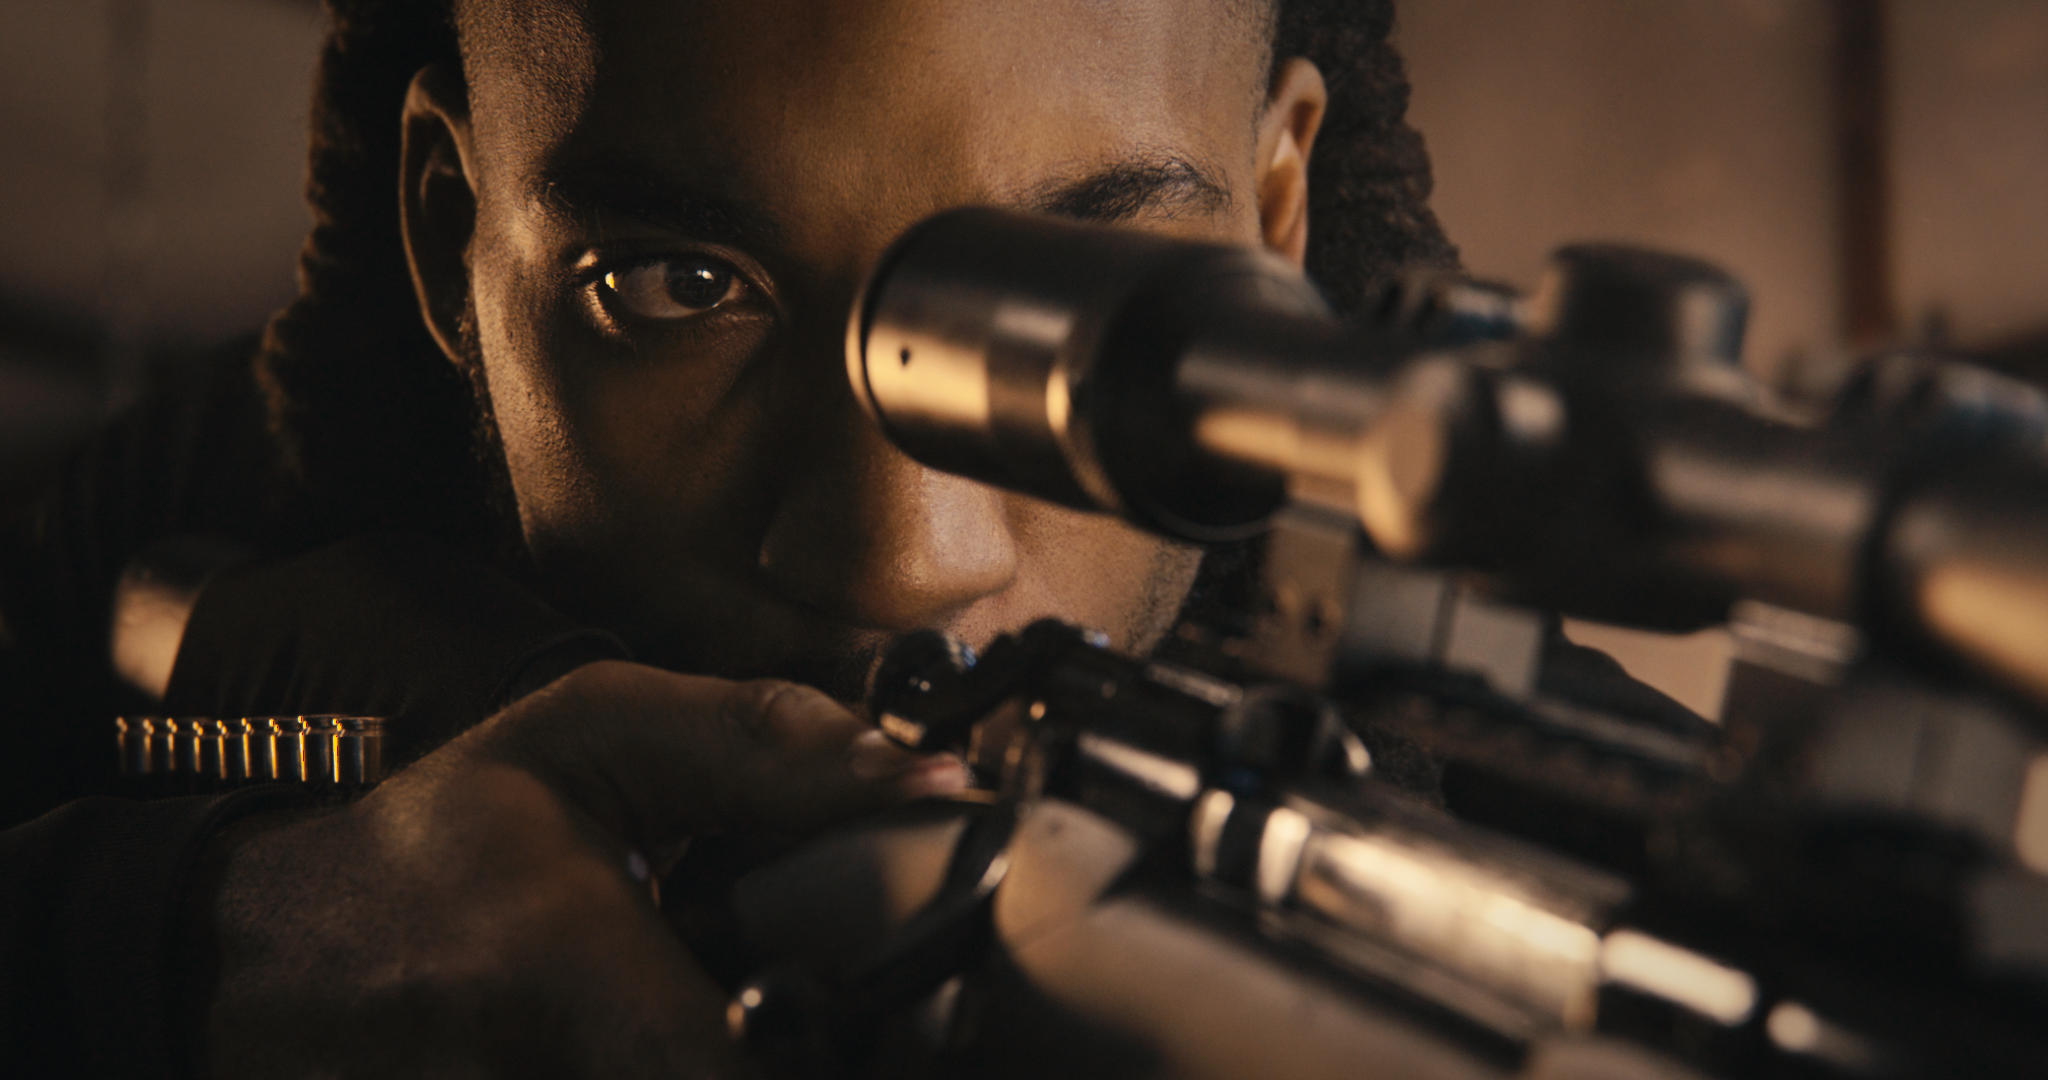
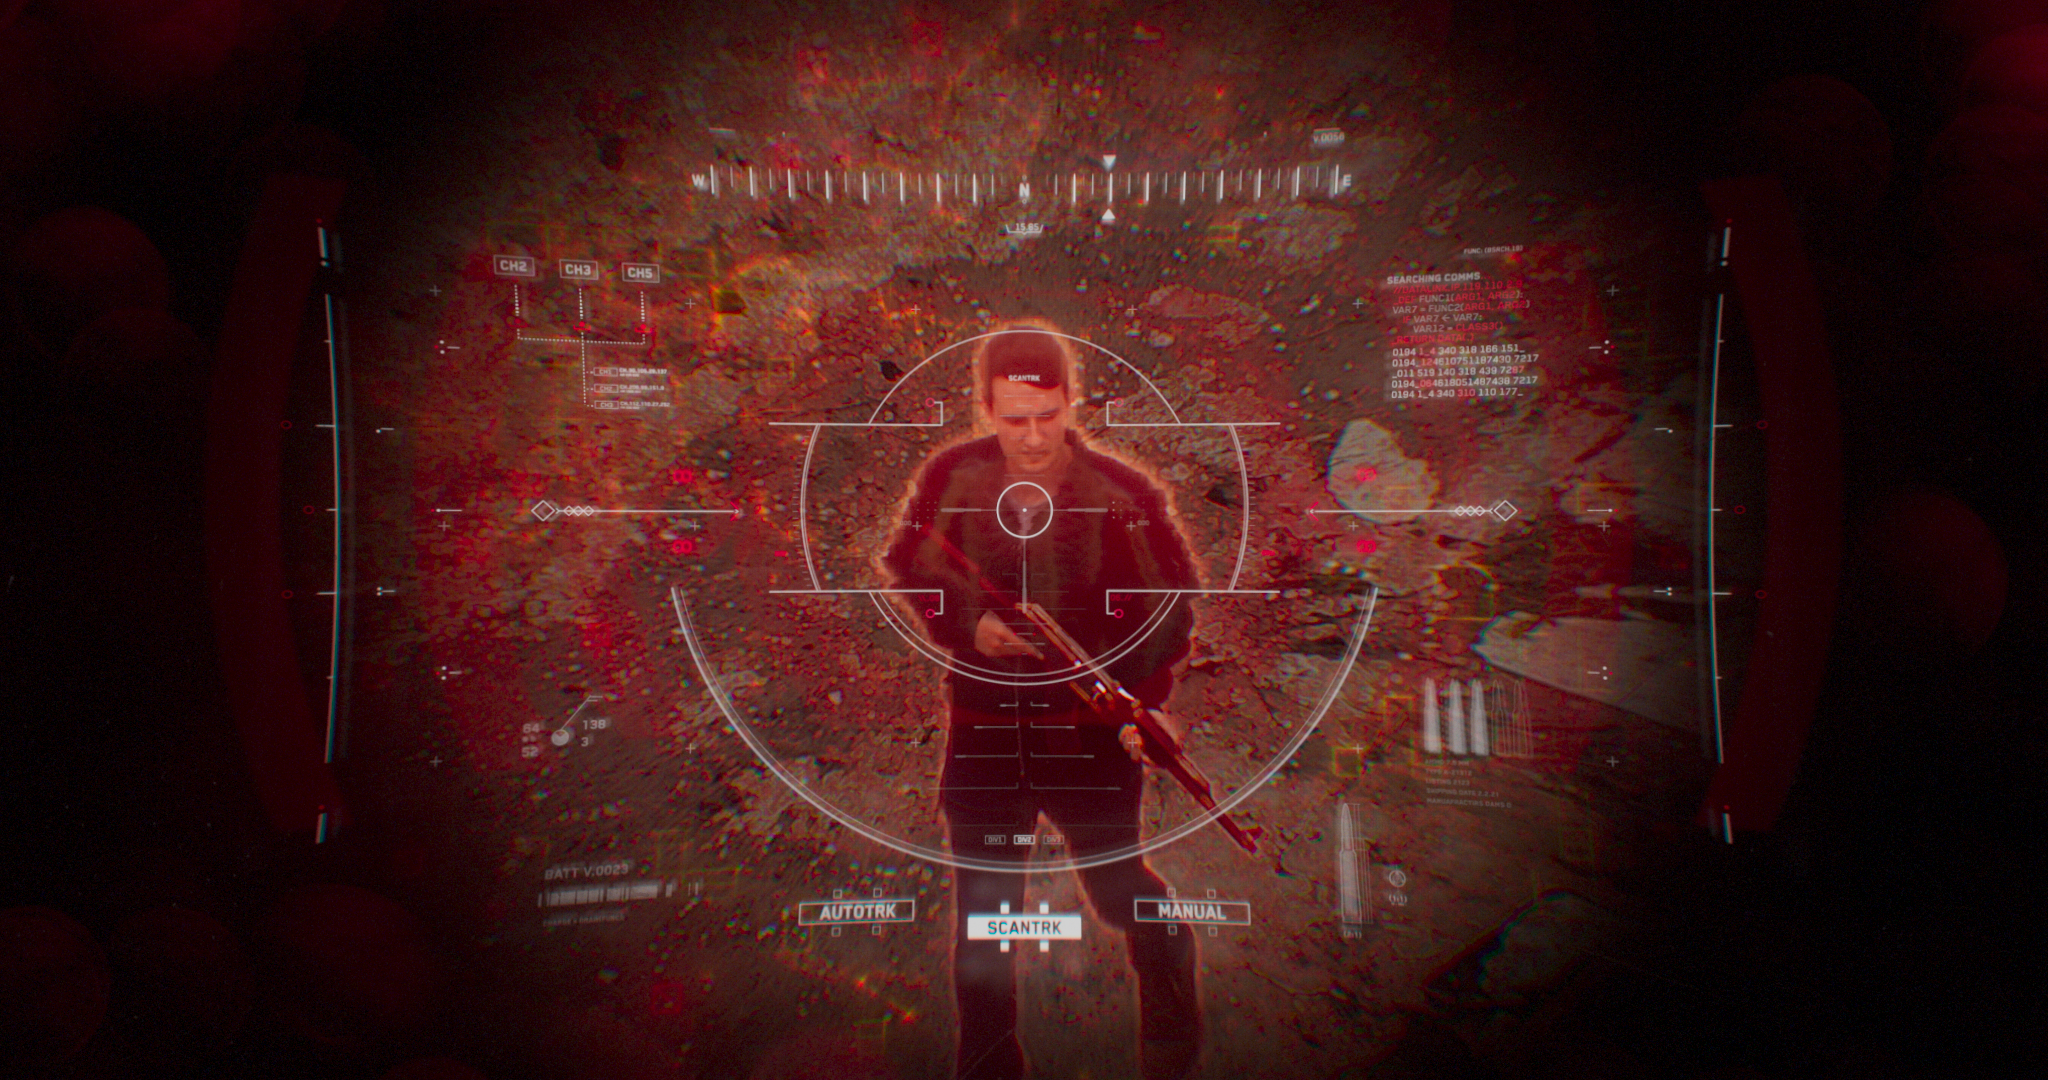
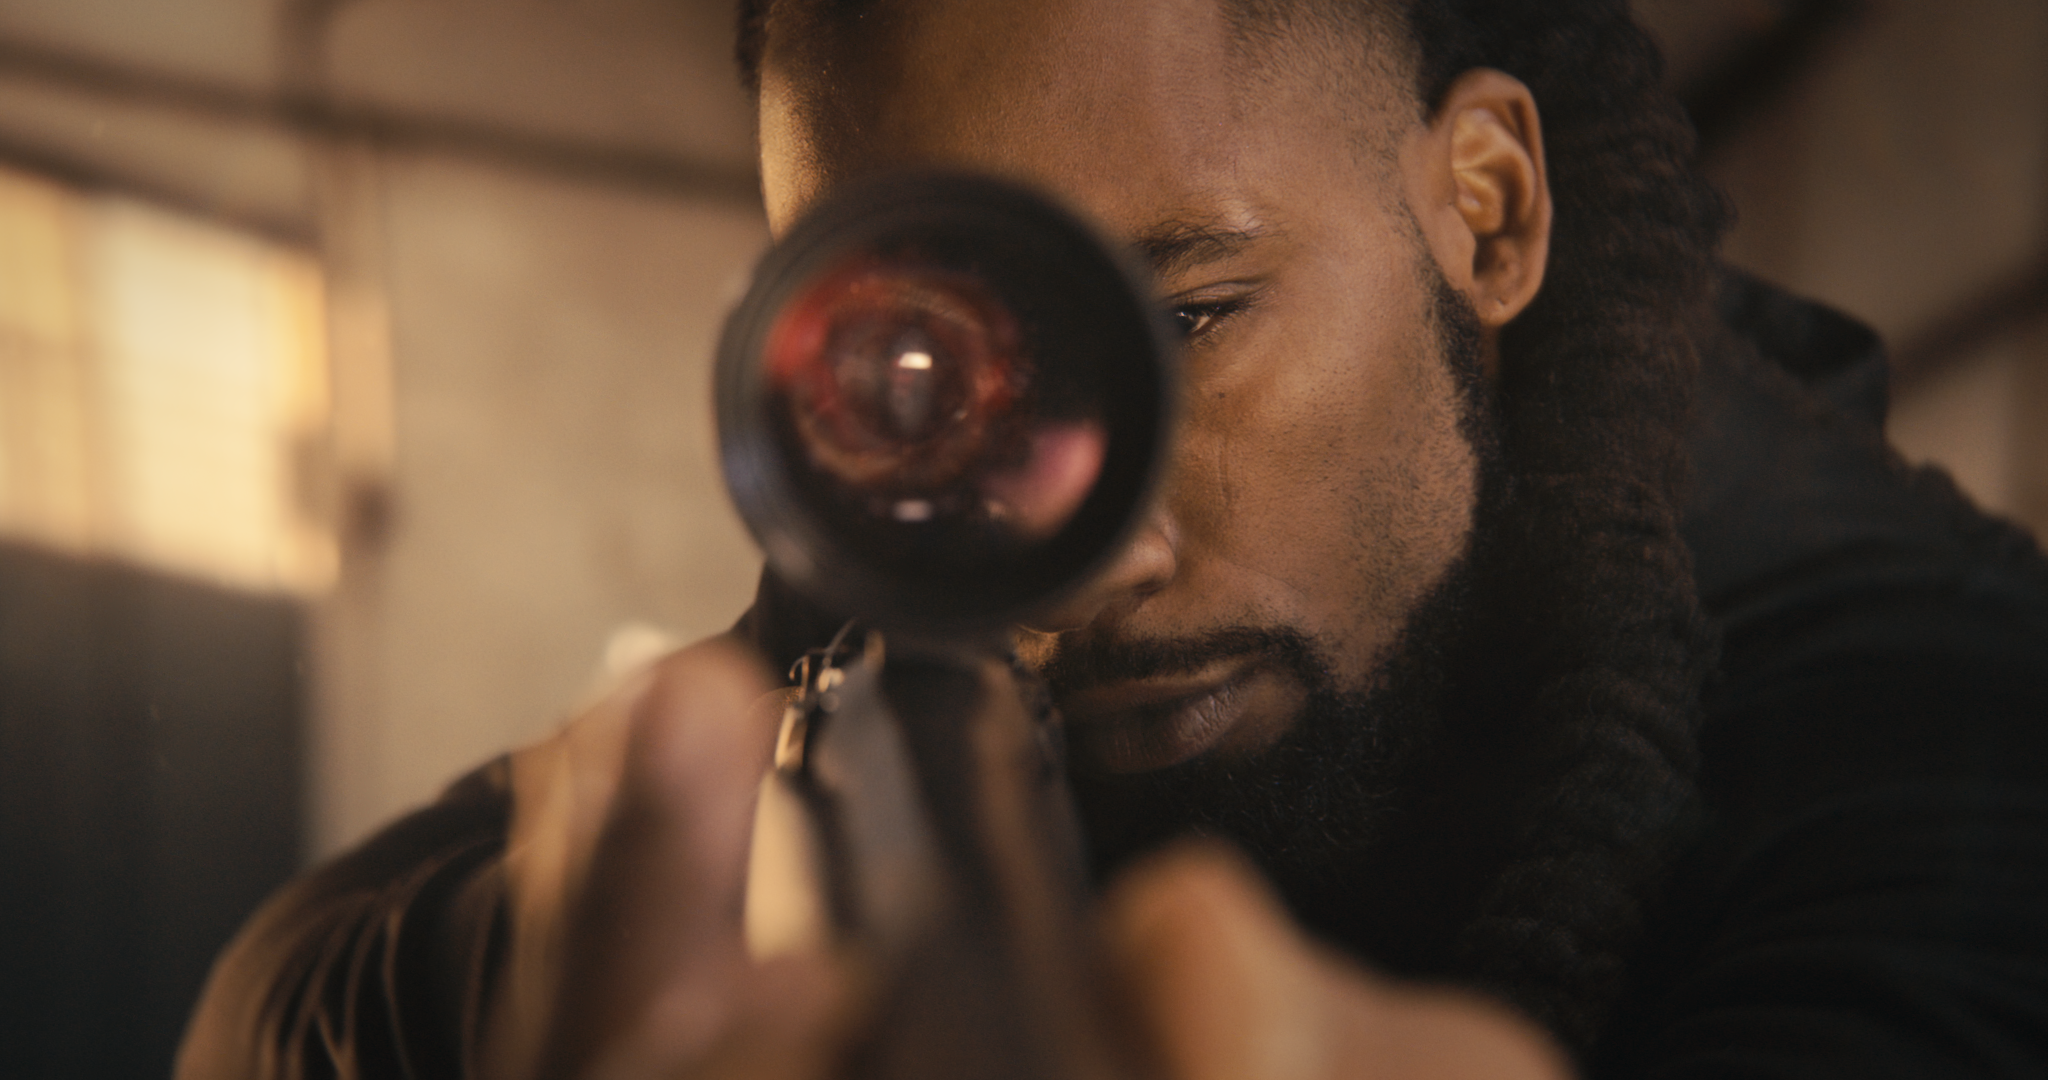
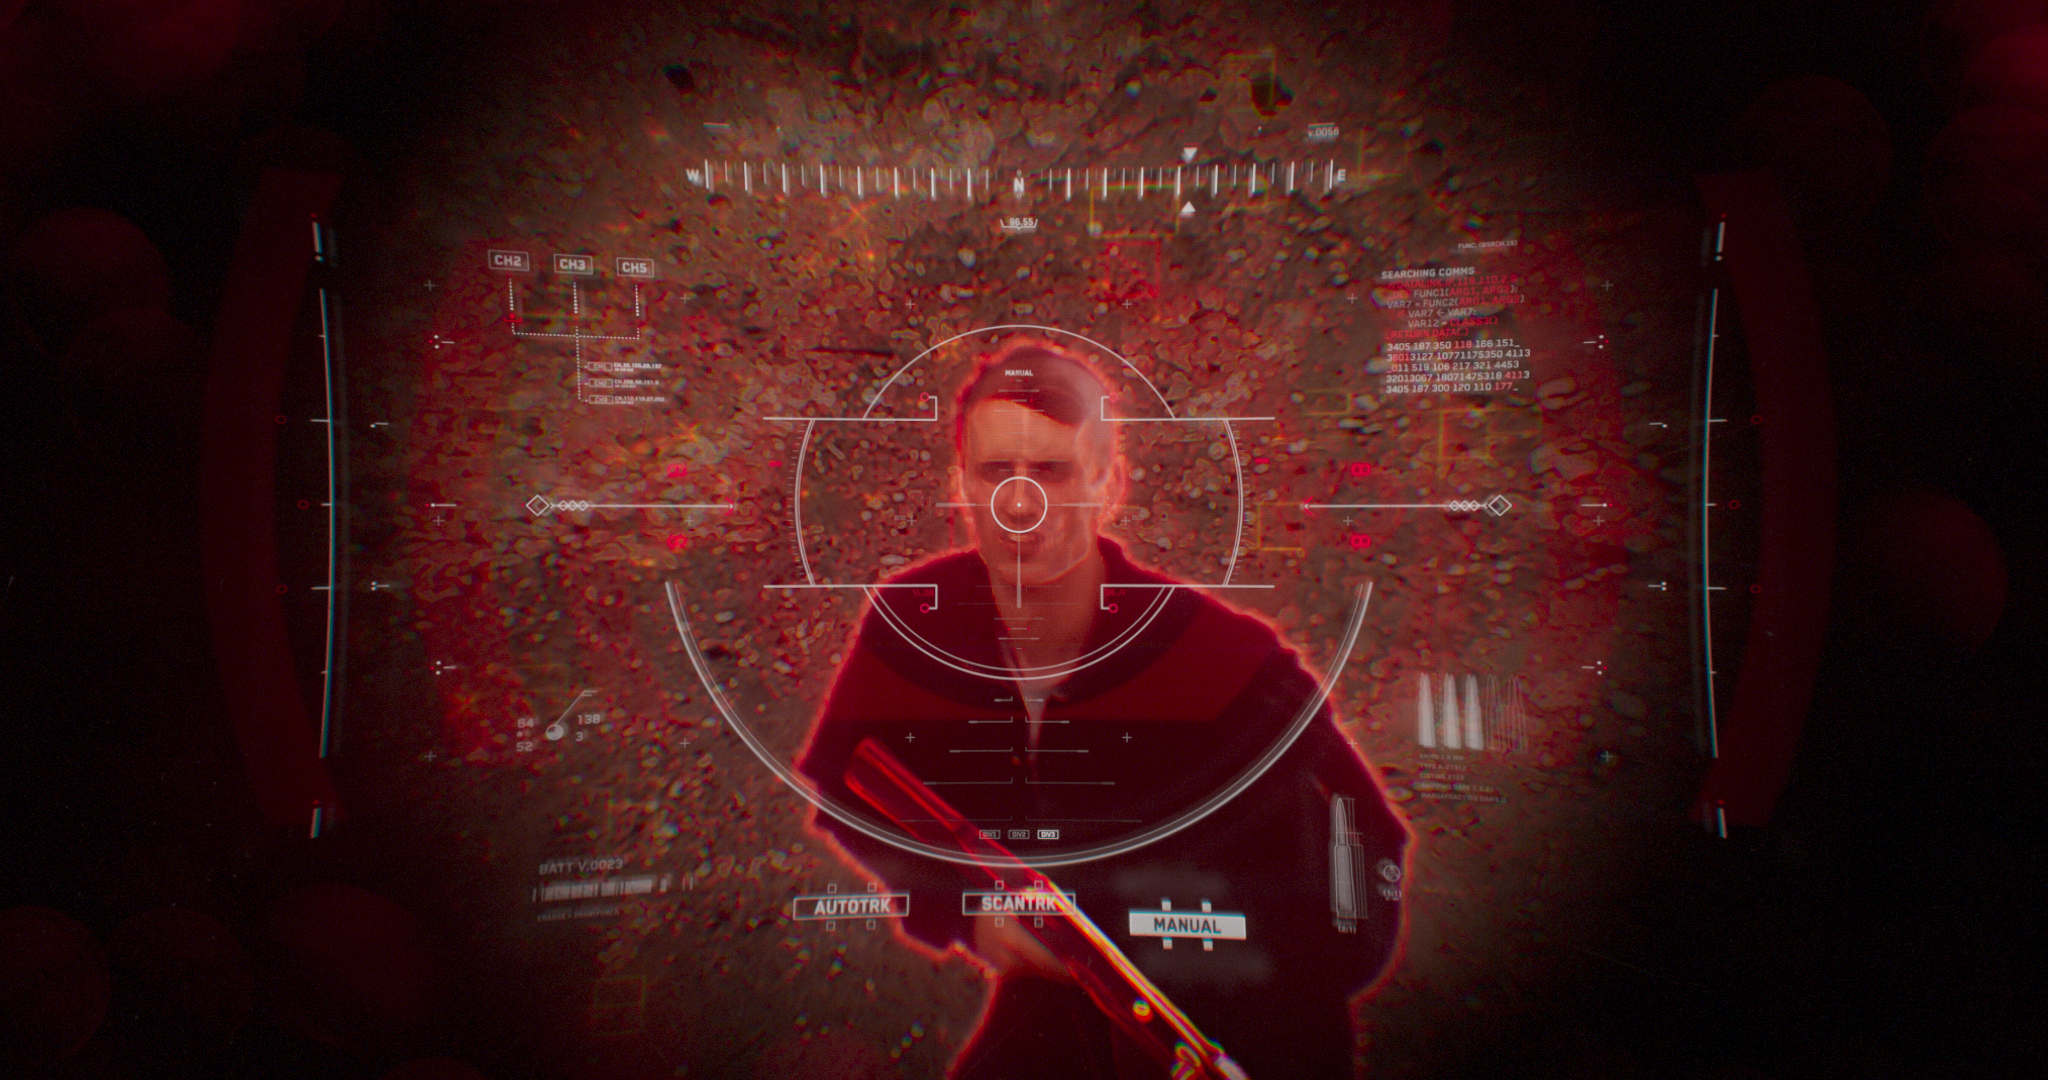
Sniper: Target Acquired is my latest personal project that focuses on a sniper finding and taking his shot. This one took a chunk of time to complete and I’m excited to share some behind-the-scenes into the process!
Towards the end of last year, I wanted to dive into a new project that featured graphics and a heads-up display (HUD). I began exploring stock footage sites like artgrid.io and pexels, but it was challenging to find something that was shot for visual effects (vfx) without blowing the budget on licensing footage. I eventually came across ActionVFX’s free practice footage library, which had exactly what I needed. The sniper collection instantly clicked as the perfect starting point for this project. With the footage in hand, my vision for the HUD started to take shape.
Process / Pipeline / Workflow
After finding the footage, I began collecting references that helped shape and guide the project’s vision and aesthetic. The collection of references evolved as the project progressed covering everything from HUD concepts to warehouse backgrounds, and any visual details I thought could elevate the final look.
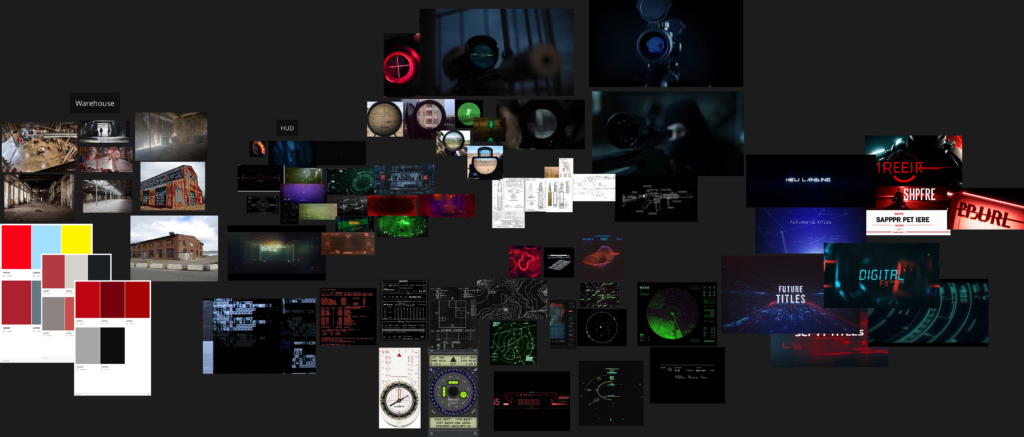
Alongside this reference, I used additional resources to strengthen my approach including the Ash Thorpe HUD Design course from Learn Squared. This resource was valuable in refining my workflow and pipeline from initial design concepts to final animation. Learning and growth are some of the main goals in any project I take on, and having a resource from an industry veteran helped to supercharge my workflow.
While assembling the first cut, my priority was creating a rhythm that synced with the soundtrack. I wanted the HUD to be able to progress smoothly through its modes from dormant to scanning to tracking. My secret weapon for this sound design was 99sounds. If I need sound in any project I always scour their collection. One of the sounds I used was called “Brain Worms”, I promise this sound pack came out years ago! The pipeline for this project looked something like this:
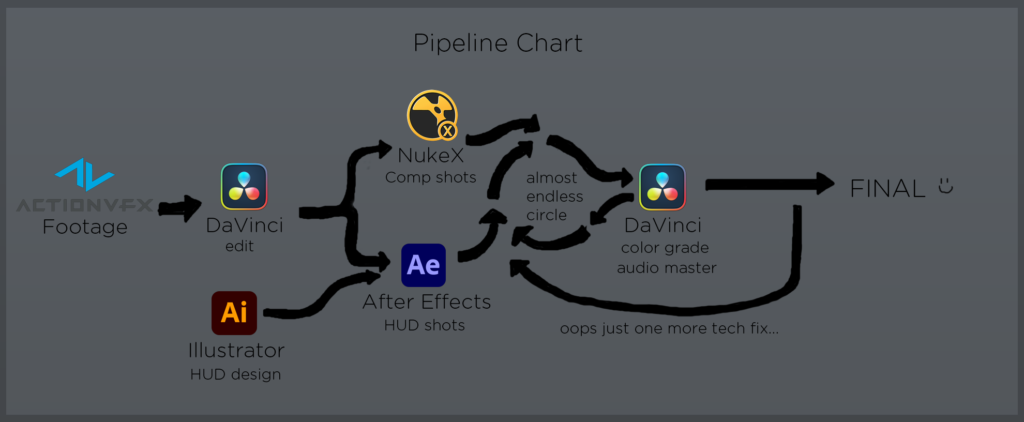
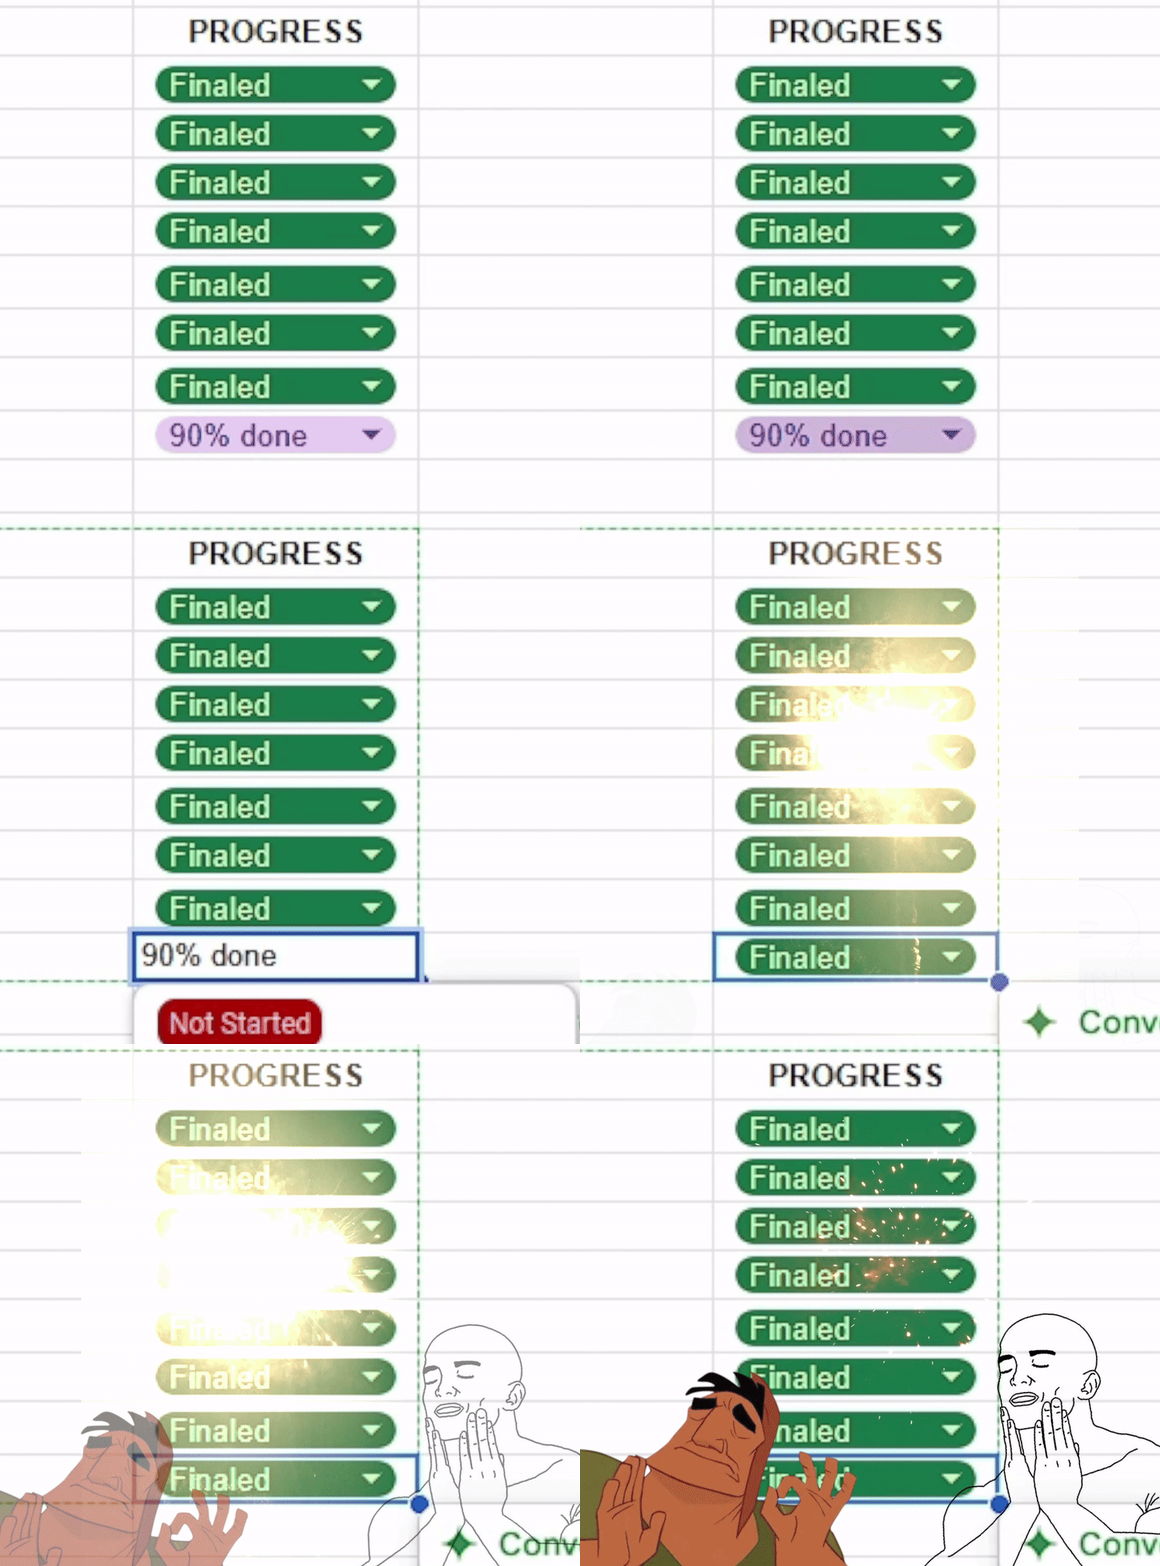
Lots, lots, and lots of back and forth between DaVinci and the comp software. Setting up a spreadsheet to track progress and notes helped to keep this process organized. It was an incredibly satisfying moment whenever I finaled a shot on the spreadsheet.
Compositing
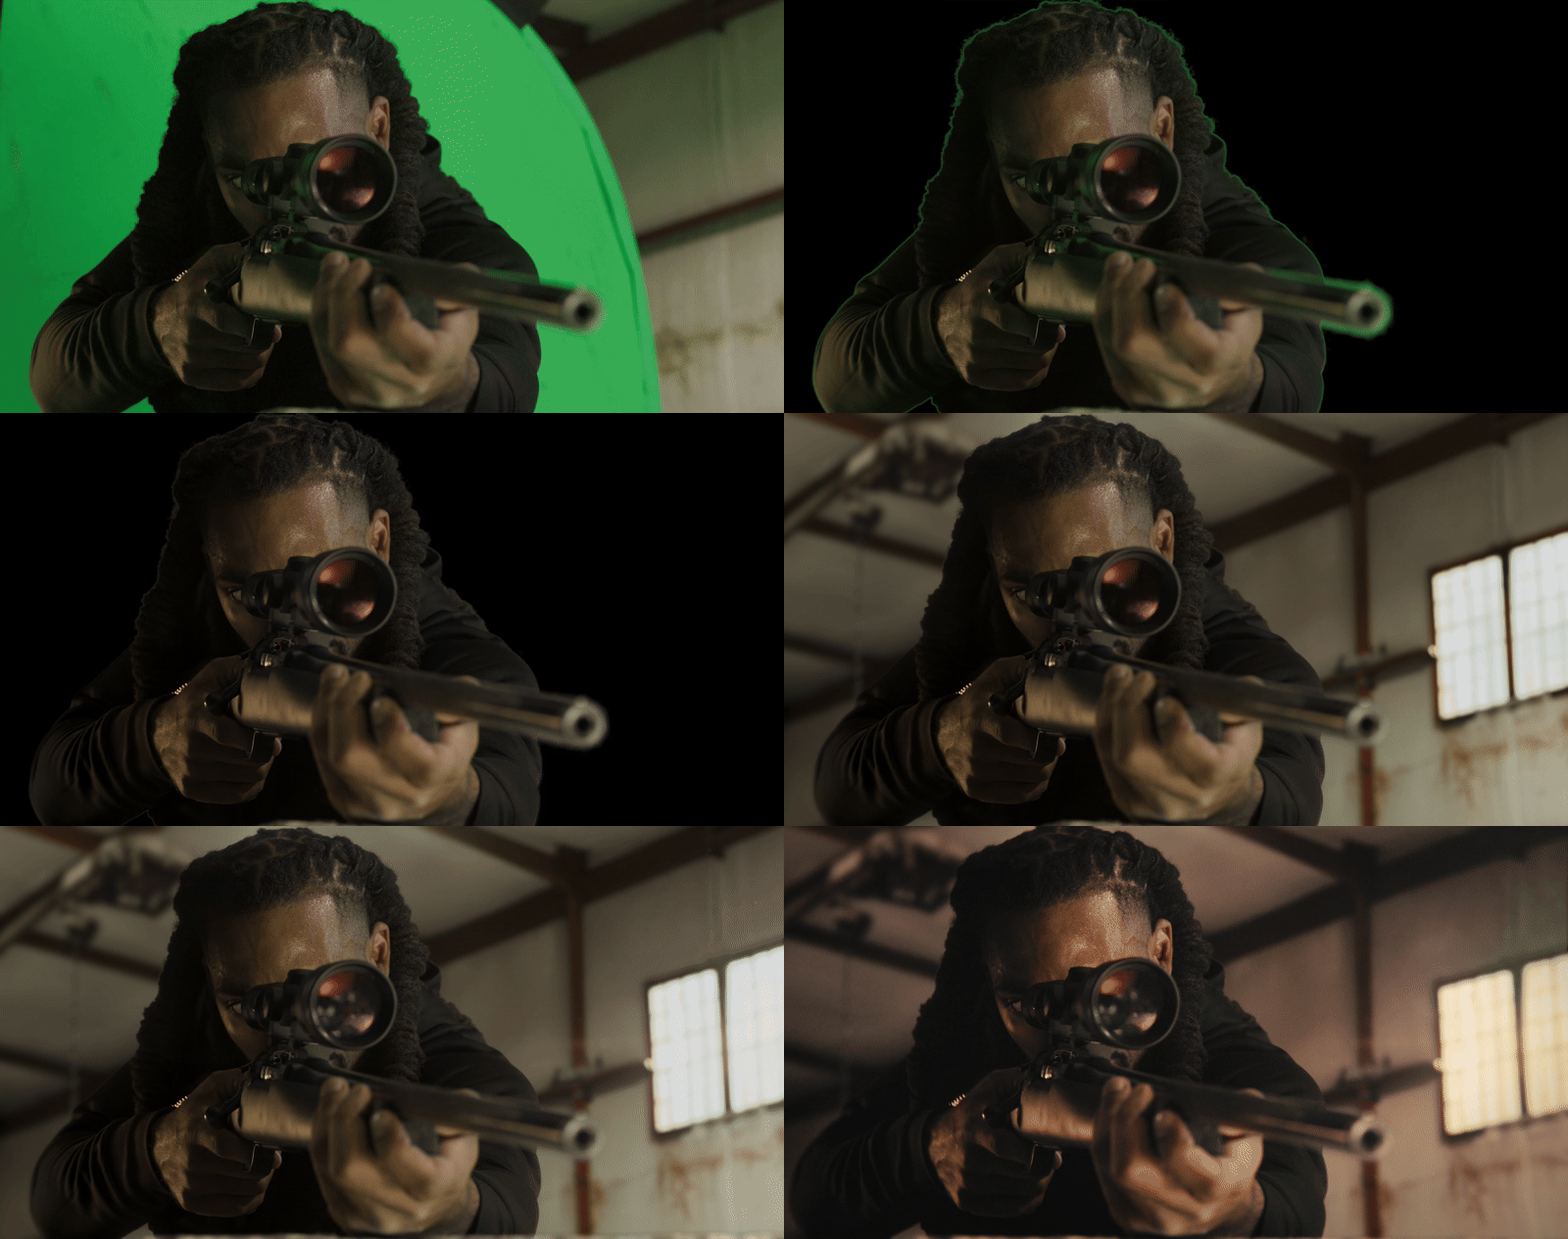
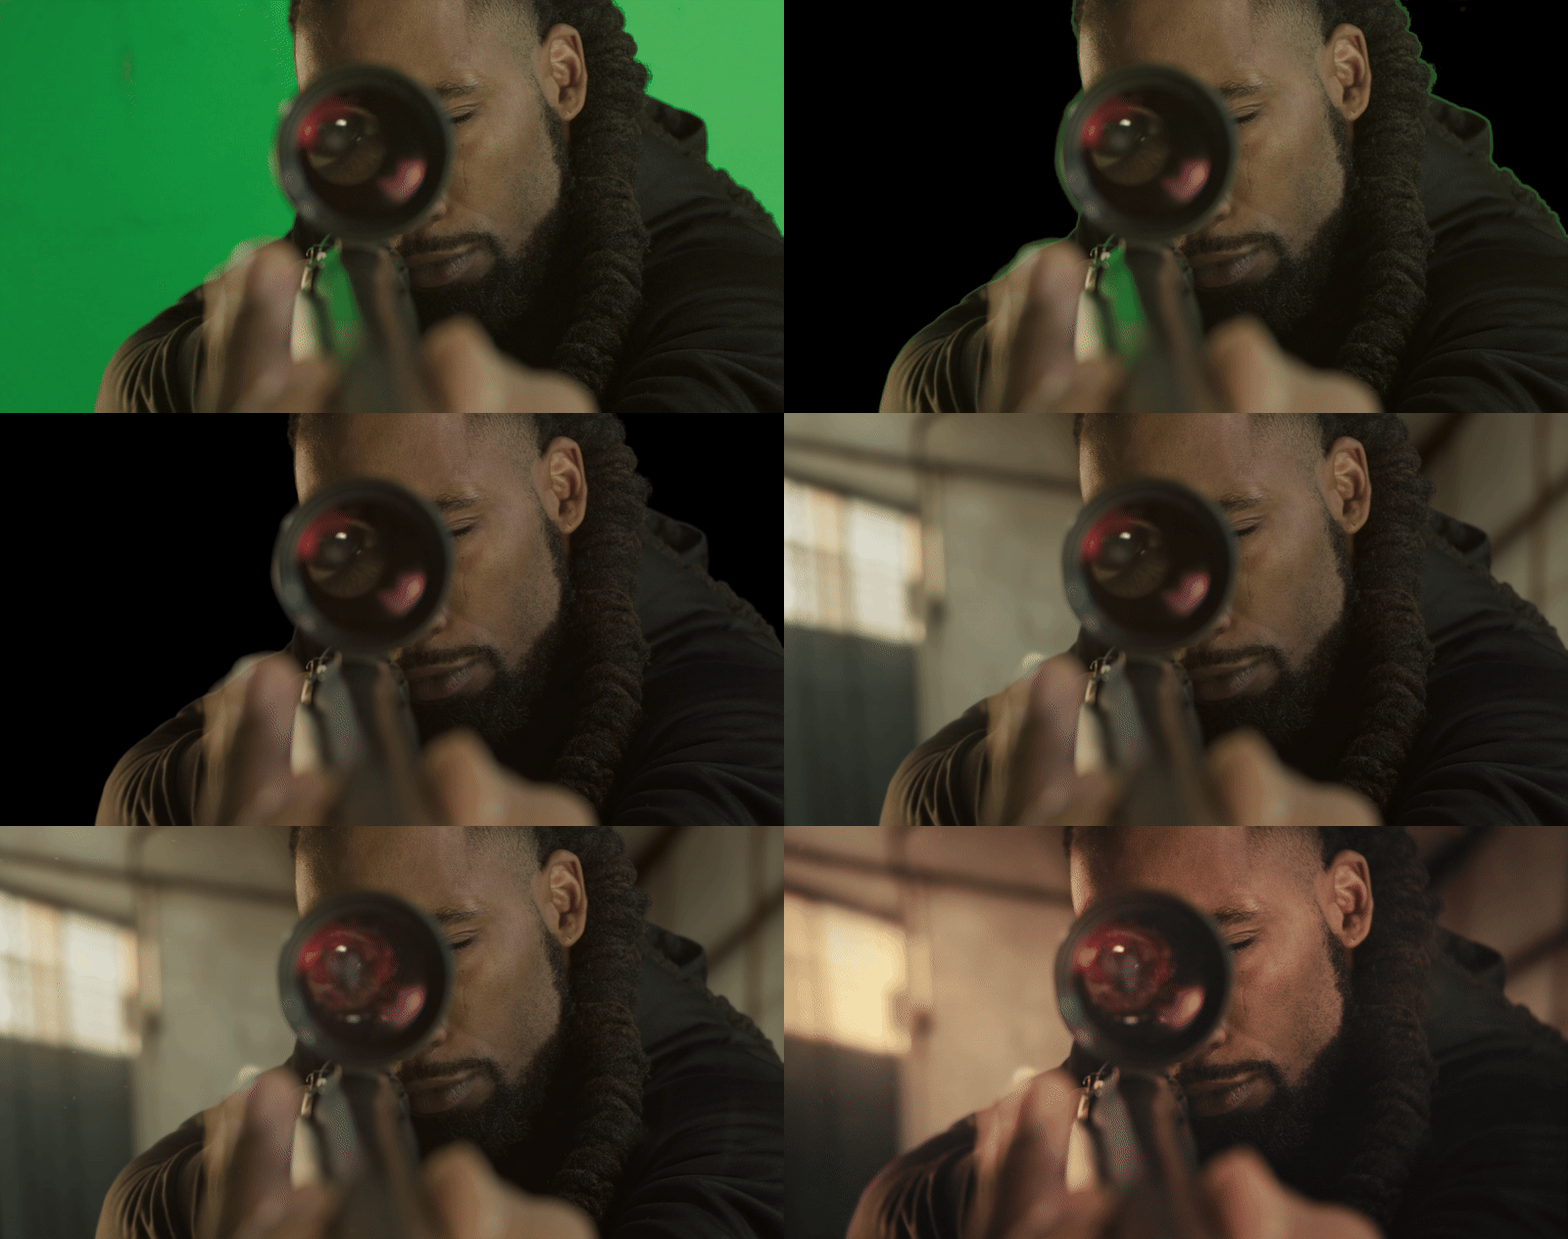
The project was divided into four greenscreen shots, three HUD shots, and one title shot. I started with the greenscreen ones in Nuke, beginning with the first shot in the sequence to establish a template and workflow for the others. Once I had a solid key and despill setup, the work for the remaining greenscreen shots became much faster. There wasn’t too much to adjust in the foreground, aside from a few details like adding reflections on the sniper scope, but the background required a big set extension. I used Photoshop’s generative fill AI to help piece together the environment through photobashing, which took patience and a lot of prompting to get usable results. With a set of background images, I went back to Nuke to blend the images together with some paintwork. Here’s a look at the greenscreen shots from start to finish.
HUD Design/Animation
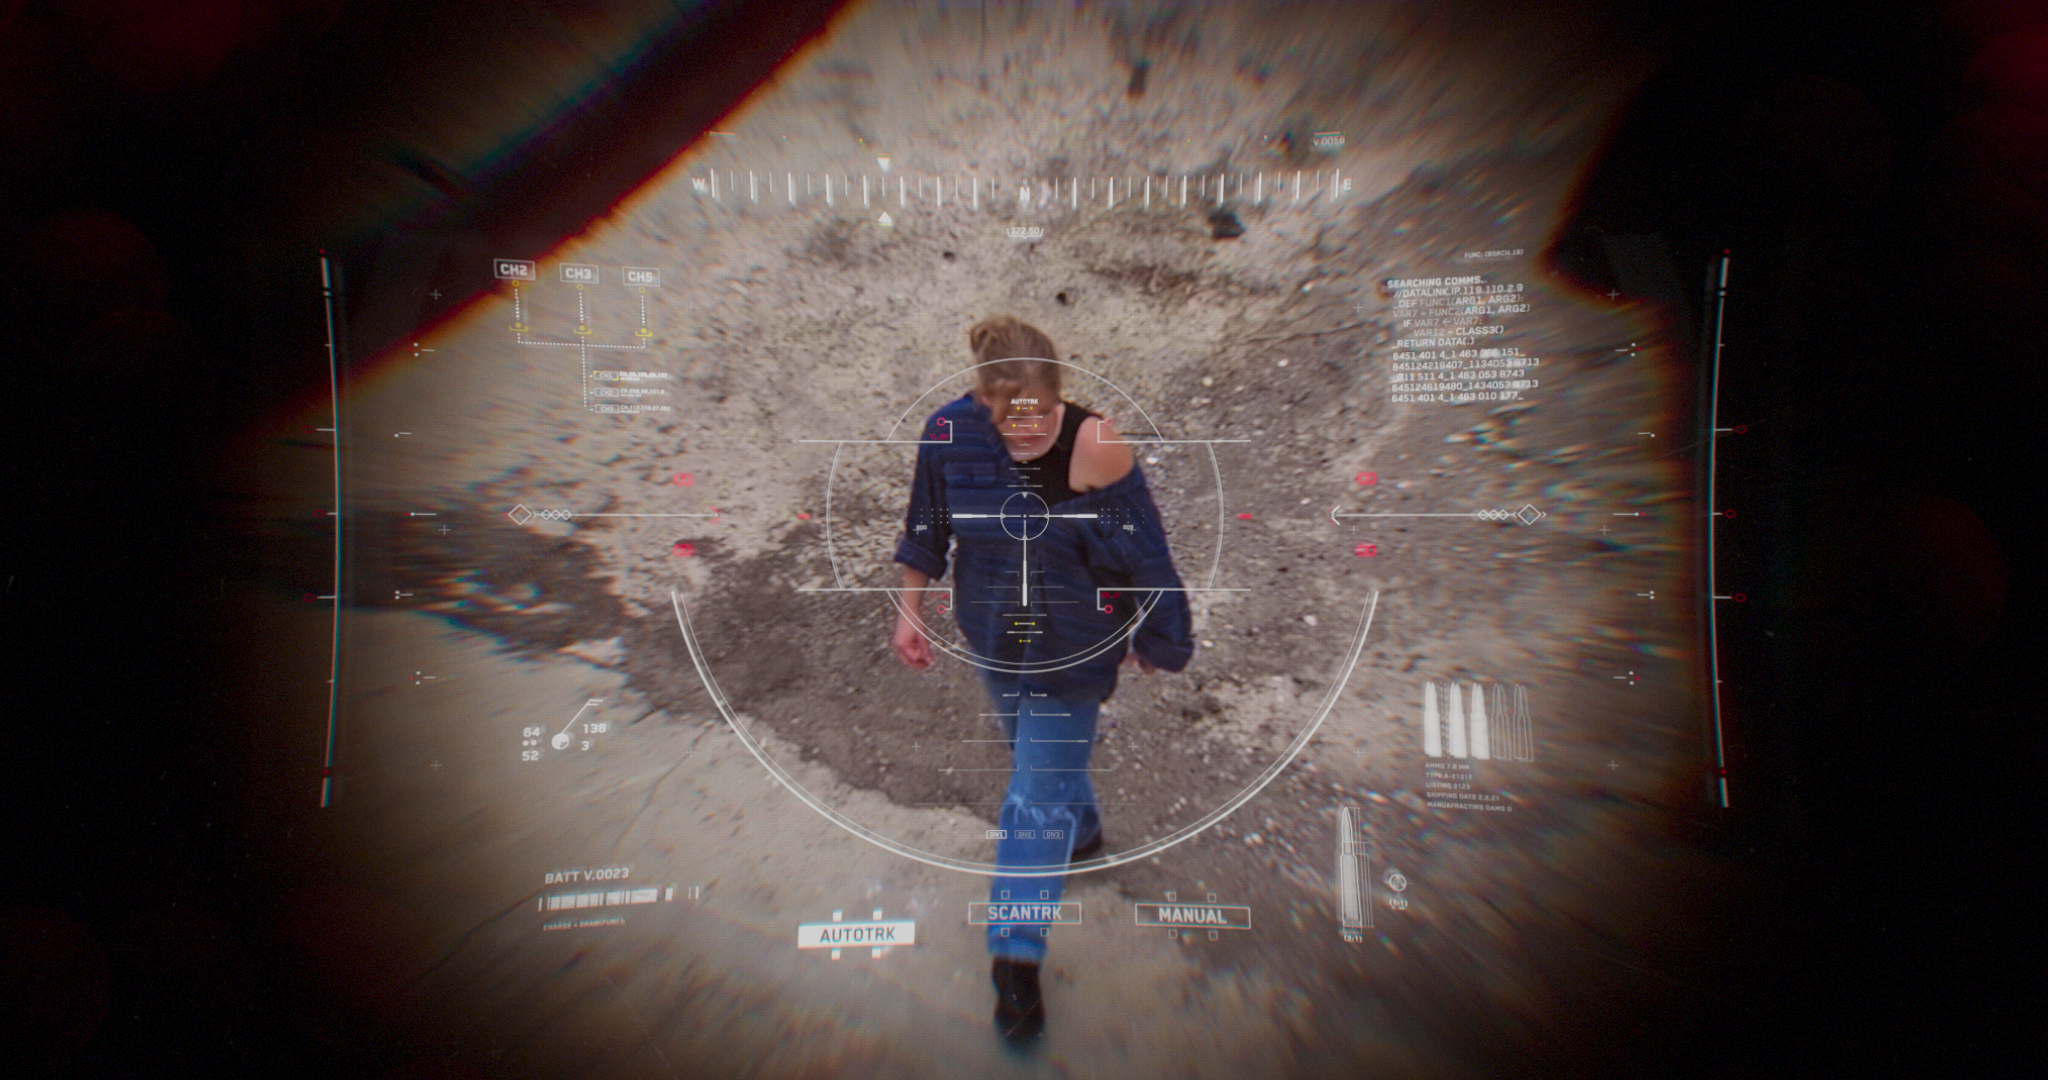
I started by sketching out a range of elements on paper and building a library of assets. Since this was for a sniper scope, I focused on components like a reticle, targeting system, guides, communications, and other useful HUD elements for a sniper.
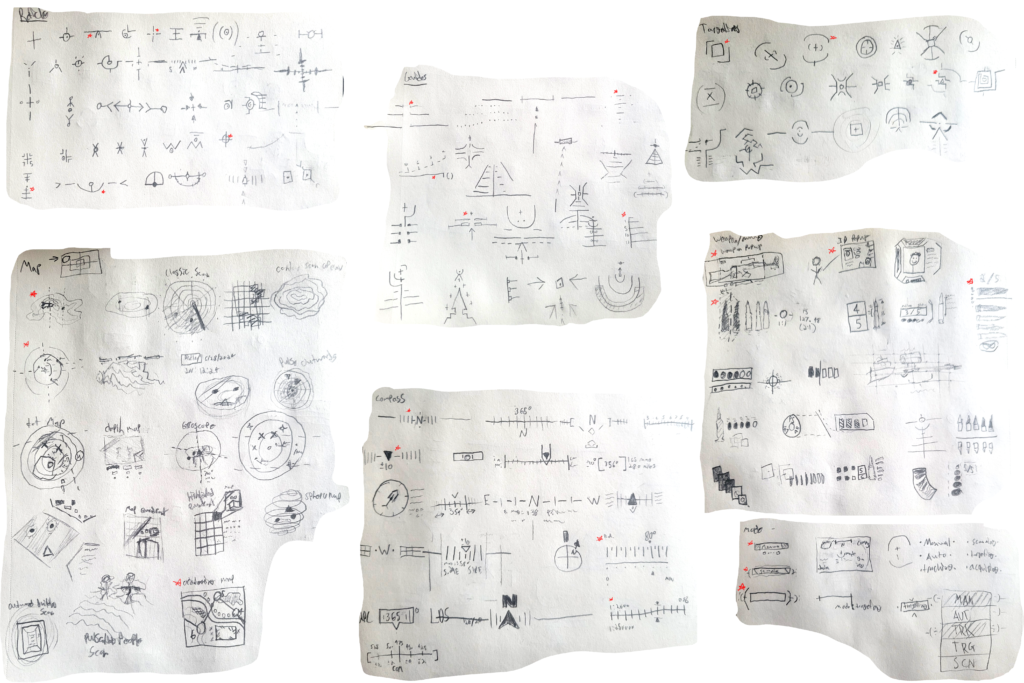
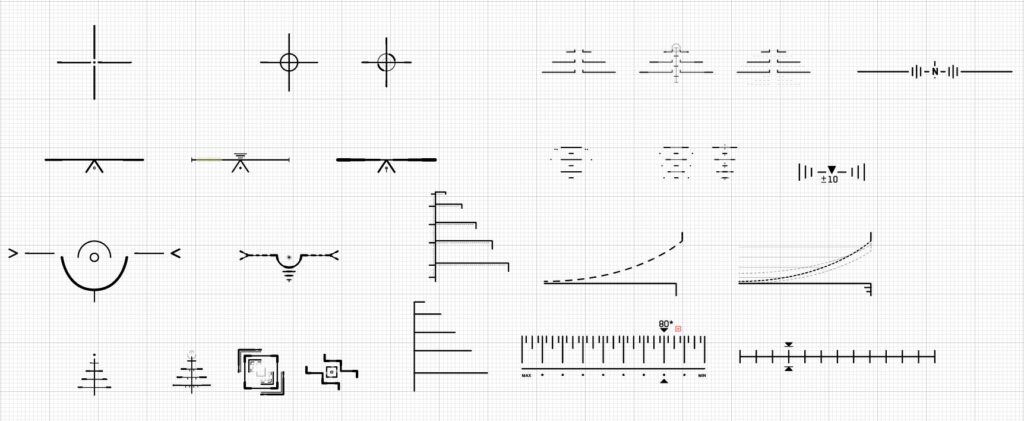
After lots of sketching, I scanned and brought them into Adobe Illustrator, where I further refined the assets, experimenting with combinations of hand-drawn elements to create polished, cohesive designs. I continued expanding this asset library until I had more than enough to start assembling the HUD. I frequently overlaid the HUD onto the footage to check how it integrated into the plate.
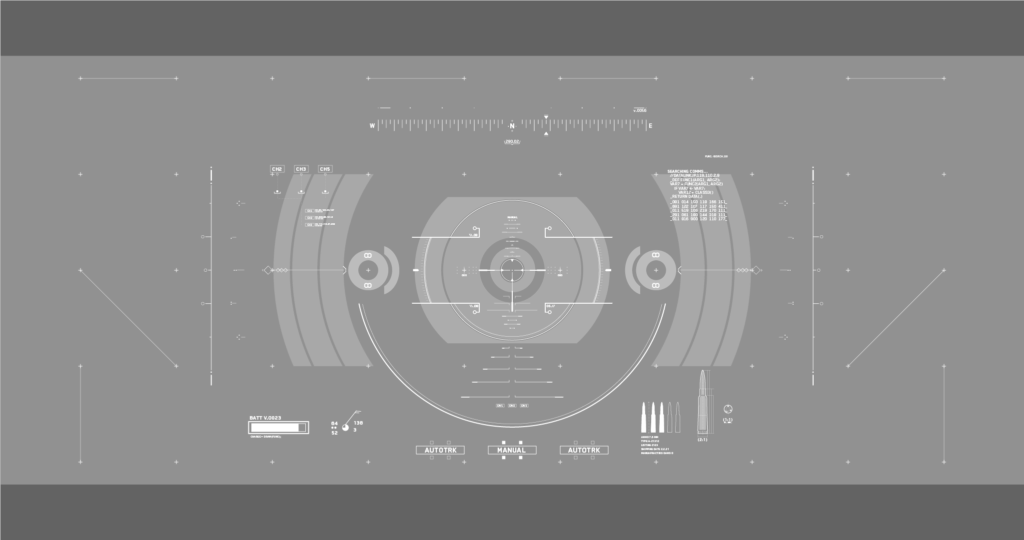
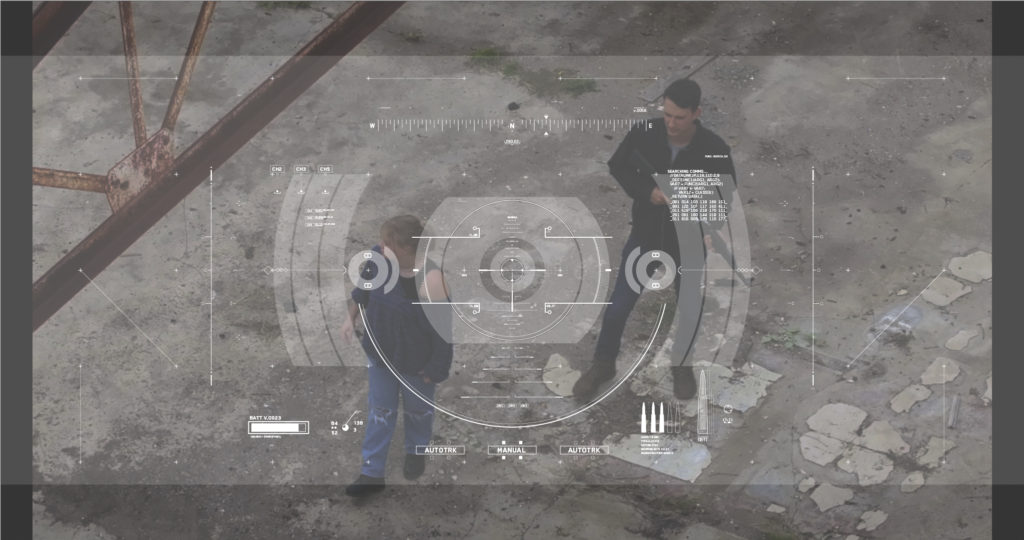
After Illustrator, I imported it into After Effects (AE) and started to prepare the designs for animation. I began with the dormant HUD state, as it served as a solid foundation for the more dynamic shots to come.
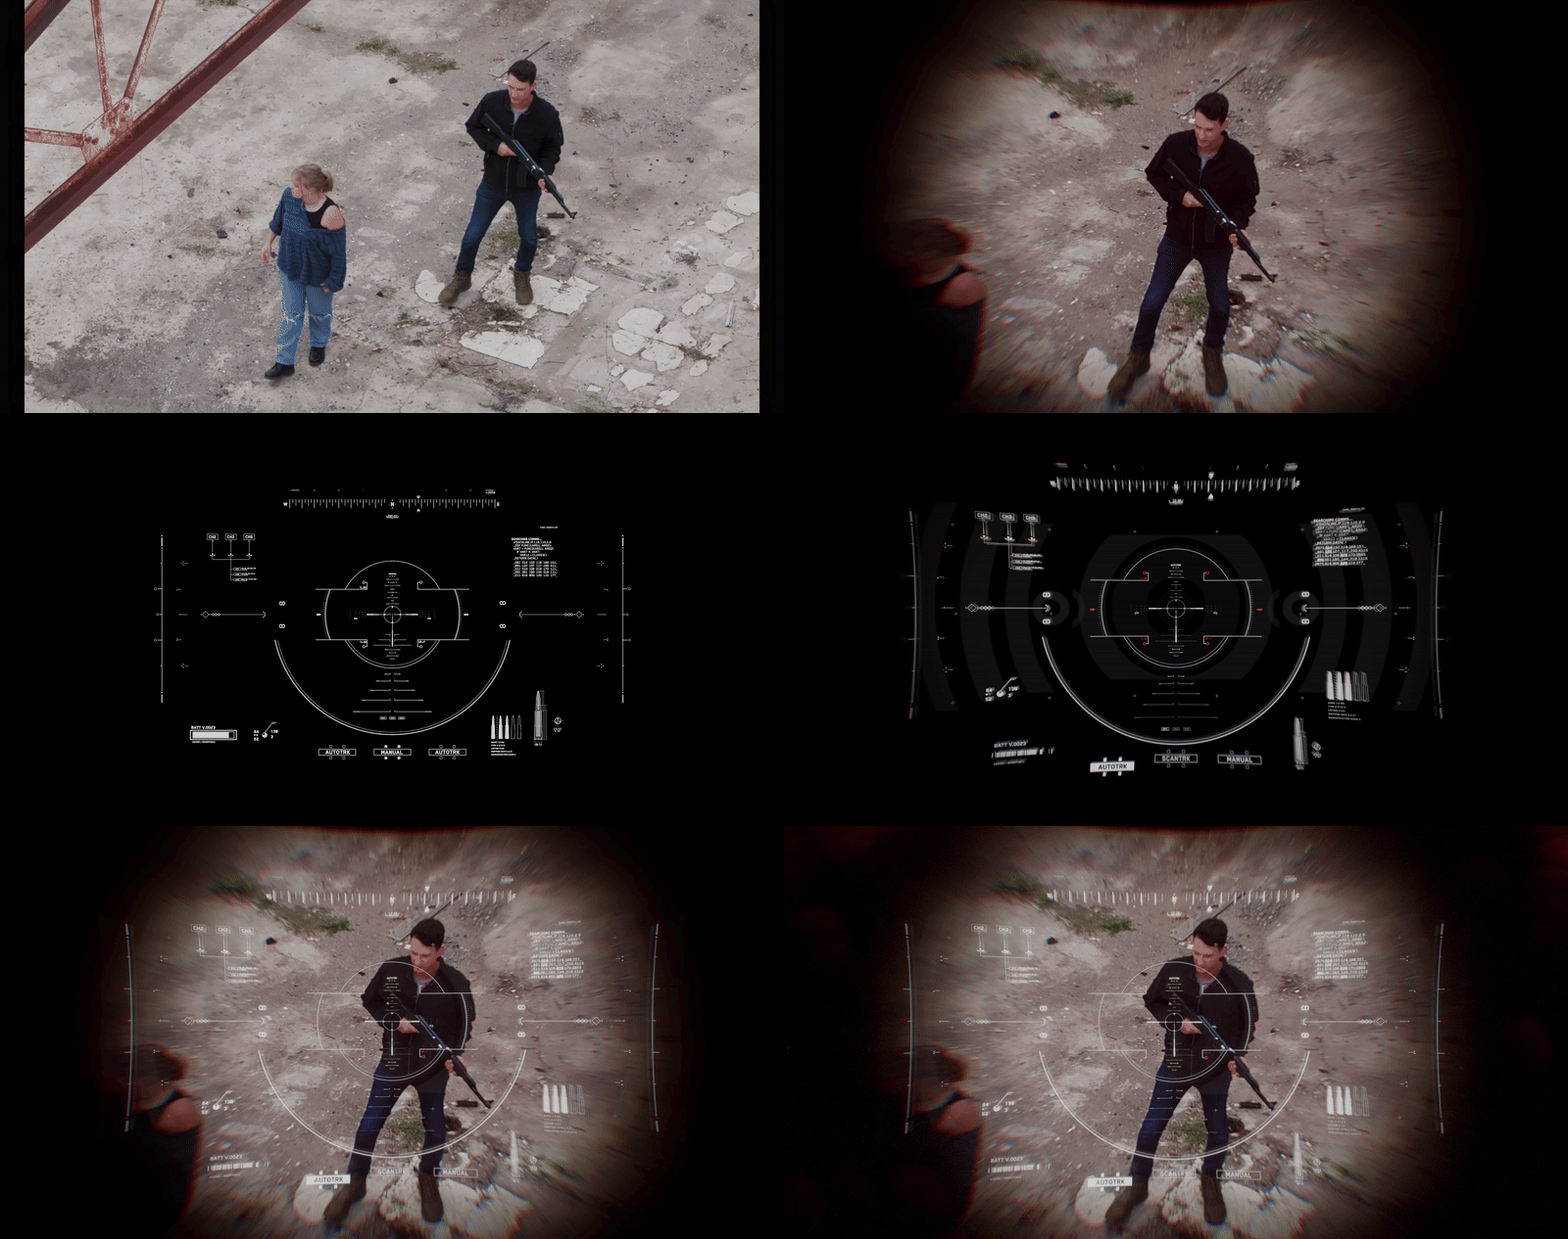
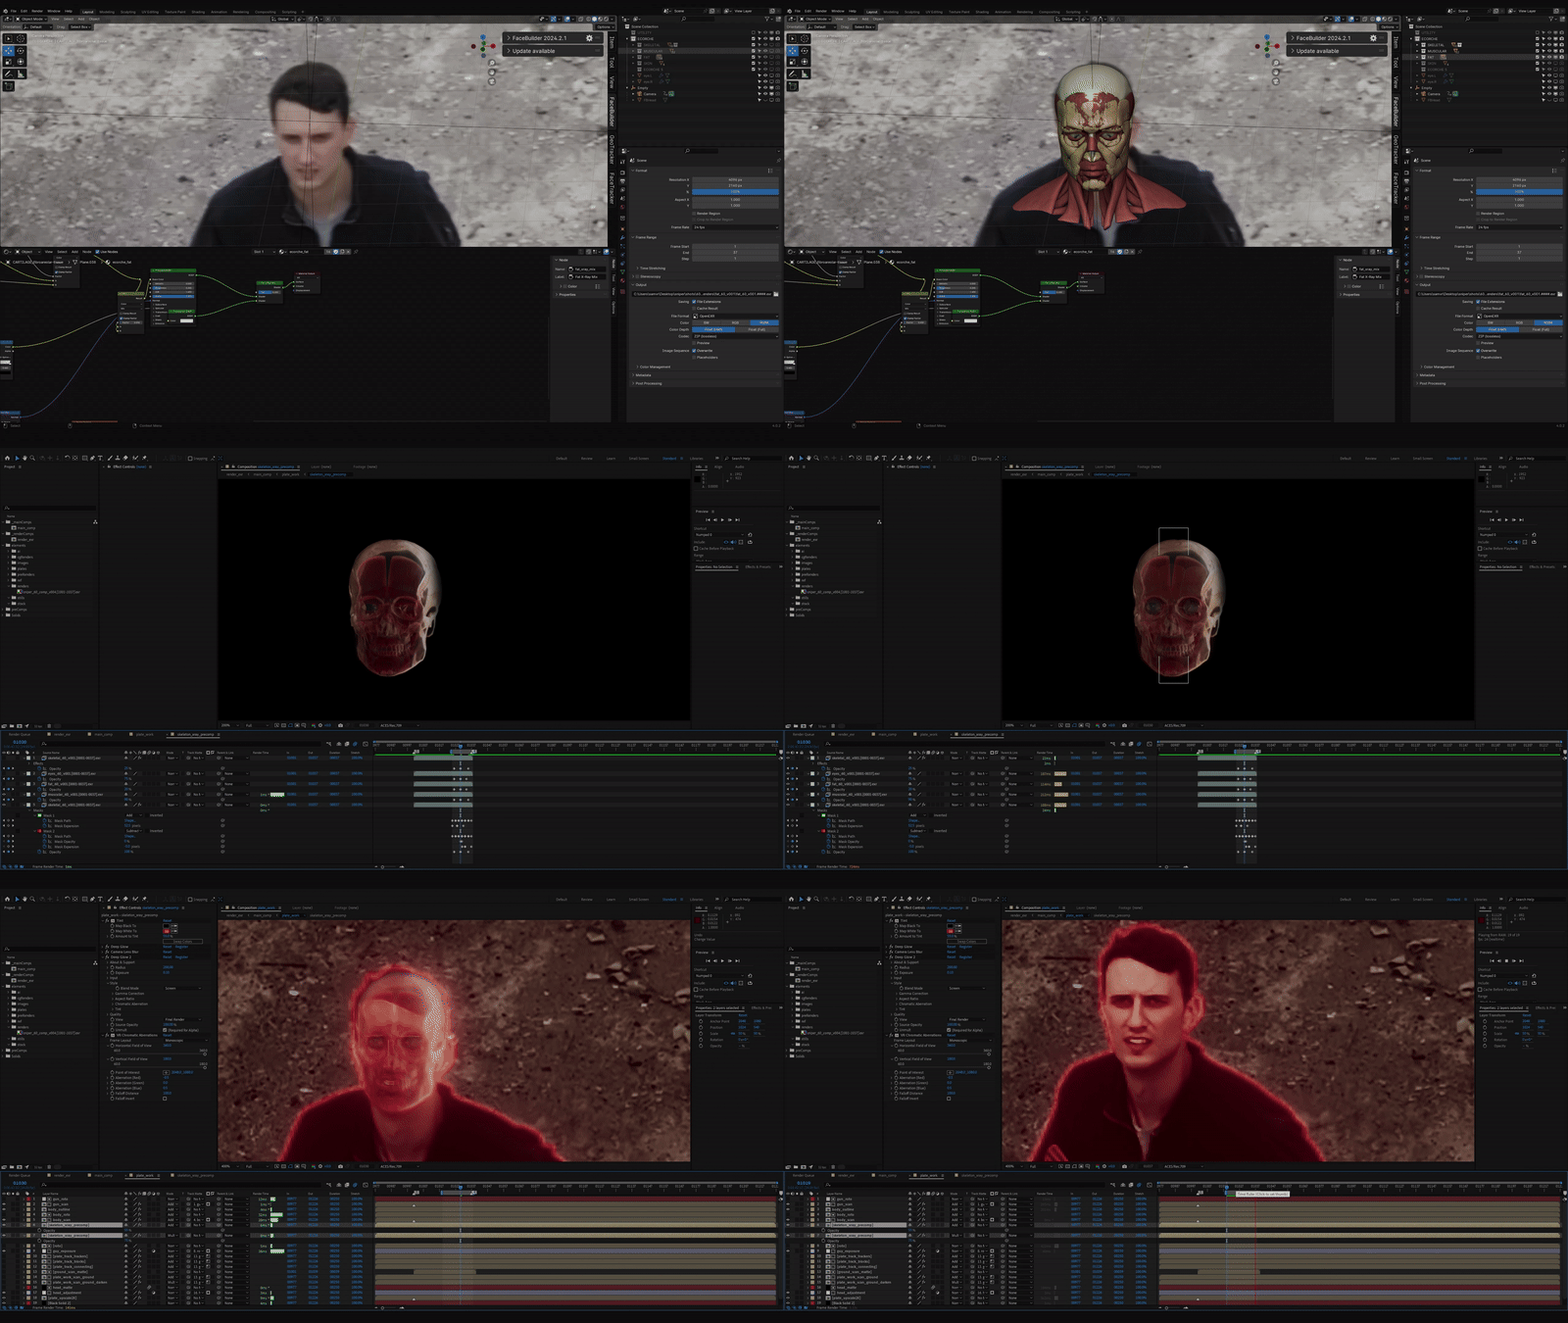
In the other two HUD shots, one of the most enjoyable aspects to create and animate was the x-ray-like scanning effects. I particularly liked adding the subtle scans of the body and head to create dimensionality within the overall HUD scan. To achieve this, I sourced some anatomically accurate 3D models and rendered out different passes of the different layers of the head.
Takeaways
And here we are writing this post. Oops, you’re not supposed to see that part.
This project taught me a great deal, particularly about optimizing my workflow and pipeline between editing and compositing software. Reflecting on my experience, I realize it took much longer to complete than I initially anticipated, but I managed to carve out time for it amidst a busy schedule. There were moments throughout the project when I felt tempted to shift gears and start something new, seeking a new project after spending so much time on the same eight shots. Moving forward, I plan to concentrate on one-shot projects, which should help me work more efficiently and gain experience across a broader range of topics. This new approach to personal projects prioritizes quality over length, enabling me to learn more while creating more projects.
I hope you found some valuable insights in this process, and thank you for taking the time to read!

