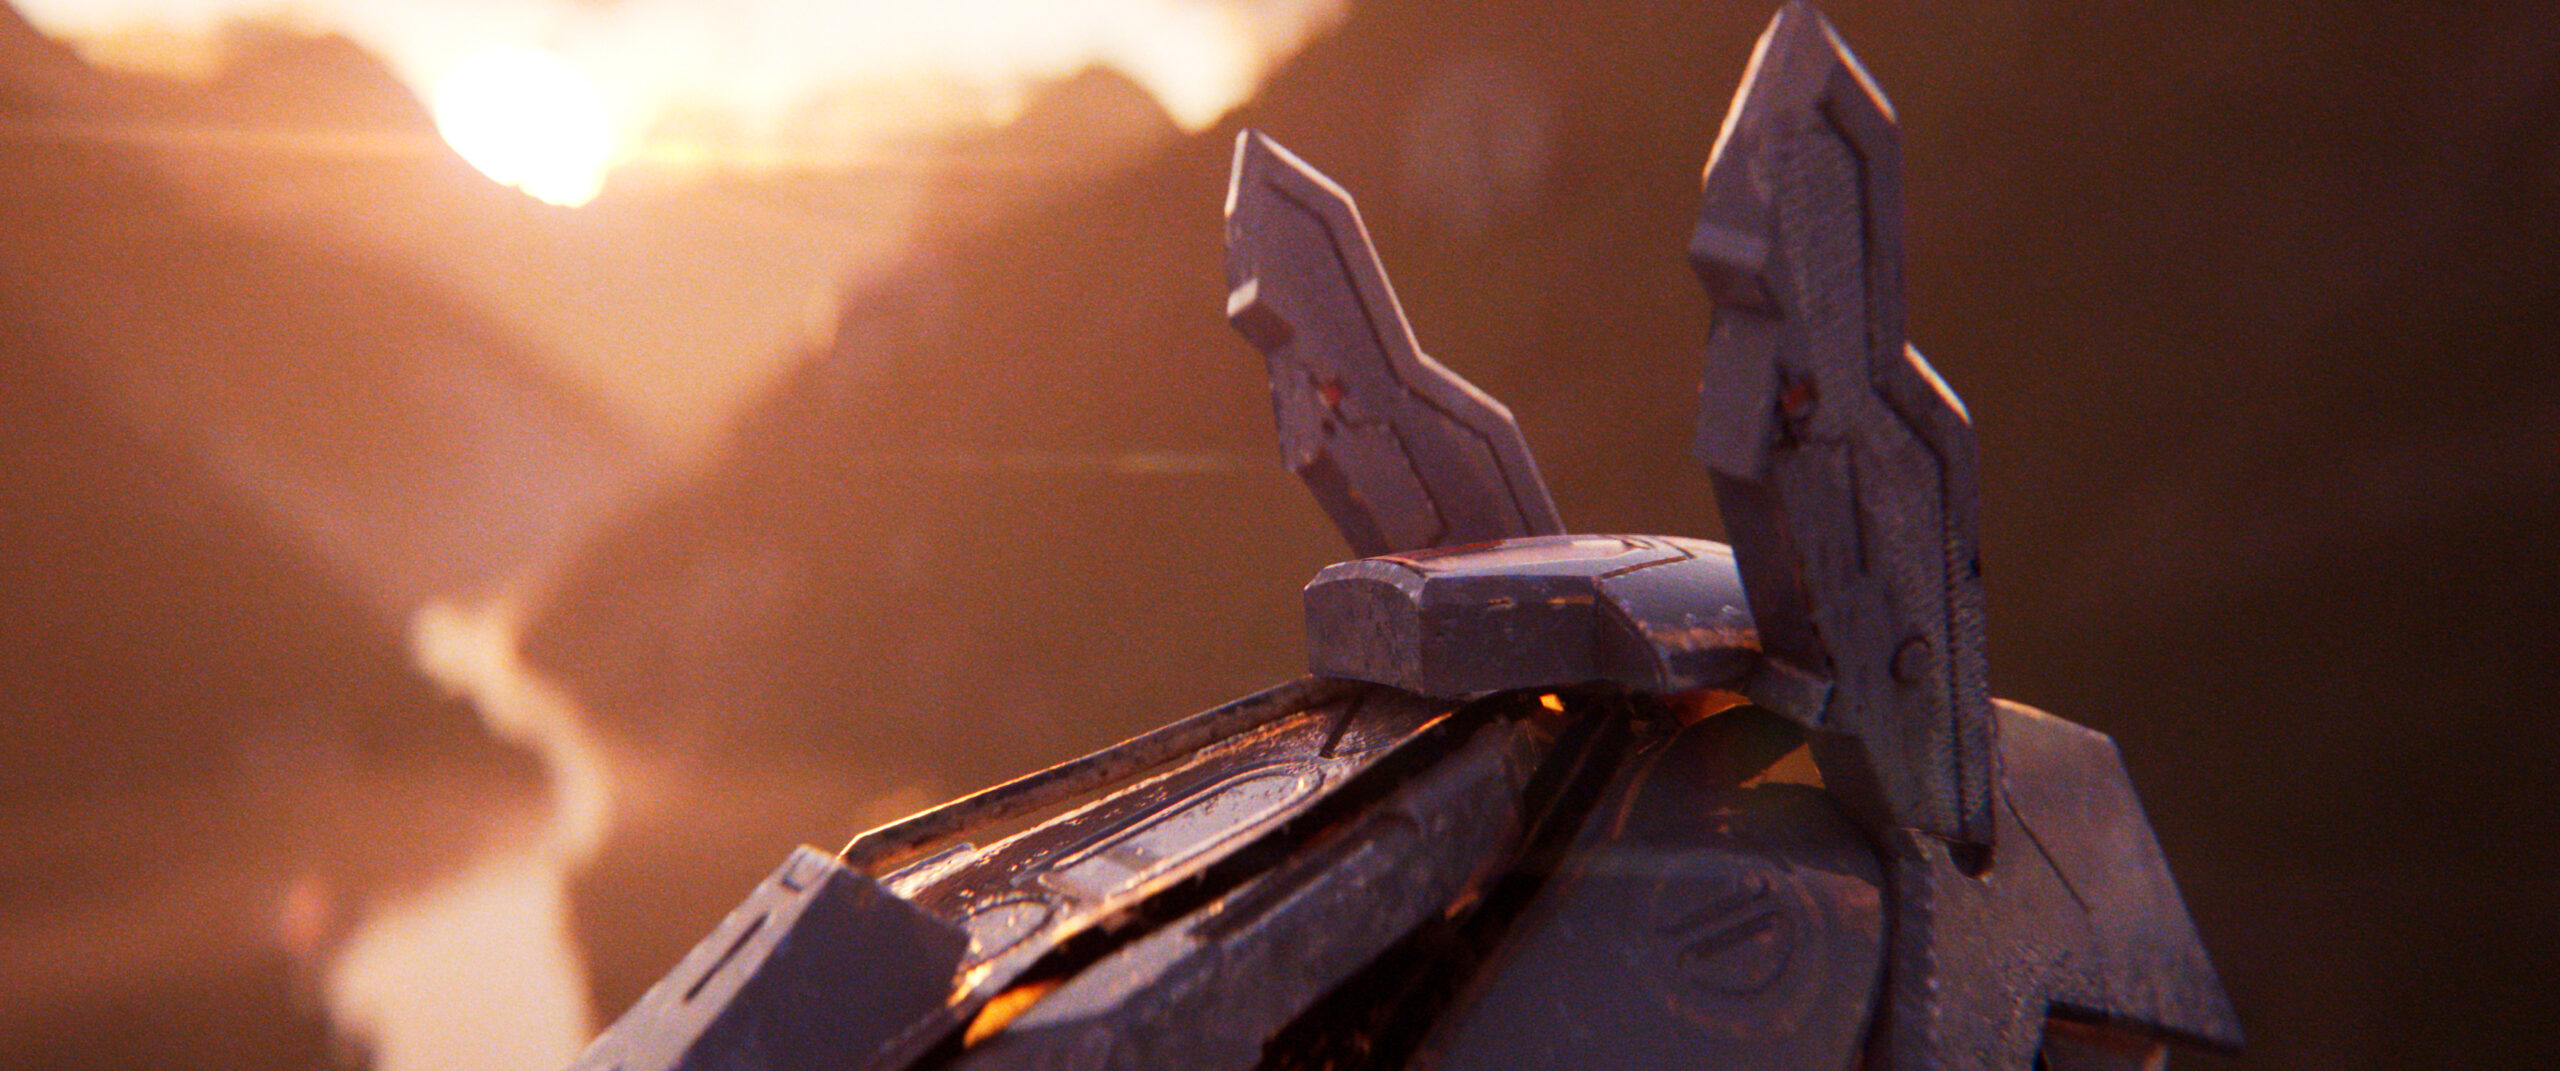
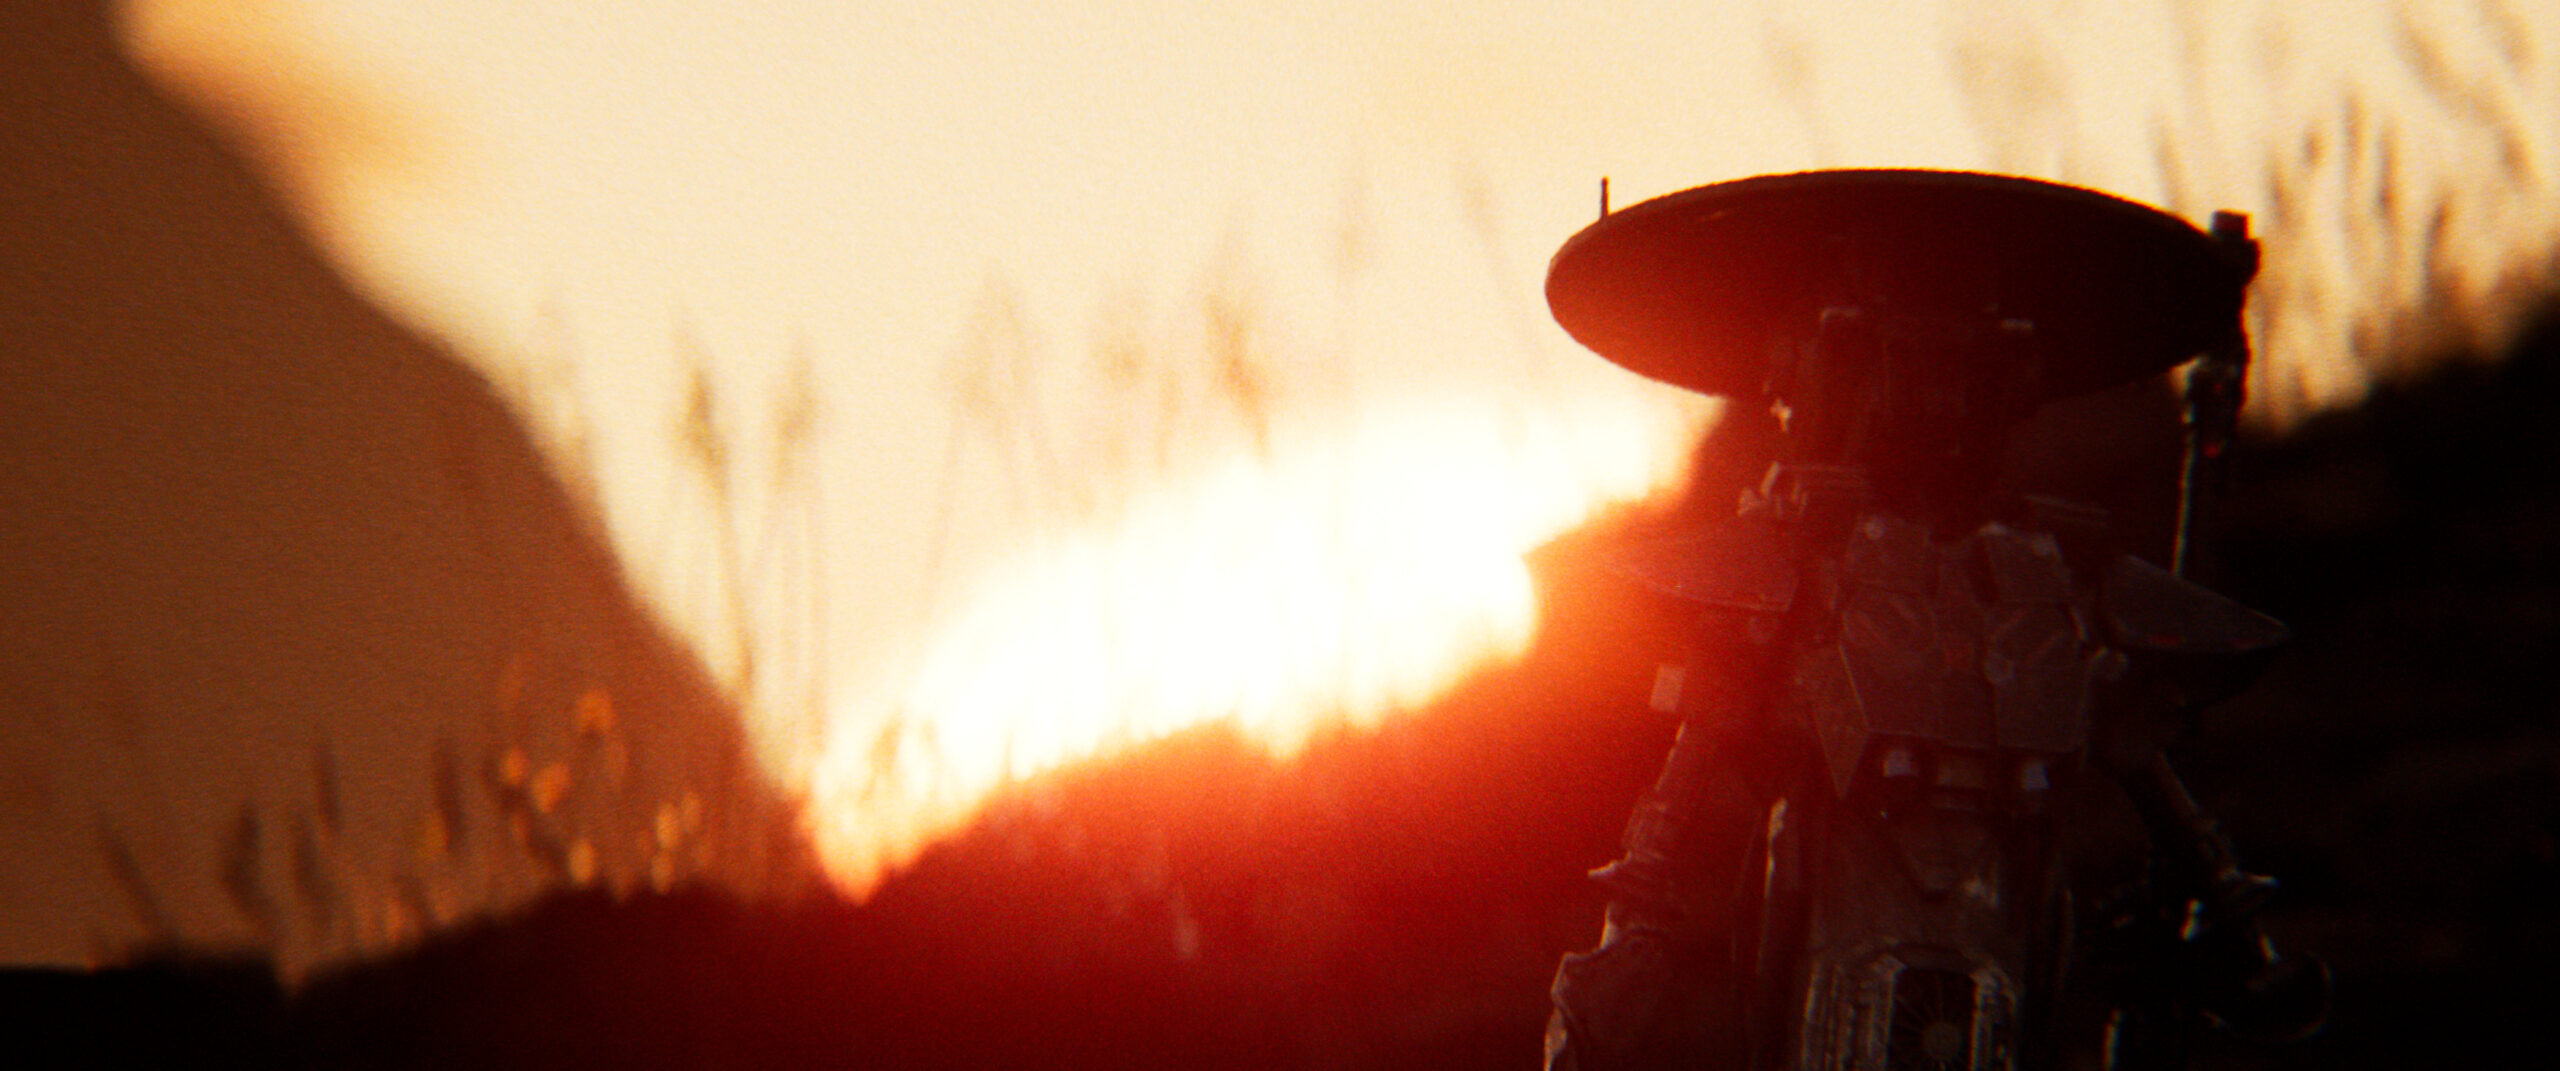
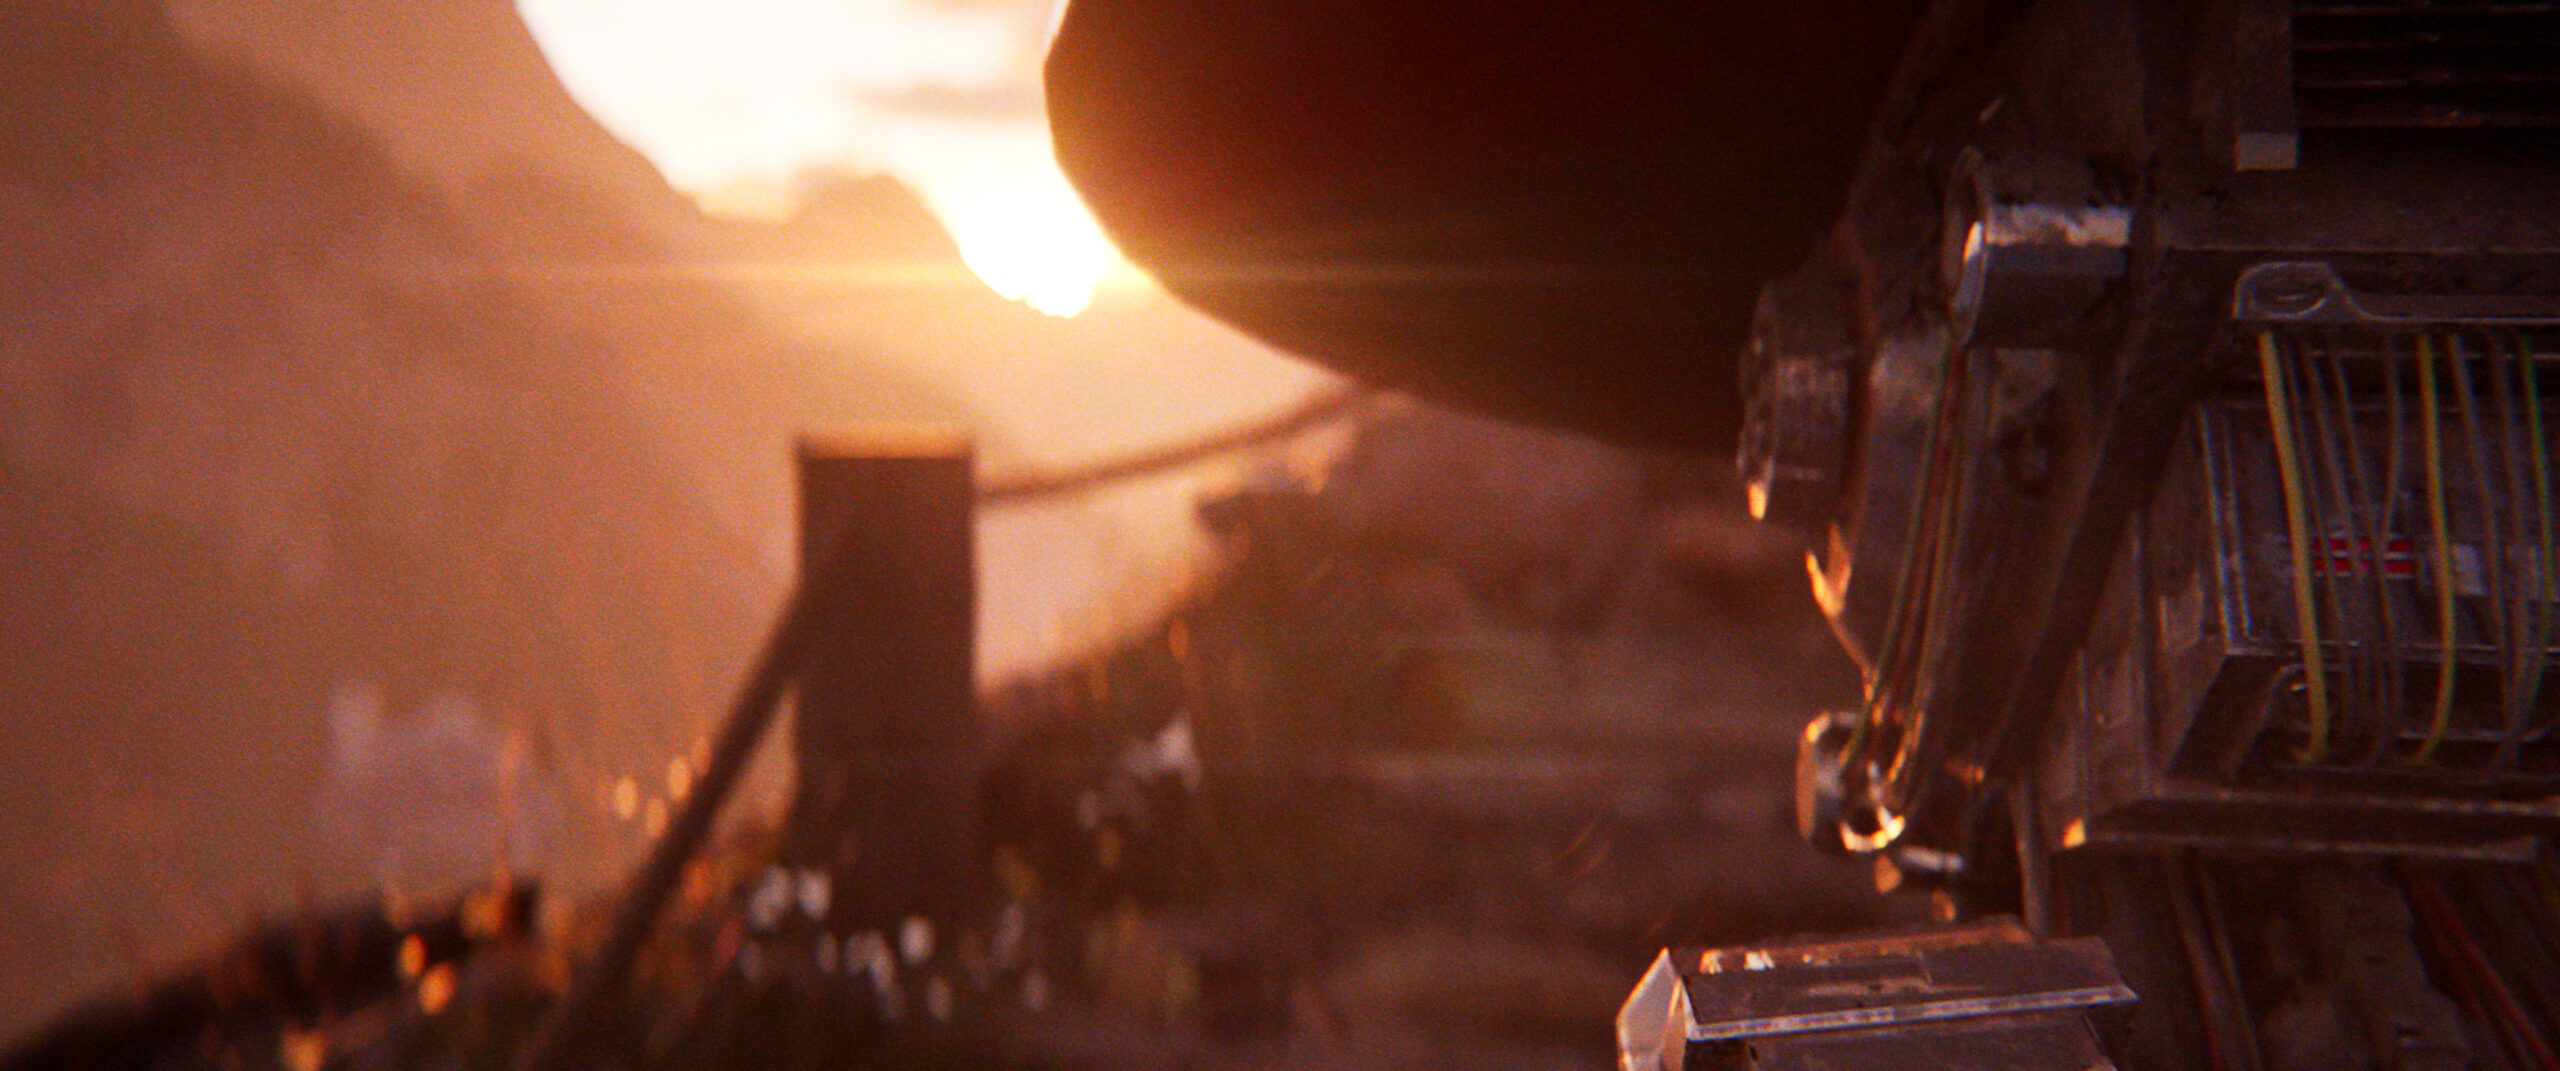
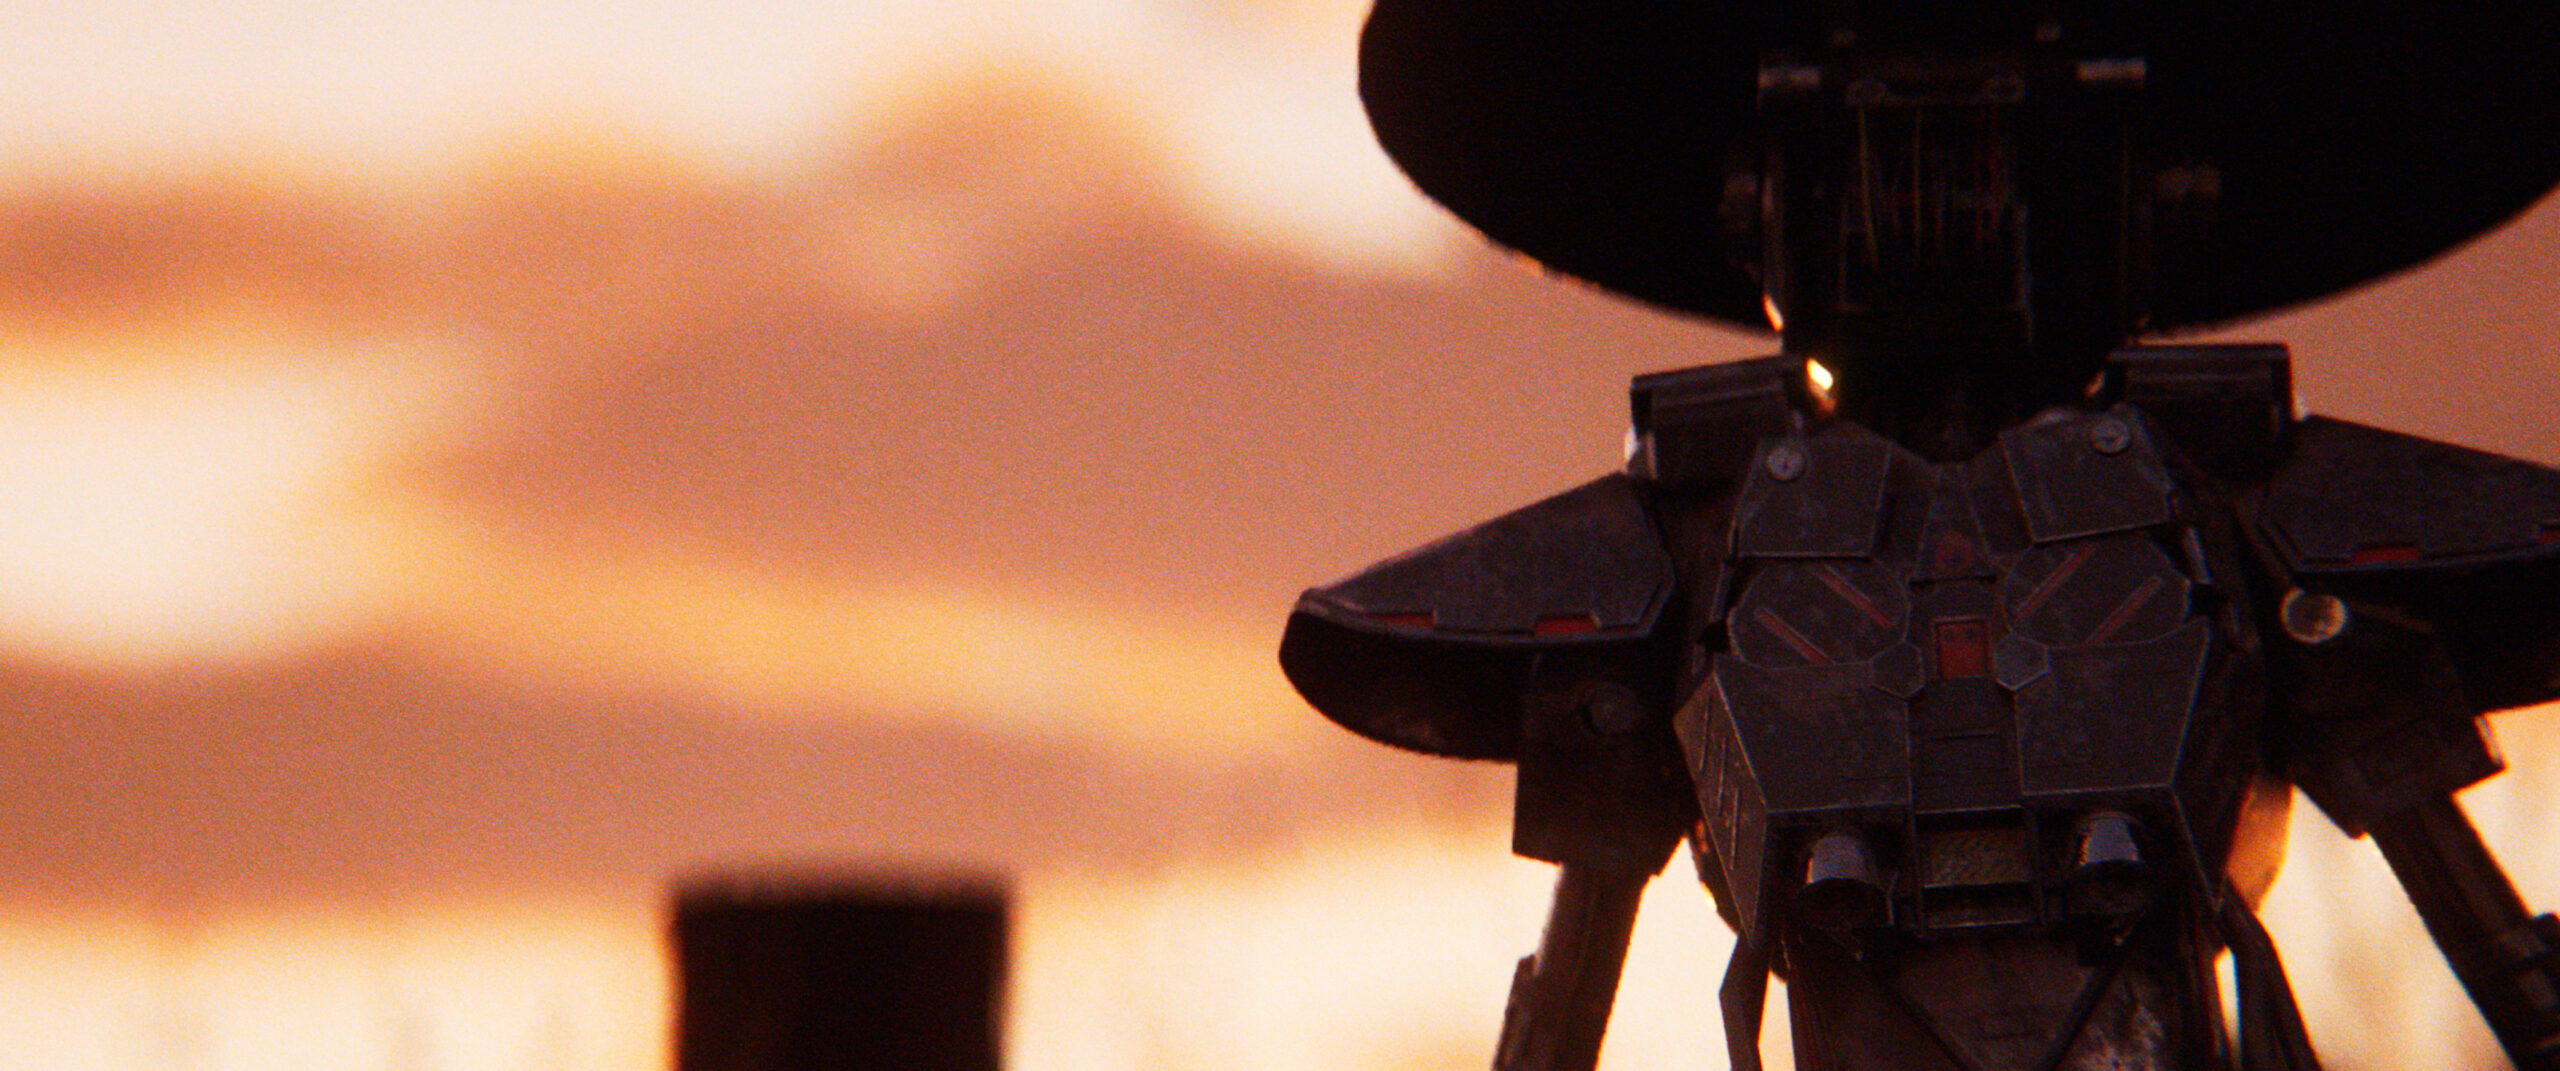
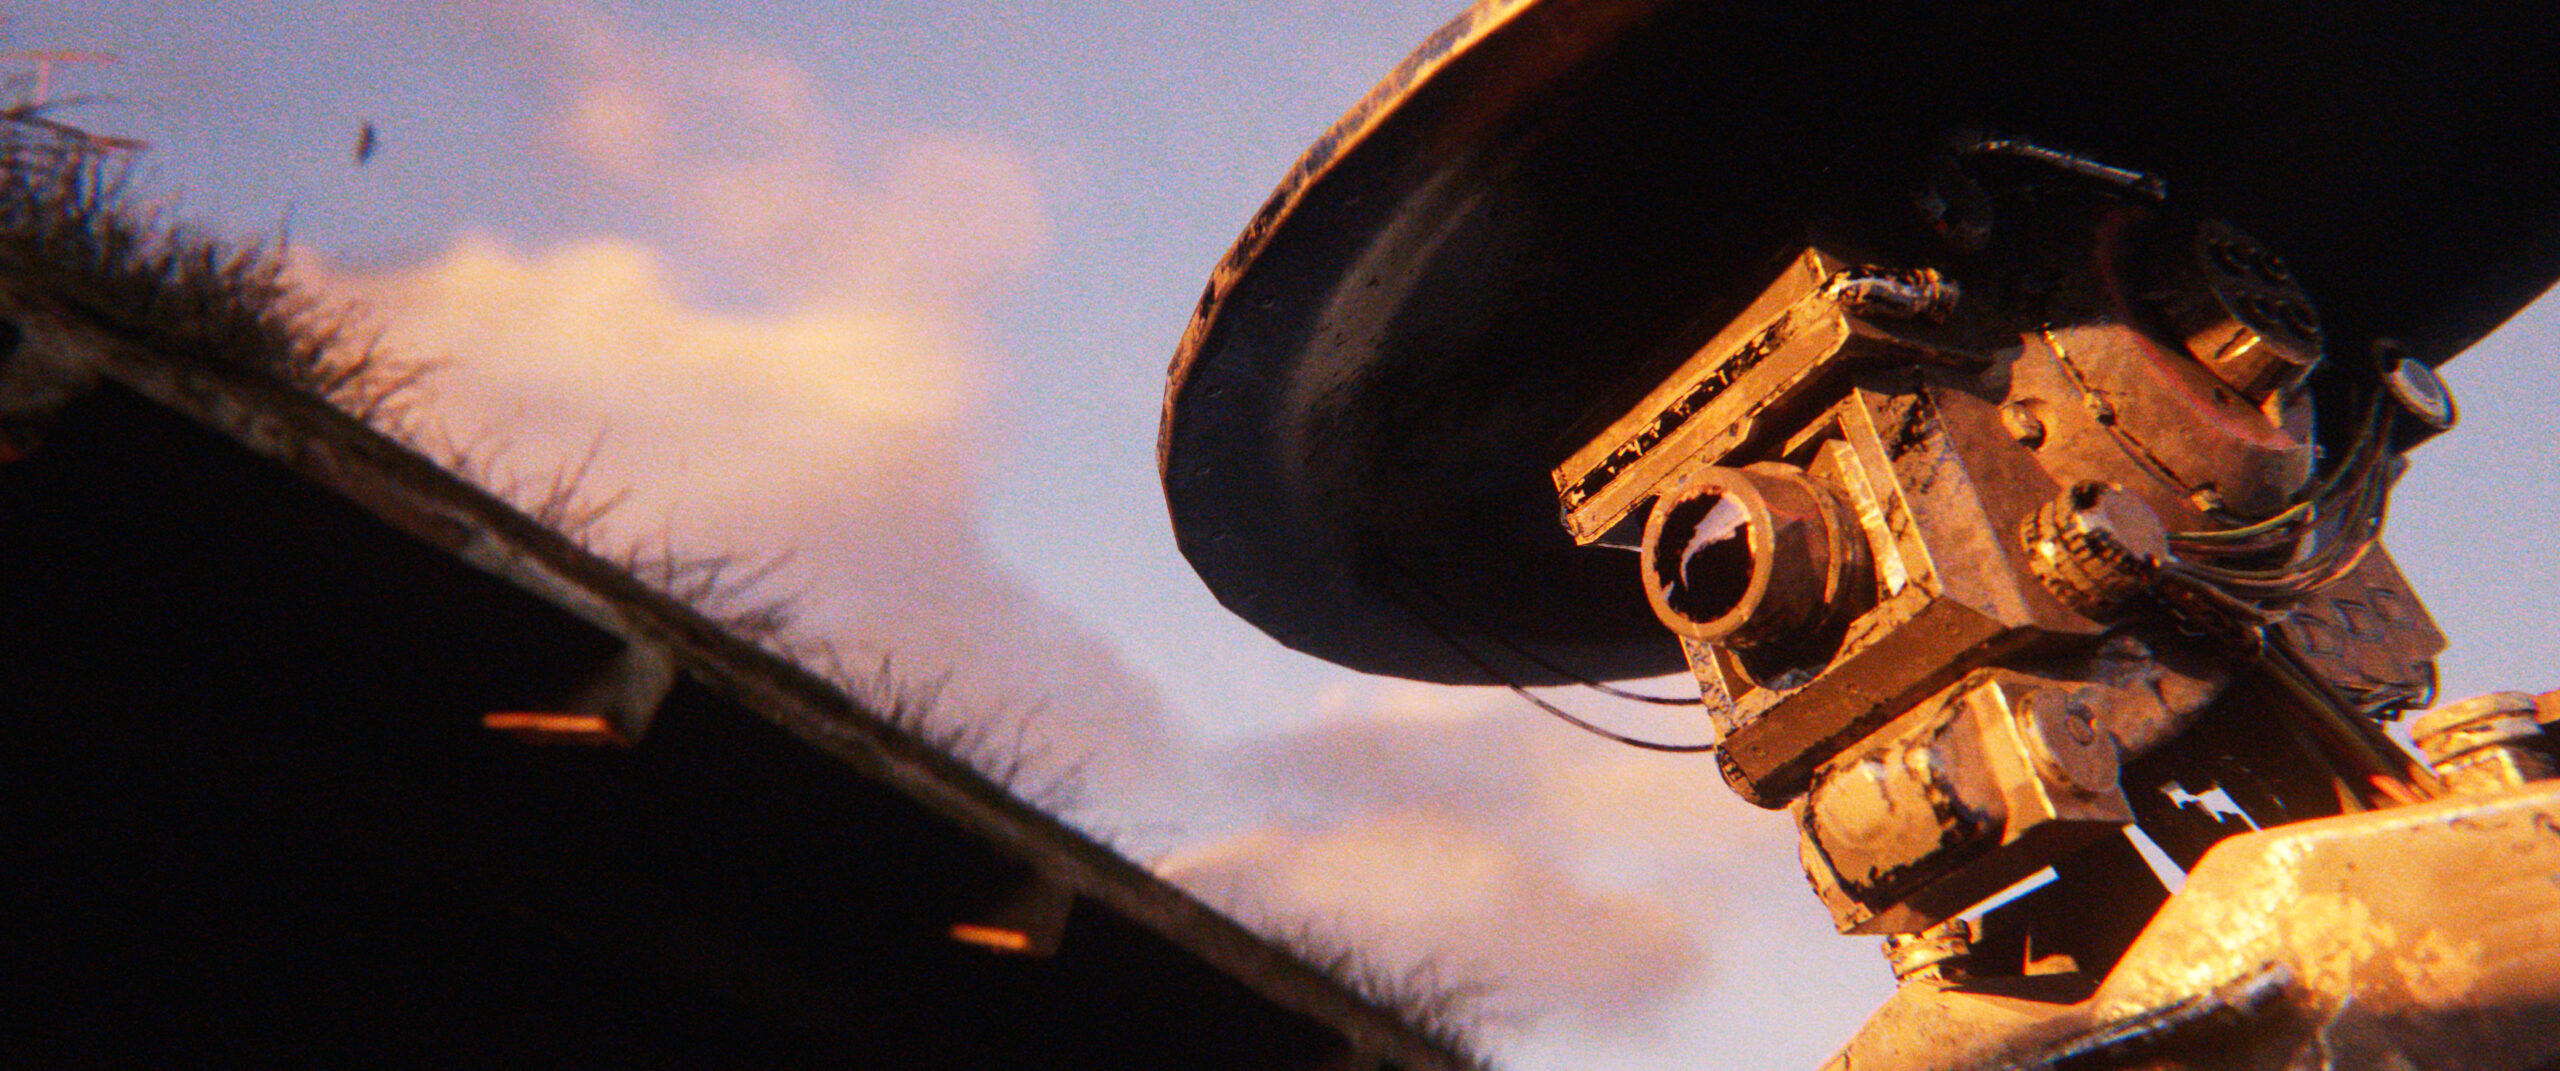
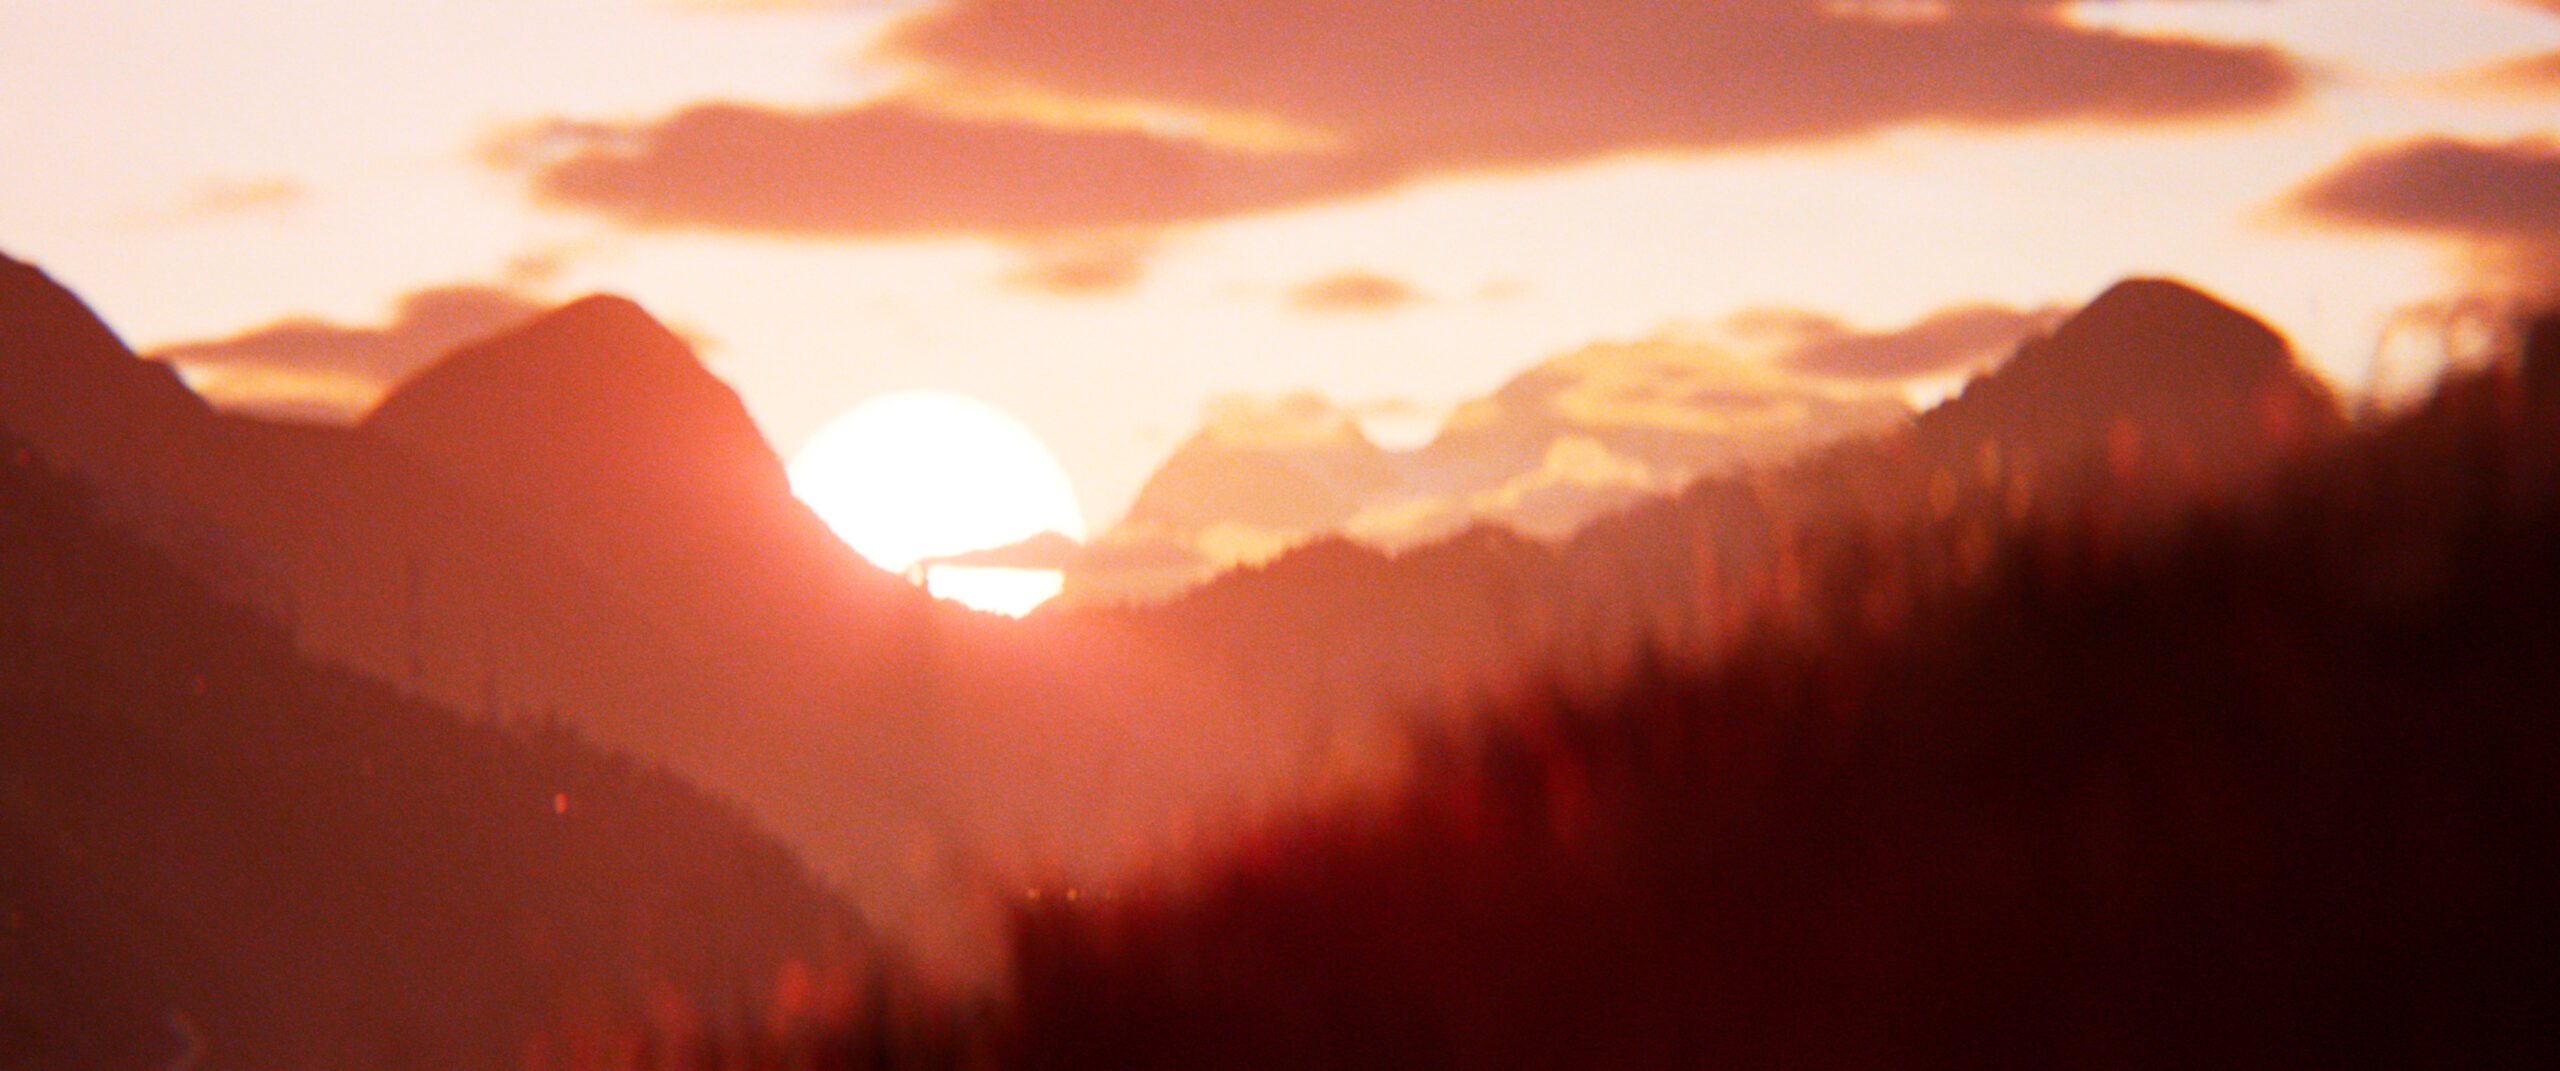
This is my top 100 submission for the Eternal Ascent (EA) Community 3D Render Challenge! This event was hosted by Clint Jones AKA Pwnisher who has been hosting 3D community challenges since 2020. I finally decided to put my skills to the test in his latest 3D render contest. The premise is for different artists to create their interpretation of the theme “Eternal Ascent” and submit their art to be part of an originally scored montage. The idea that connects all the entries is a character walking up an infinite staircase. Clint explains the challenge here and you can see my work in the top 100 montage here.
To better explain the challenge, this is the base template that every artist starts with, regardless of how they choose to create their art.
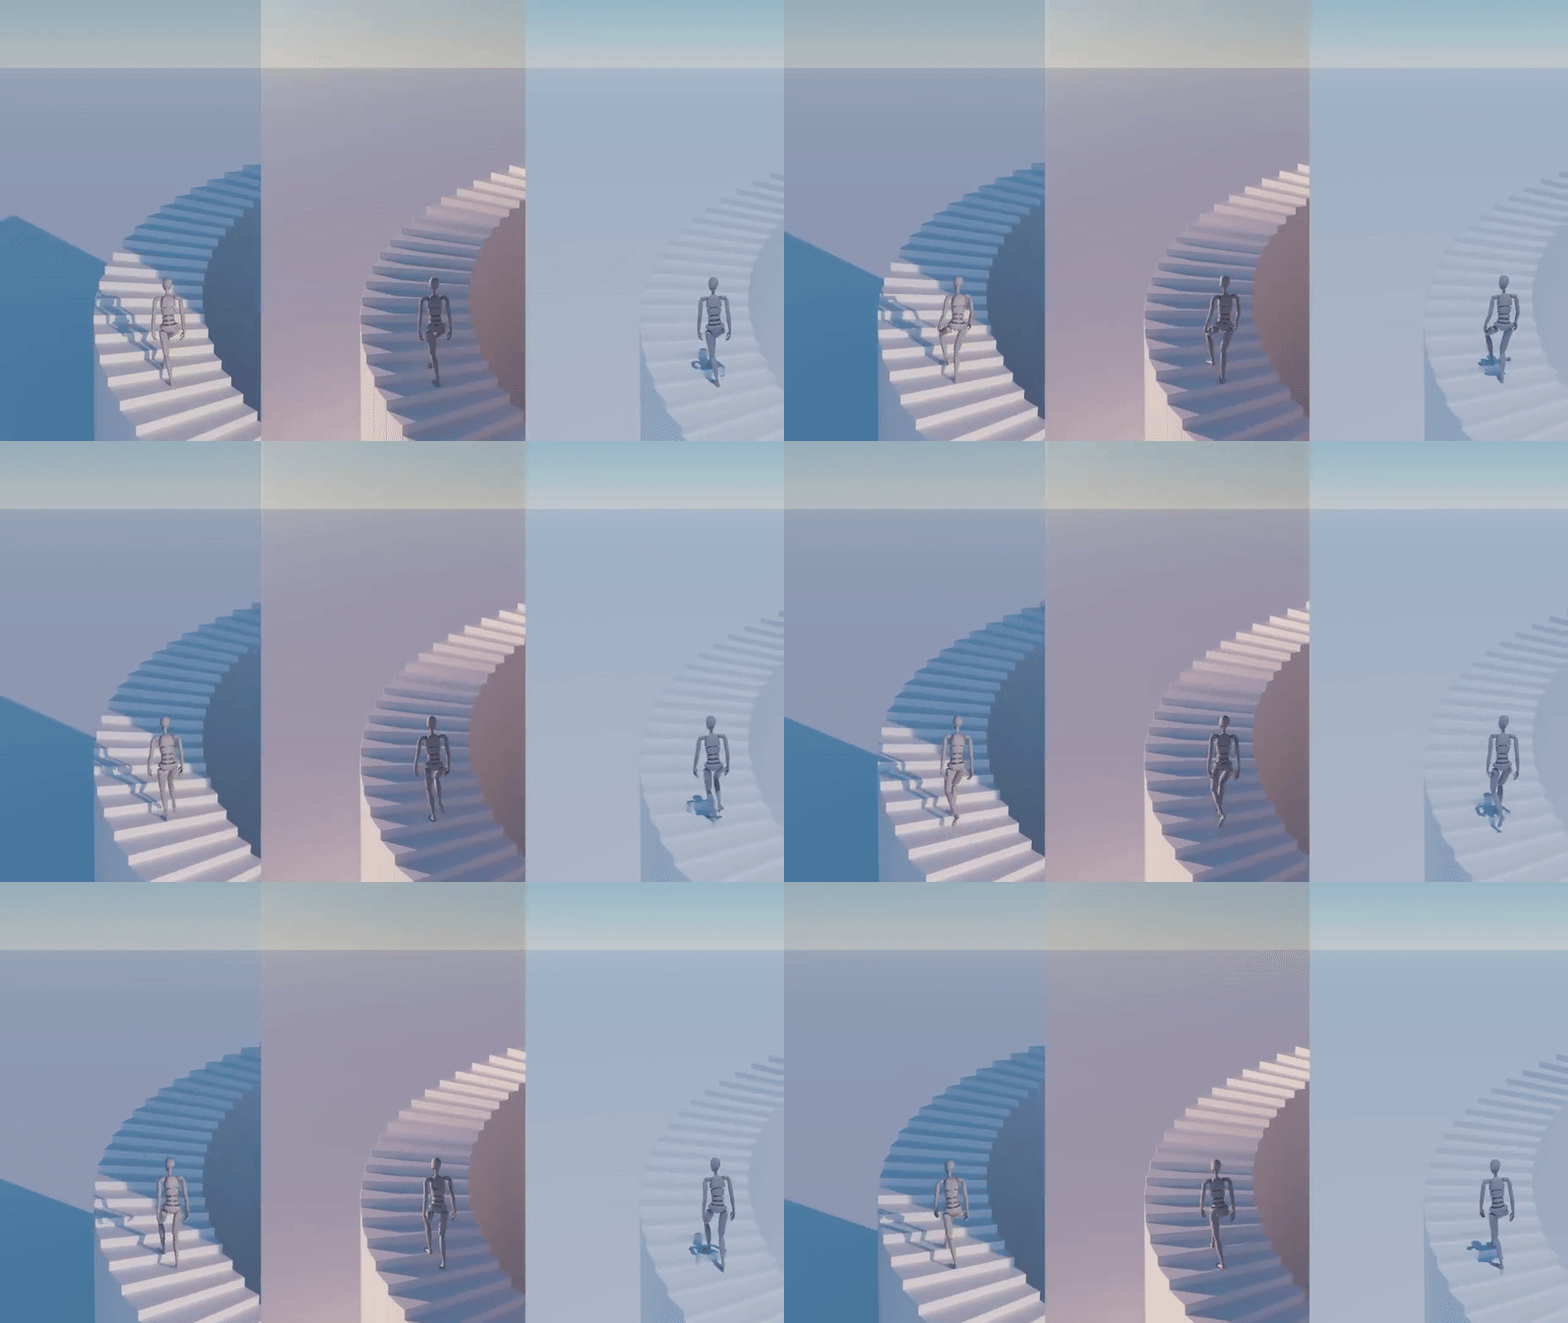
Also, there are three main rules:
1. Replace the character with your own
2. The camera has to stay the same (so that each render can seamlessly loop)
3. Maintain the visual weight of the stairs
I had been following the community challenges for the past few years and I was inspired by the hard-working artists who participated. I wanted to join in on the fun! My two main goals for the challenge were to make it into the top 100 and to continue learning Unreal Engine 5 (UE5). I had only been learning UE5 for a month, so I saw this as a great opportunity to explore and expand my knowledge of UE5.
Reference
Before beginning any project, I always gather references and create an inspiration library using PureRef. A week before starting this project, I watched The Creator which inspired me to create some sci-fi-inspired art. Here are some key reference images that helped me define the look of my work.
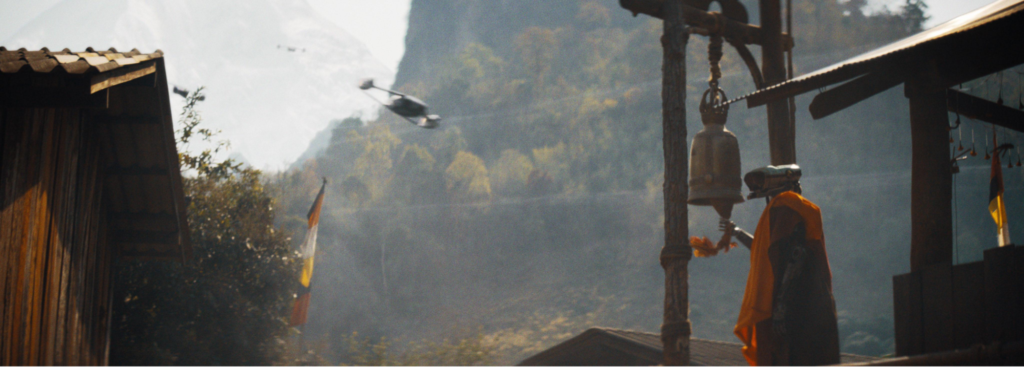
This inspired the ship flying through the valley, and all the references I collected from the movie helped define the filmic look I was going for, especially with all that nice film grain.

This Star Wars scene inspired the golden hour lighting and the sun behind the valley.
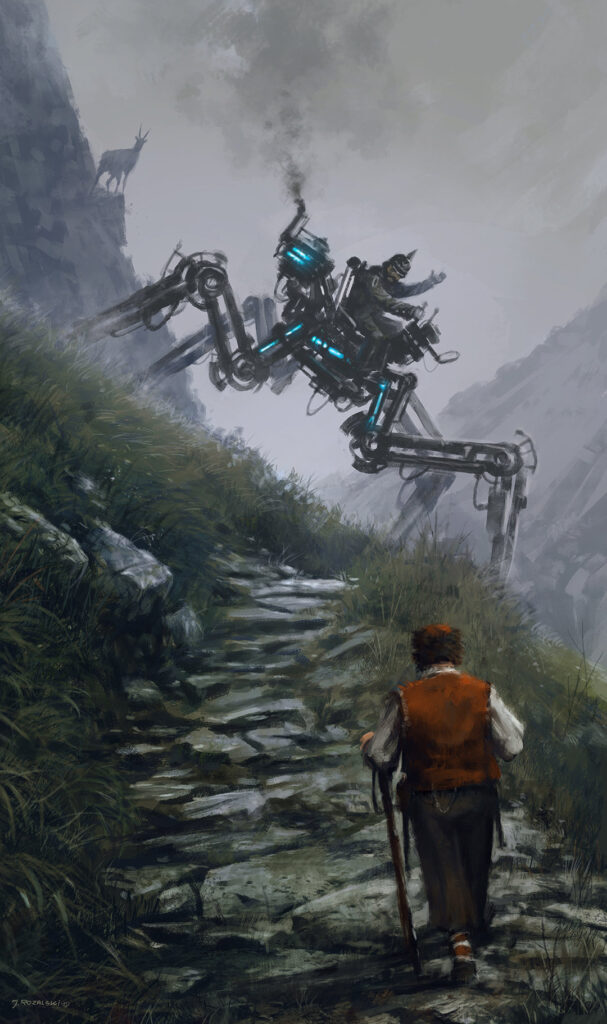
This digital painting, along with the entire book from which it originates, helped to define what a potential sci-fi mountain path could look like and served as inspiration for the design of my robot characters.
All three of these images have been digitally manipulated, which means they’re not perfect references but are great sources of creative inspiration. I made extensive use of real-world imagery, especially when creating the landscape in my work.
Learning Unreal Engine 5
I had a hard time finding high-quality learning material when I started learning UE5. With so much content available, both paid and free, it was difficult to filter through it all. Fortunately, I came across Unreal Sensei’s free 5-hour UE5 course for beginners. It was the perfect course for me and introduced me to many basic principles of how the game engine works and the reasons behind certain concepts. I highly recommend this course to anyone wanting to learn UE5 because it covers everything you need to get started and breaks down complex concepts into easily understandable pieces, all for free! After completing the course, I created this art piece using UE5.
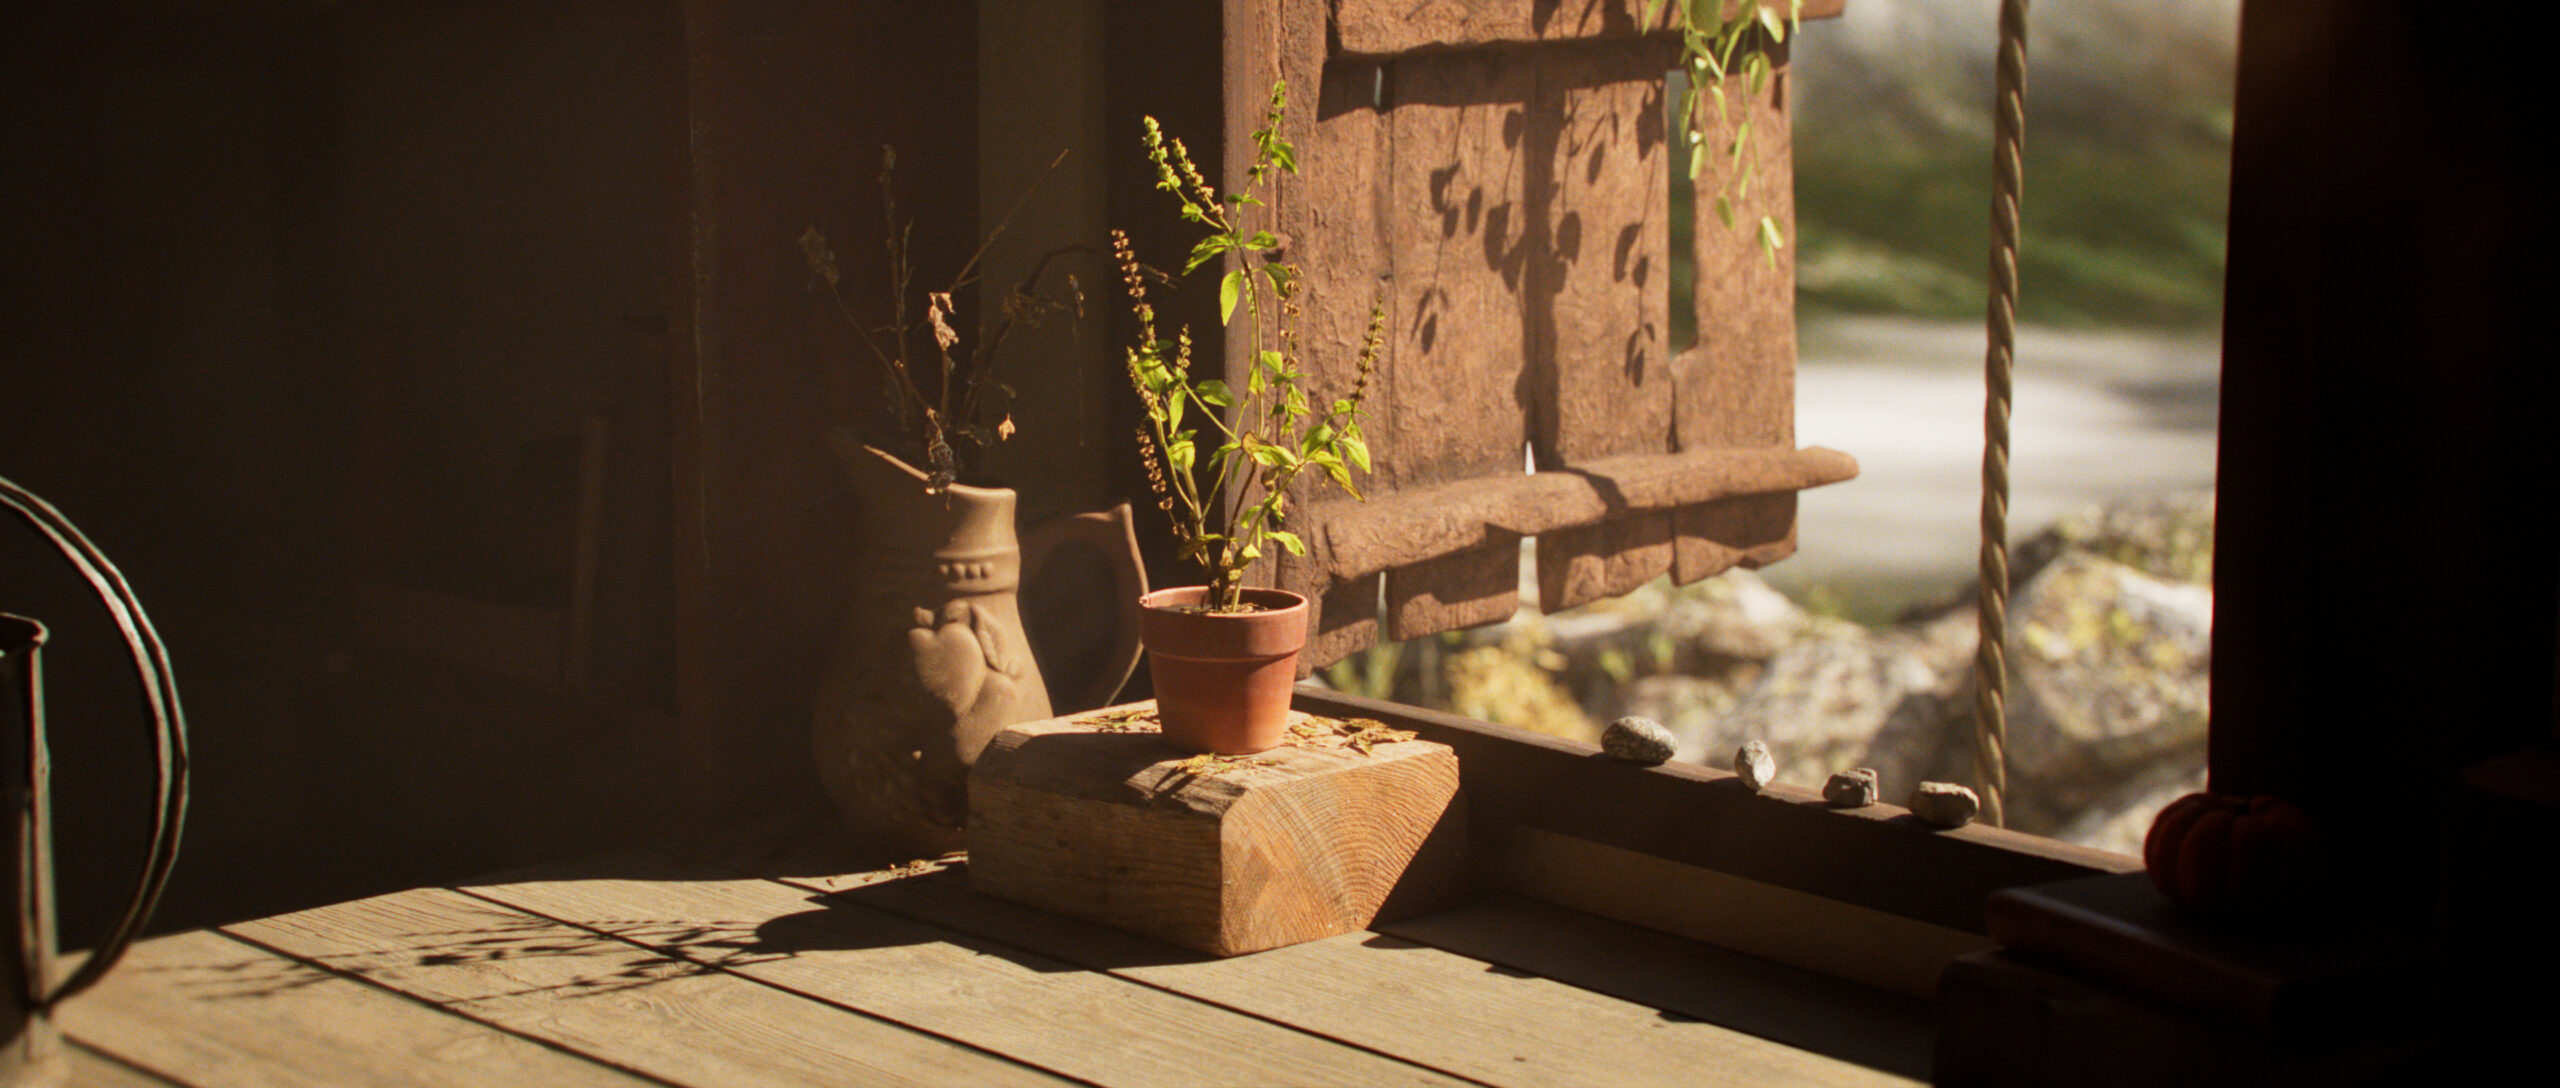
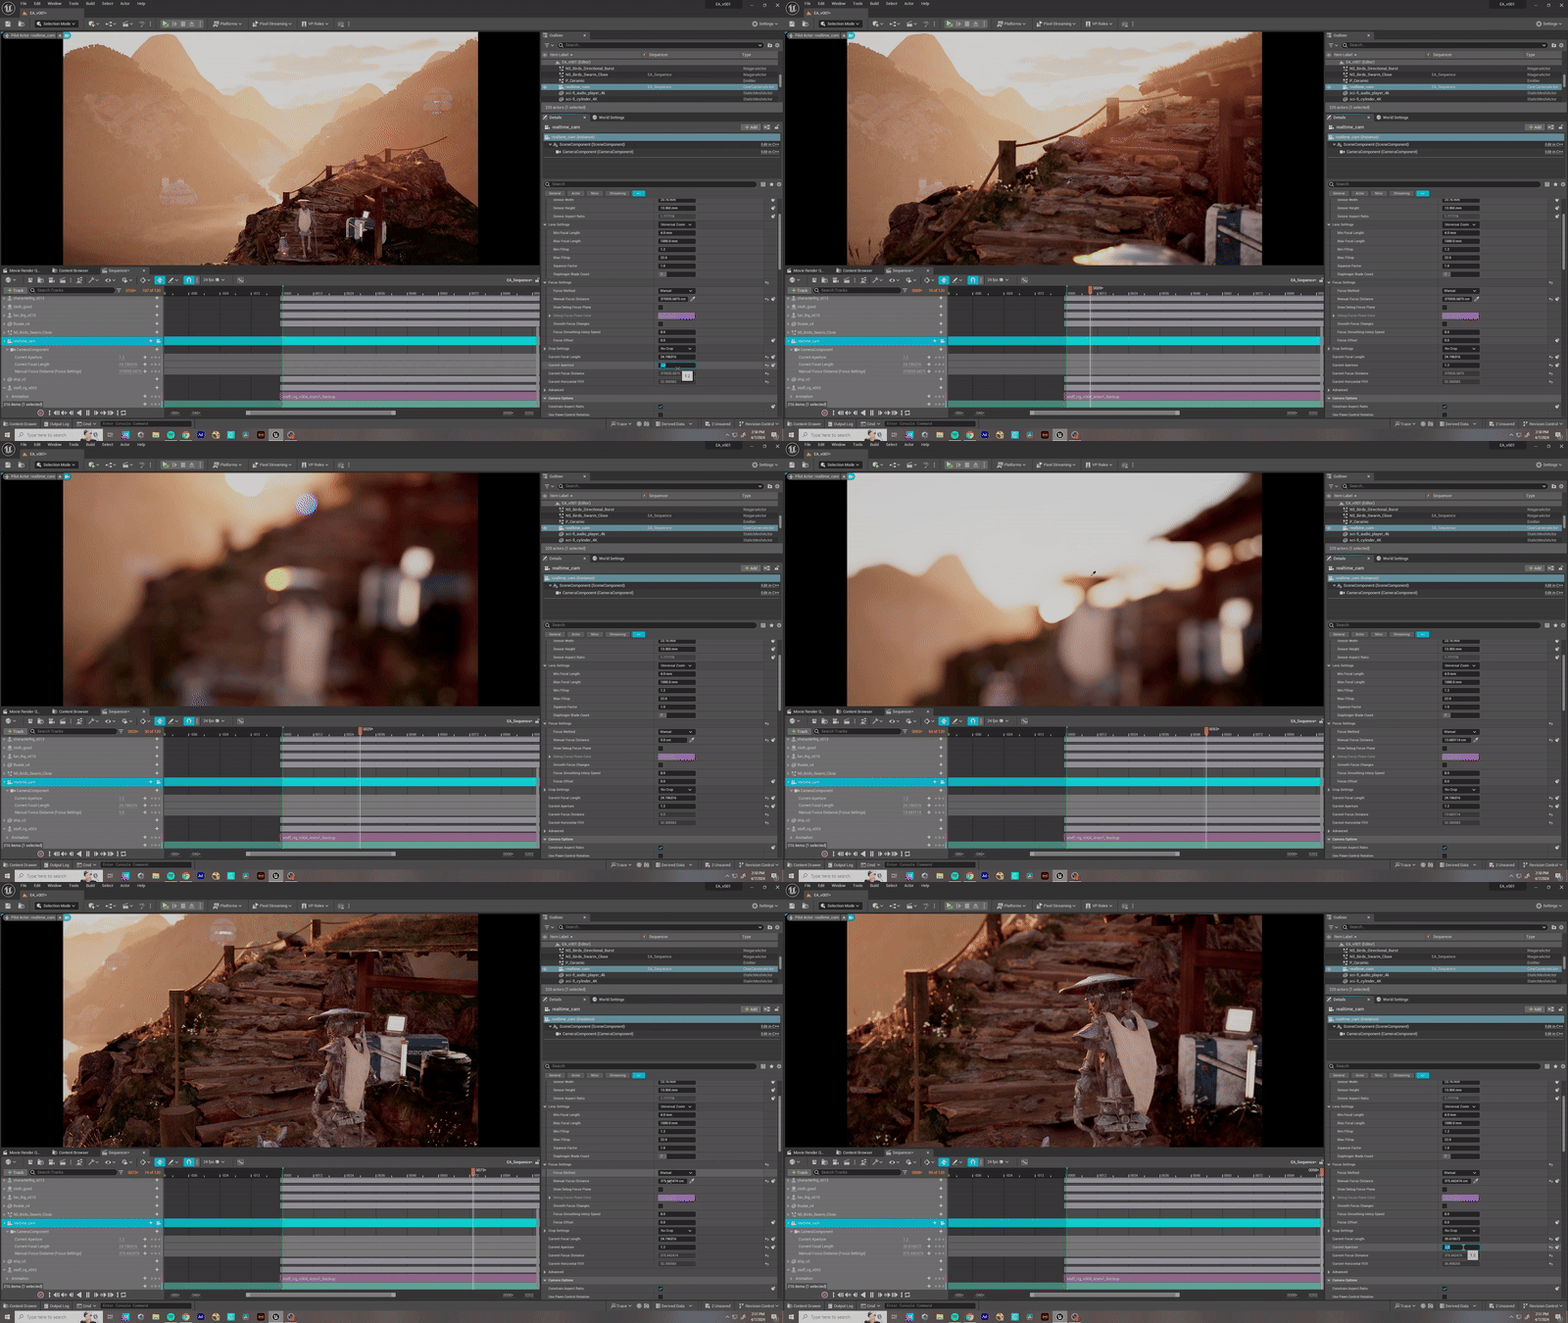
Learning Unreal Engine 5 has been a lot of fun, but it was also a little daunting at times due to the multitude of features and settings available for modification. The most useful feature, for me at least, is the ability to build, animate, texture, position the camera, and perform other actions in real-time. This is a game changer because it allows you to see the final result as you work, rather than having to wait for a render.
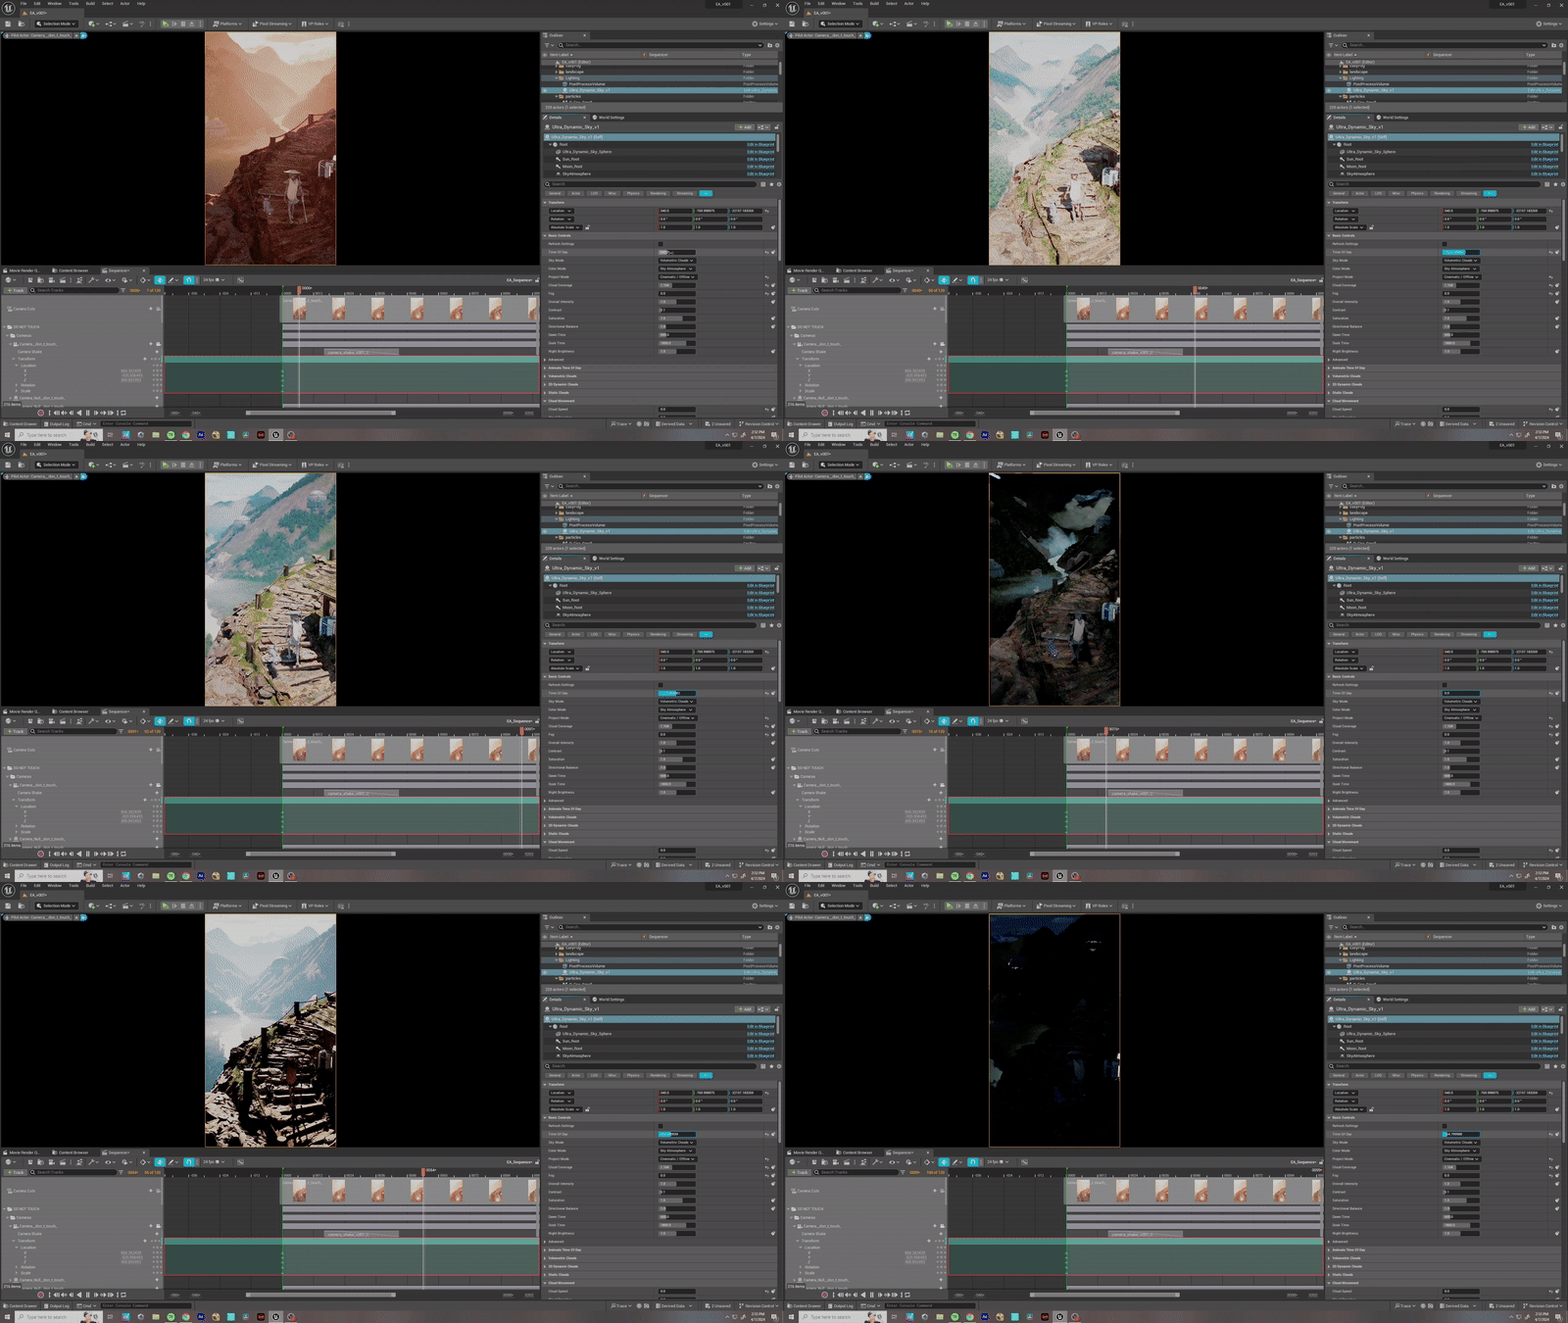
Towards the end of the challenge, I still had to render the scene into an EXR sequence, which took around 2 hours. Although I could have just let the animation play and generated a render within a few seconds, I decided to render it in 4K to capture every bit of extra resolution and detail. One of the advantages of UE5 is the Lumen lighting system, which is a fully dynamic global illumination and reflection system in real time. This feature makes it incredibly easy to experiment with different lighting setups and iterate quickly. Additionally, the Unreal Marketplace is another pro, as it allows you to easily download free or paid plugins for almost anything you need. One of the most popular plugins, Ultra Dynamic Sky plugin, helped me create the lighting setup to achieve the golden hour look.
The Project
At the beginning of the project, the first thing I did after collecting references was to create an initial landscape sculpt in UE5. Once I blocked out the landscape, I used Gaea to enhance the realism of my landscape further by utilizing the built-in noise maps to simulate erosion on the landscape.
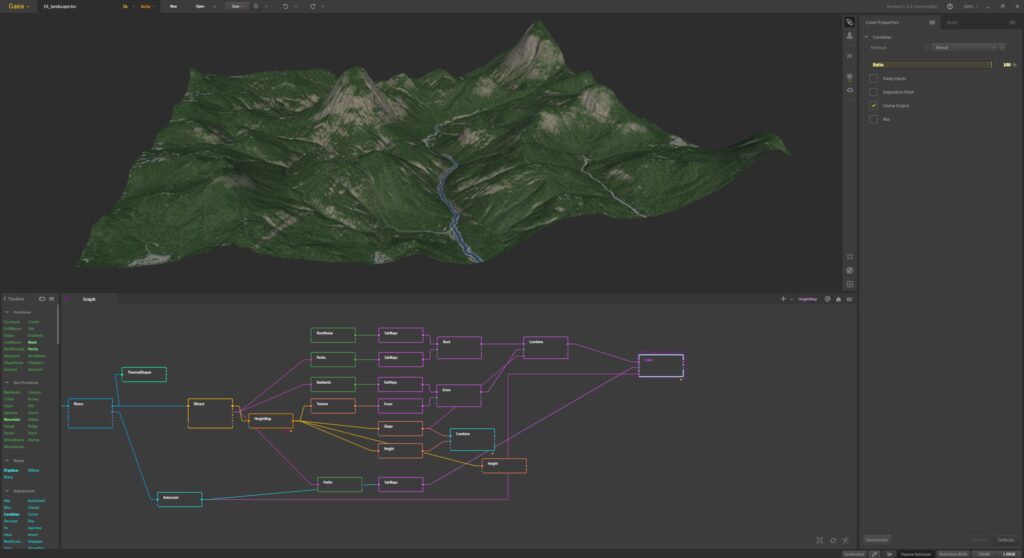
I brought the landscape back into UE5 and started adding rocks and foliage using Quixel Megascans. The scene came to life with every rock, flower, and asset I added.

One of the main aspects of my work involved my ship flying through and shaking the camera. I used a ship from one of my past projects from my time in college. Because the ship moves quickly with a lot of motion blur, the poorly modeled and textured ship worked well and saved me a lot of time.

One of the most enjoyable aspects of the project was texturing my main robot characters, which I completed using Substance Painter.
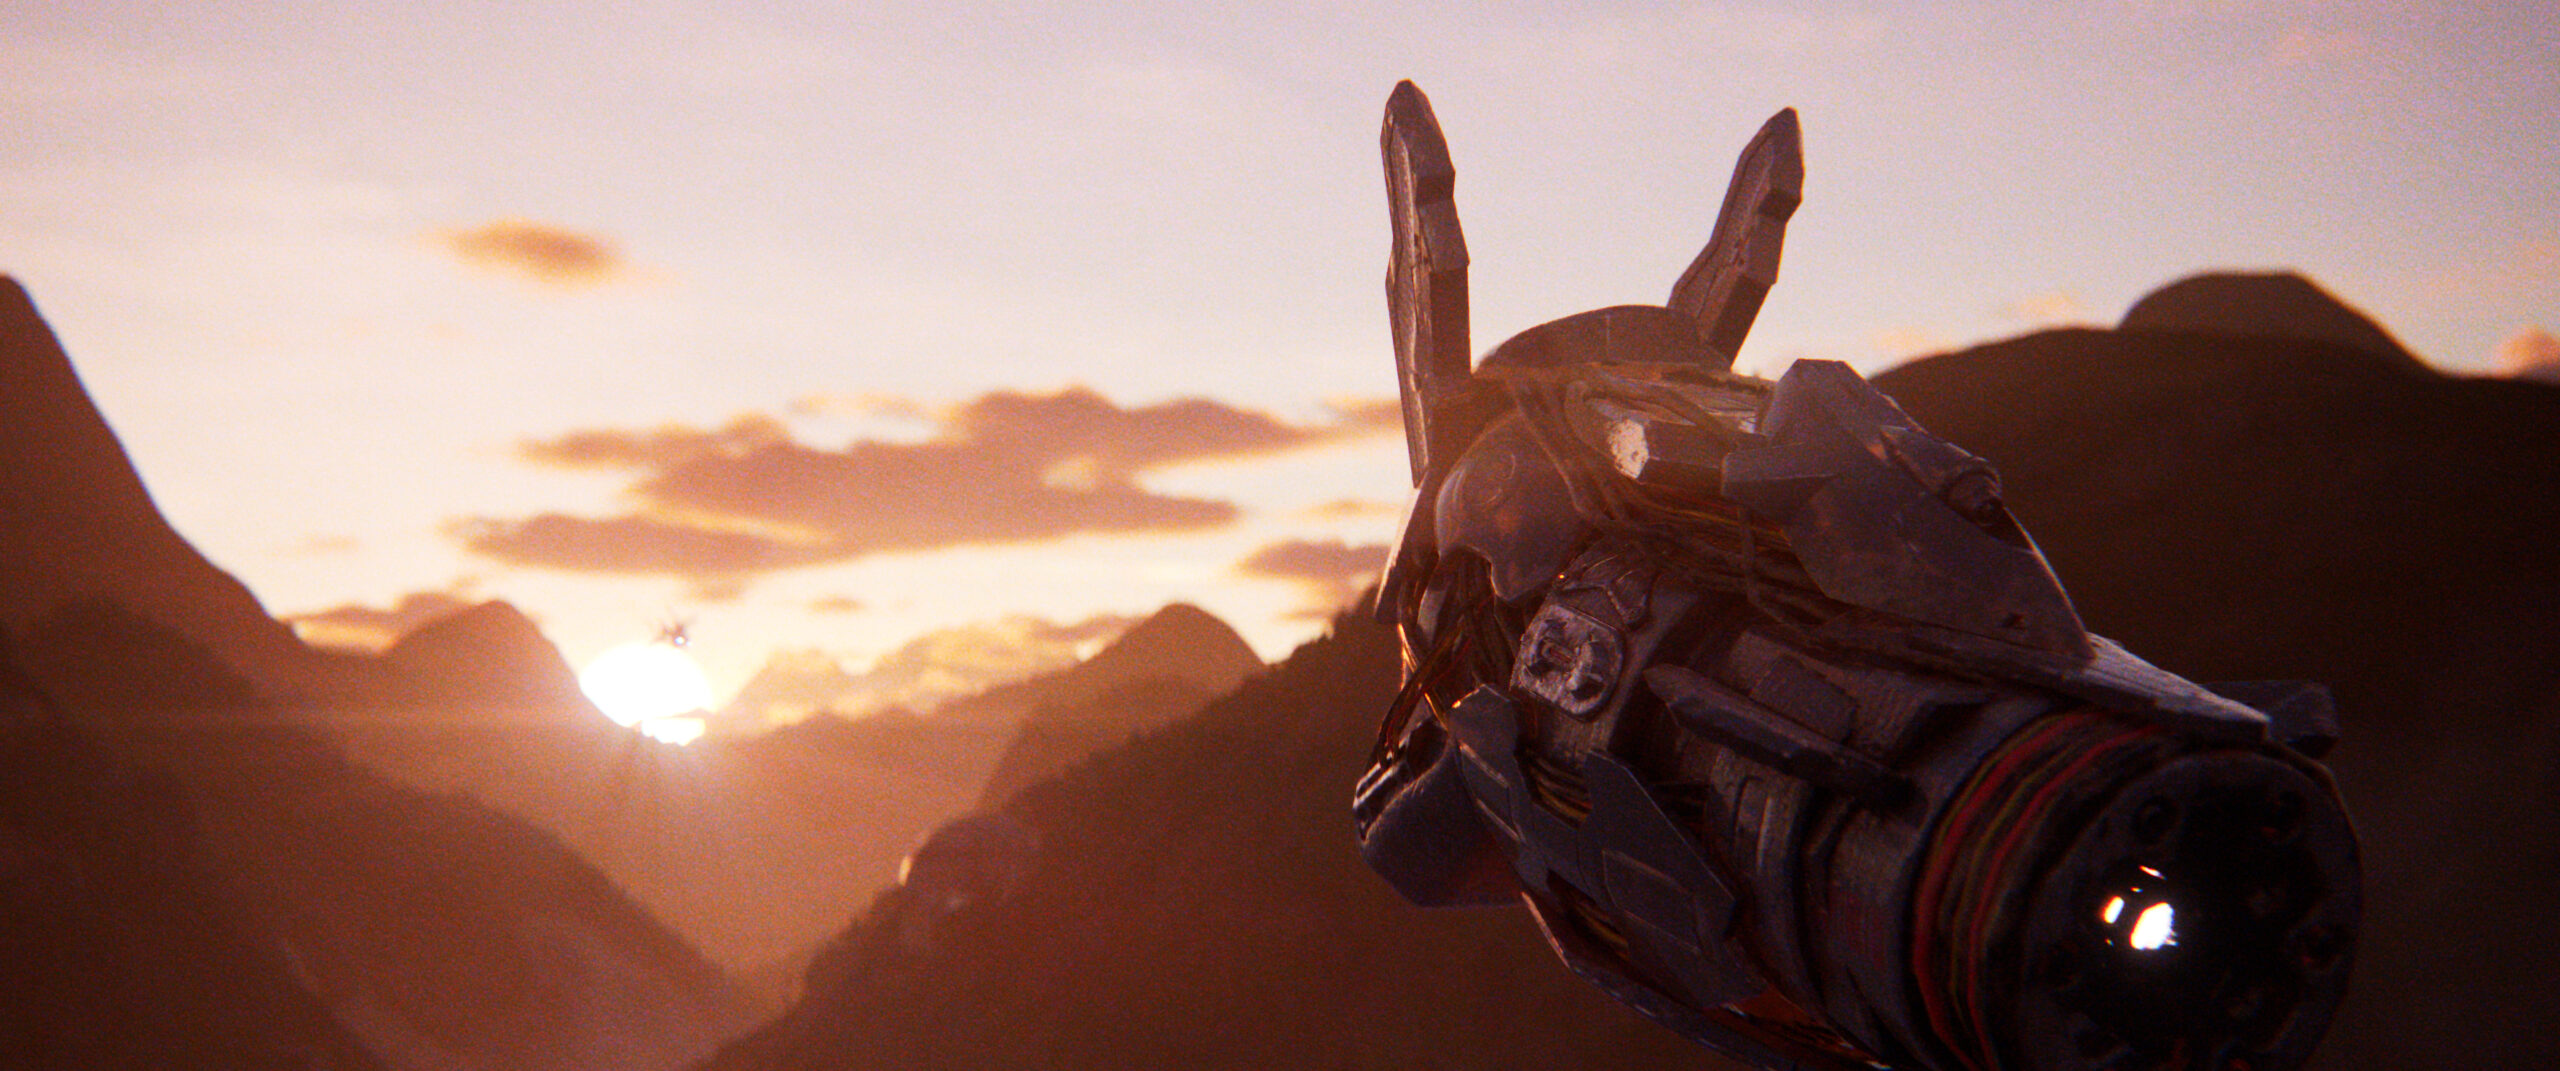
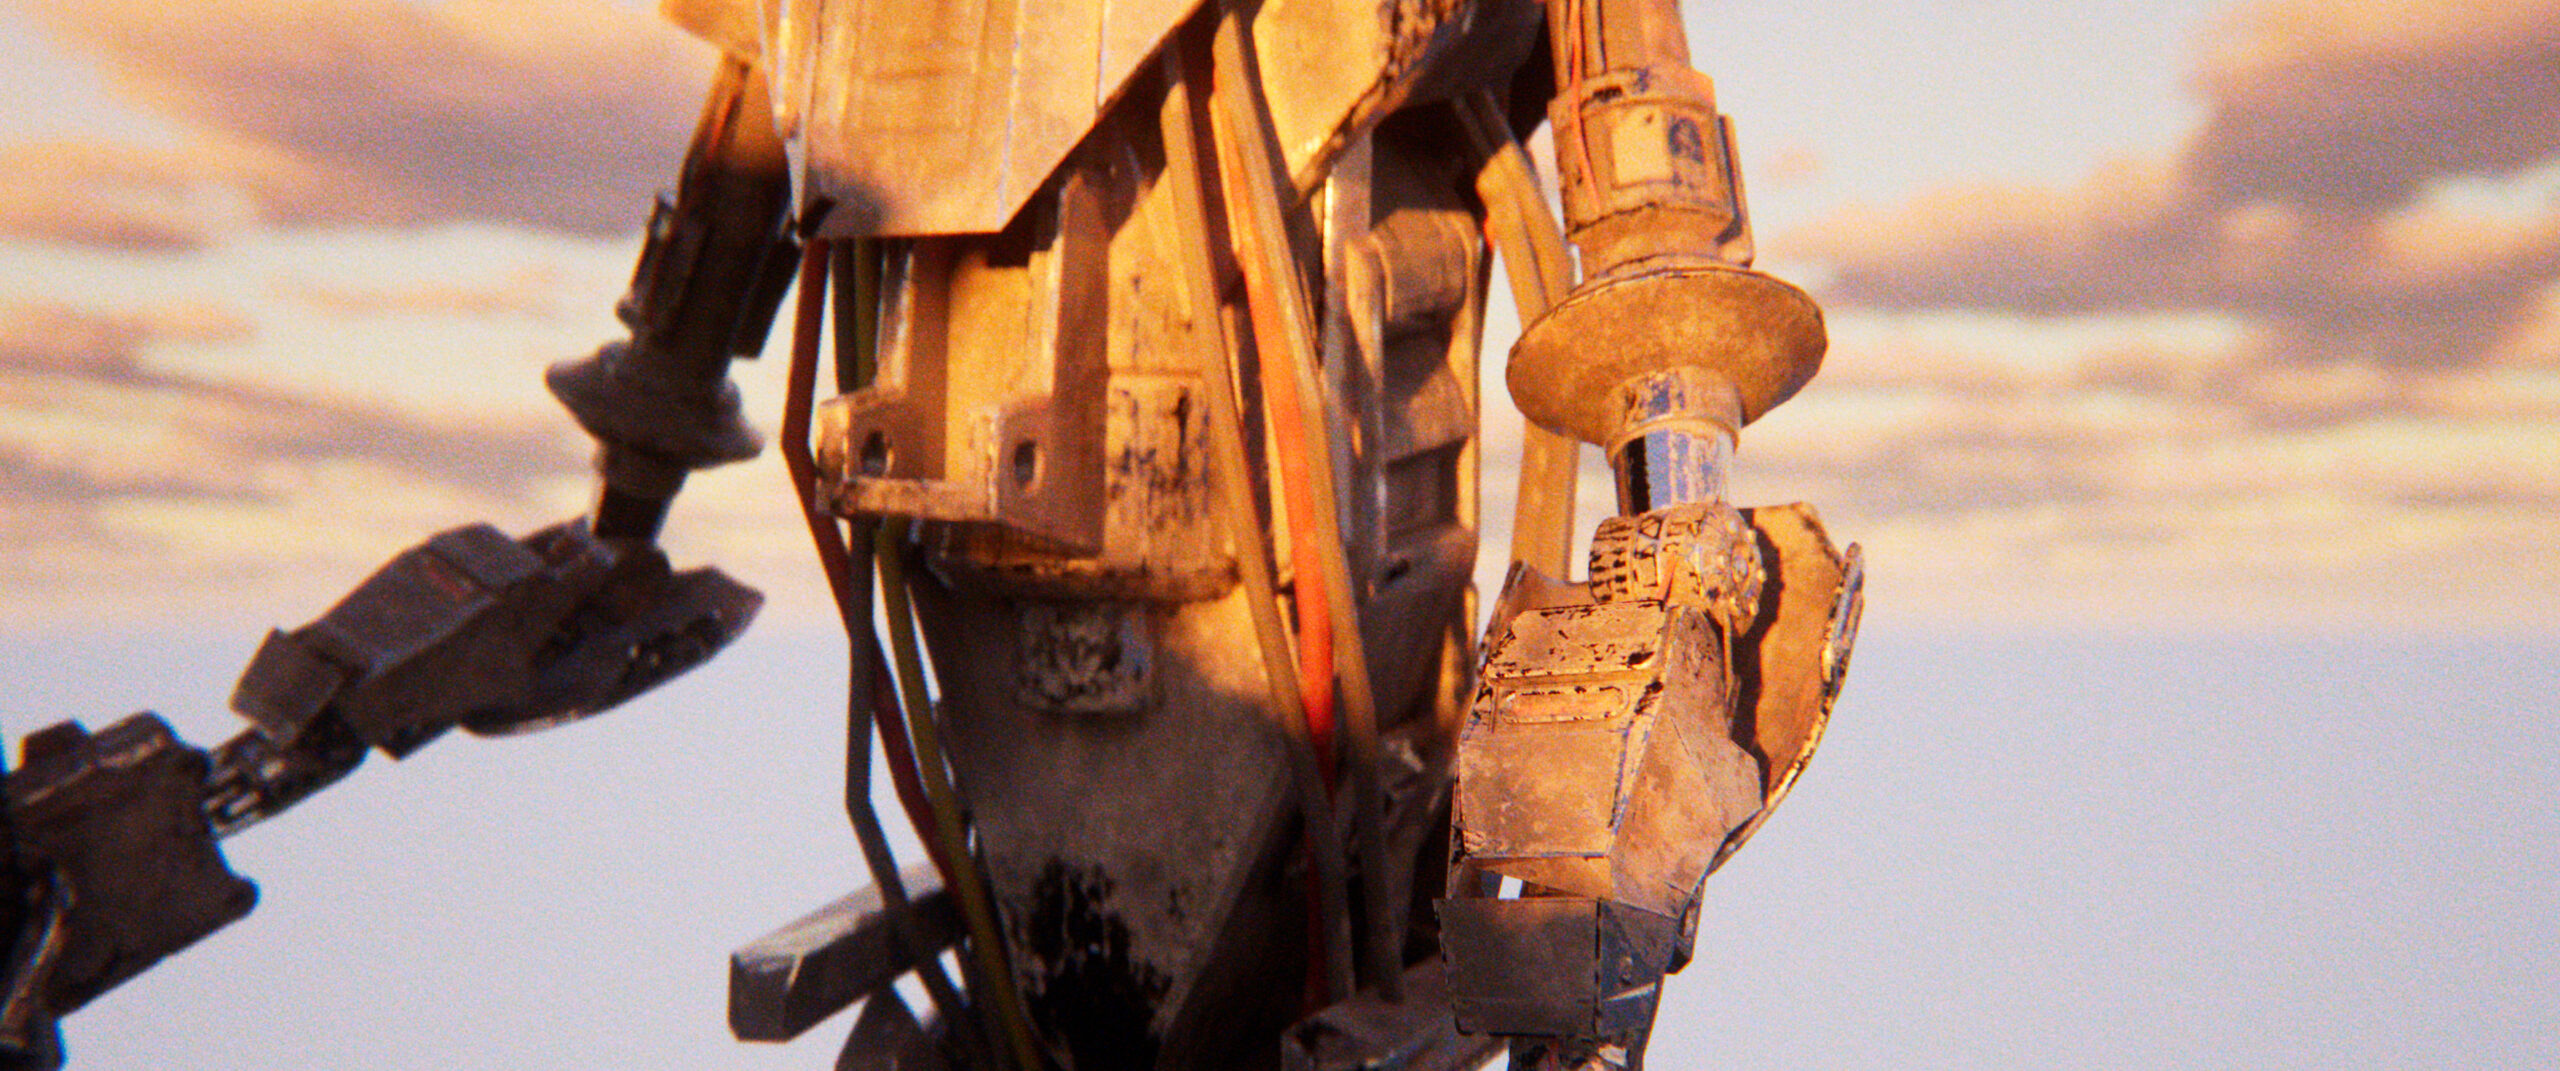
After placing and fine-tuning all the assets, I adjusted the lighting before doing the final render. Once the project was completed, I used a camera to fly around the scene and took some screenshots to showcase the work featured at the bottom of this post.
Roadblocks
While working on the challenge and trying to make the deadline, I ran into some big issues that resulted in a lot of sighs and late nights, but proved to be a huge learning experience! One of the first problems I ran into was importing assets between software. I modeled, rigged, and animated both of my characters in Maya as I was already familiar with the software, which saved me a lot of time. The big challenge was baking down the animation on the character and then exporting it as a .fbx to import into the UE5. Everything seemed fine until I realized that the animation was being interpolated differently in UE5 than in Maya. UE5 offers the option to choose between spatial and linear interpolation, but neither option produced the exact result I had animated in Maya. Ultimately, I learned that for characters used in UE5, it may be more efficient to rig and animate them directly in UE5 rather than importing them from another software.
Additionally, setting up the character in UE5 allows for full utilization of the cloth simulation system, which brings me to the next issue.The cape on the robot caused a lot of headaches because I simulated the cape in Maya using ncloth and exported it as a .abc file but could never get the cloth to fully look correct. There was a lot of wiggling around with the position of the cloth when it was brought into UE5 that didn’t exist in Maya. I even attempted to create cloth using Blender and encountered the same problem. The jerry-rig solution I came up with was to manually adjust the cloth’s position frame by frame to counteract the wiggle which worked but was quite tedious. In hindsight, I should have taken advantage of UE5’s cloth system from the start, but initially, I was hesitant to take on more than I could handle with UE5.
I had an amazing time and learned a lot with this project. I’m incredibly grateful to have been featured in the top 100 render montage! It’s so exciting to be part of a challenge that had over 2800 artists participating from 104 different countries. Some of the other artists who took part created behind-the-scenes breakdowns of their projects, and here are a few of my favorites: Ronaldo Tozzi, Manuel Peter, Frédéric Andres
