The project all started with the cigarette on the toilet. How did I get there you might ask? I can see how you would ask that, it’s certainly odd and random.
This was originally a university assignment, but I brought it back from the dead to finalize and meticulously complete it while working on my shading, lighting, and compositing skills. With this project, I focused on the aesthetic form of the cigarette rather than its other traits. One of the core curiosities with this project was exploring how a cigarette is viewed within various environments. This leads to the question: Is perspective a matter of surroundings? How can a cigarette that is proven to cause cancer and many other bad things be so aesthetically pleasing? This was the main idea my sequence of images centered around.
Idea Phase
There was an assignment called The Pleasure Chart for a class I was in during my last semester. Sounds scandalous but it was a piece of paper with a line drawn down the center with good things I’ve experienced on the left and bad things on the right. At the bottom of the paper, I started pairing things together and eventually got the pairing of a “cigarette in the laundry machine” with “the bottom of the toilet”. I finally got to the idea that a cigarette on a toilet sounds odd and that it would be an interesting topic to explore.
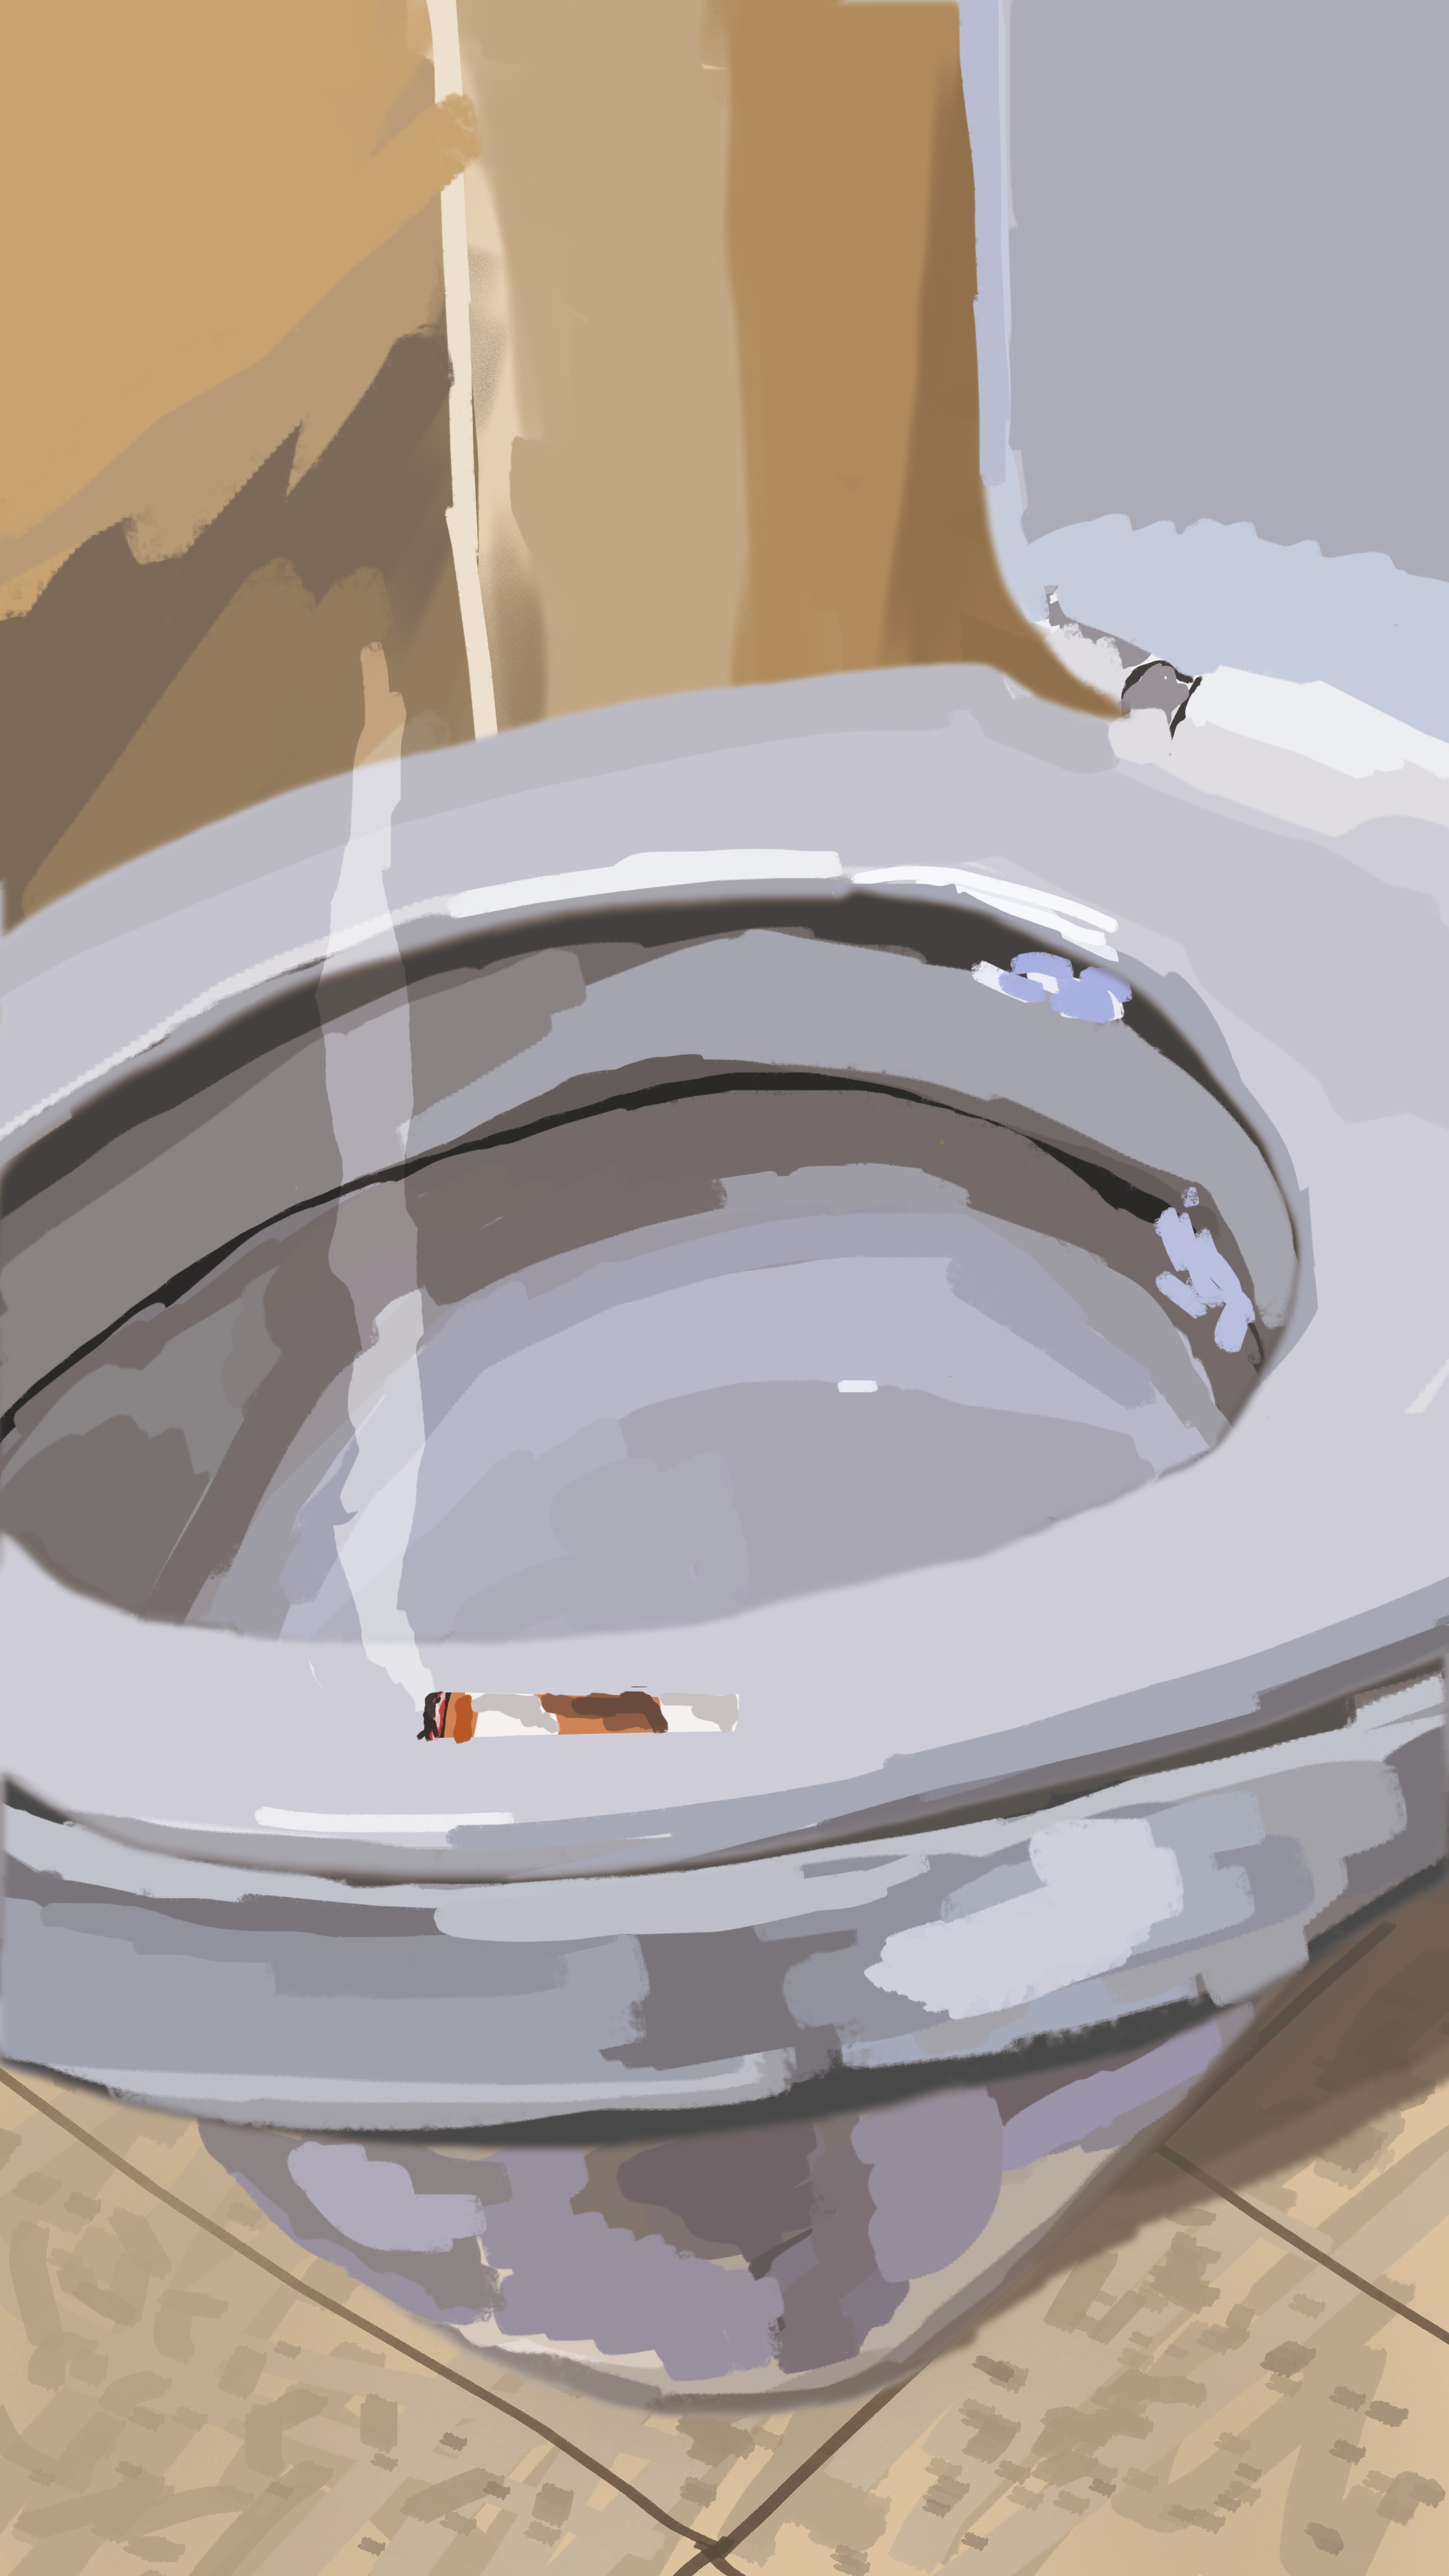
A crude sketch, but it definitely got the idea in my head down onto paper, digital paper, and out of my head. At the time, I was watching and looking at a lot of Alberto Miguel’s work, and that helped to define the style of the sketch. From there I did an extensive array of thumbnail sketches to find different compositions that might work. While doing those I gather reference material in a neat tool called PureRef. This is a must-have tool for any digital artist.
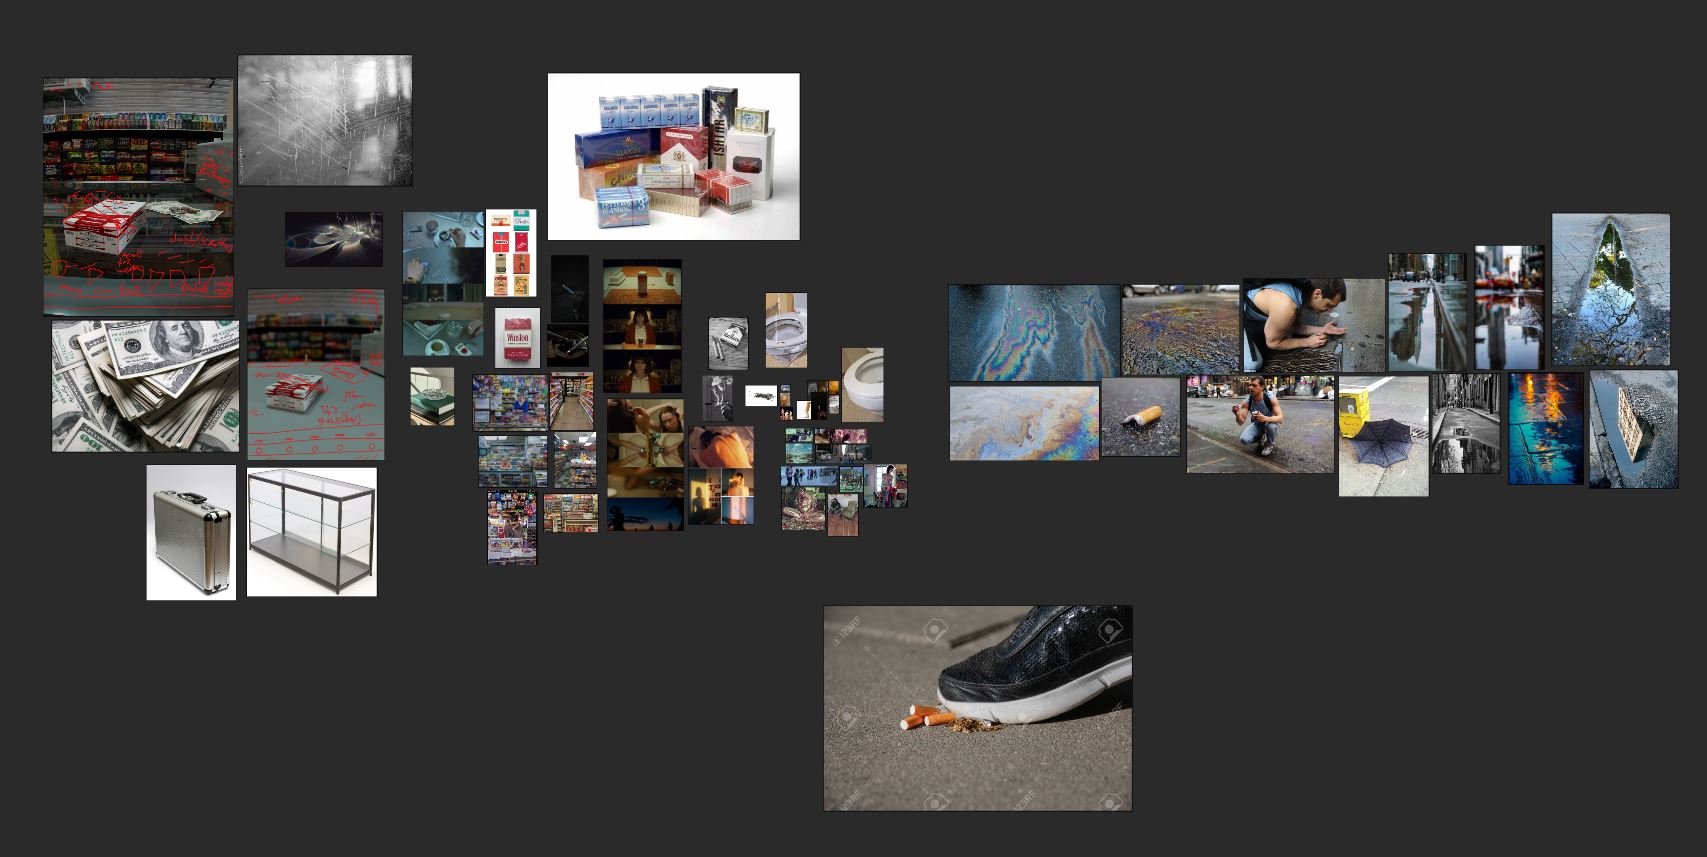
The layout could be more organized, but when I’m using it for idea generation as well as real-world reference, it helps to have a mish-mash or collage of images together.
Production Phase
After the idea stage, I dove head-first into the production phase. I knew my hero element was the cigarette itself, so that had to be the most realistic asset. I went out to a local park and found some old cigarettes and scanned them using RealityCapture which basically takes a bunch of your photos from different angles and combines them all into a single 3d model that has textures. It’s hard to get closer to reality than that within the digital space. Also, the nice thing about photogrammetry is that it gets you outside and off the computer! The diffuse texture from RealityCapture ended up looking like this.
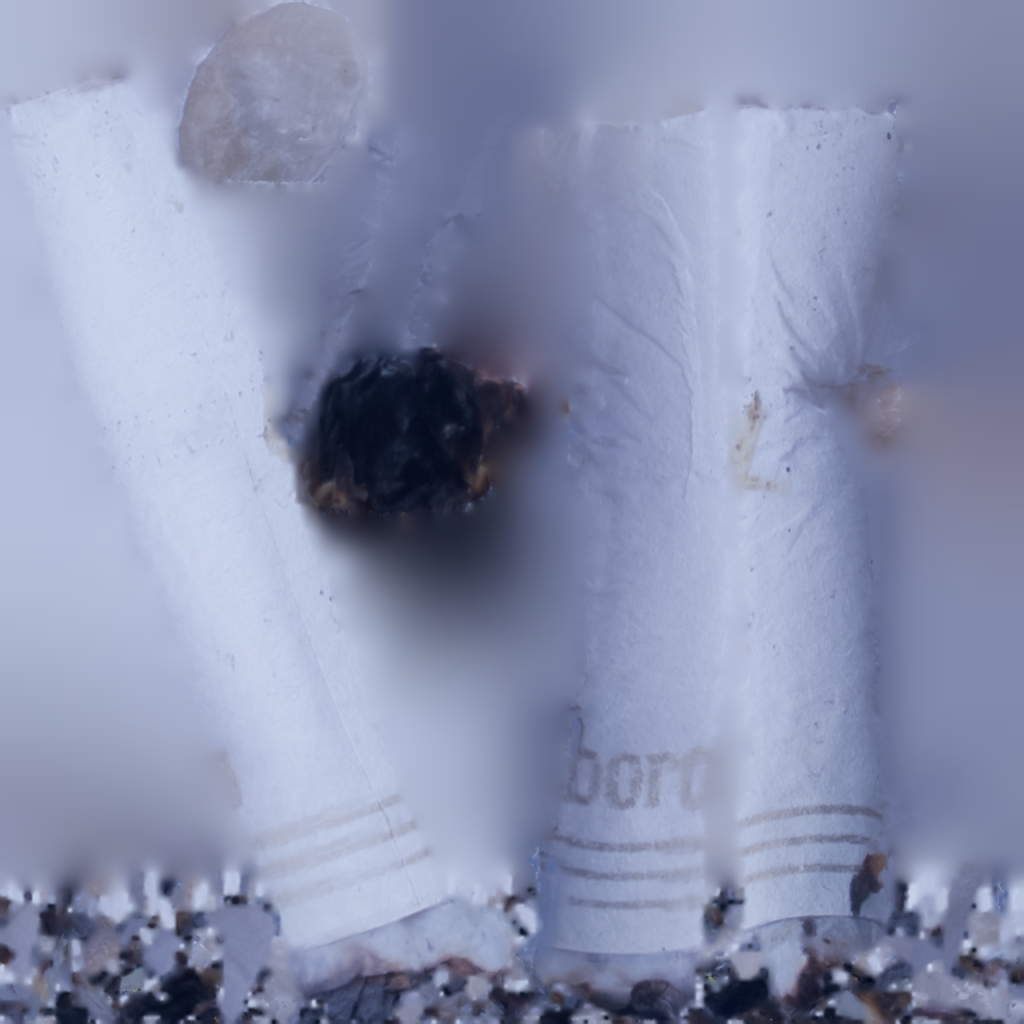
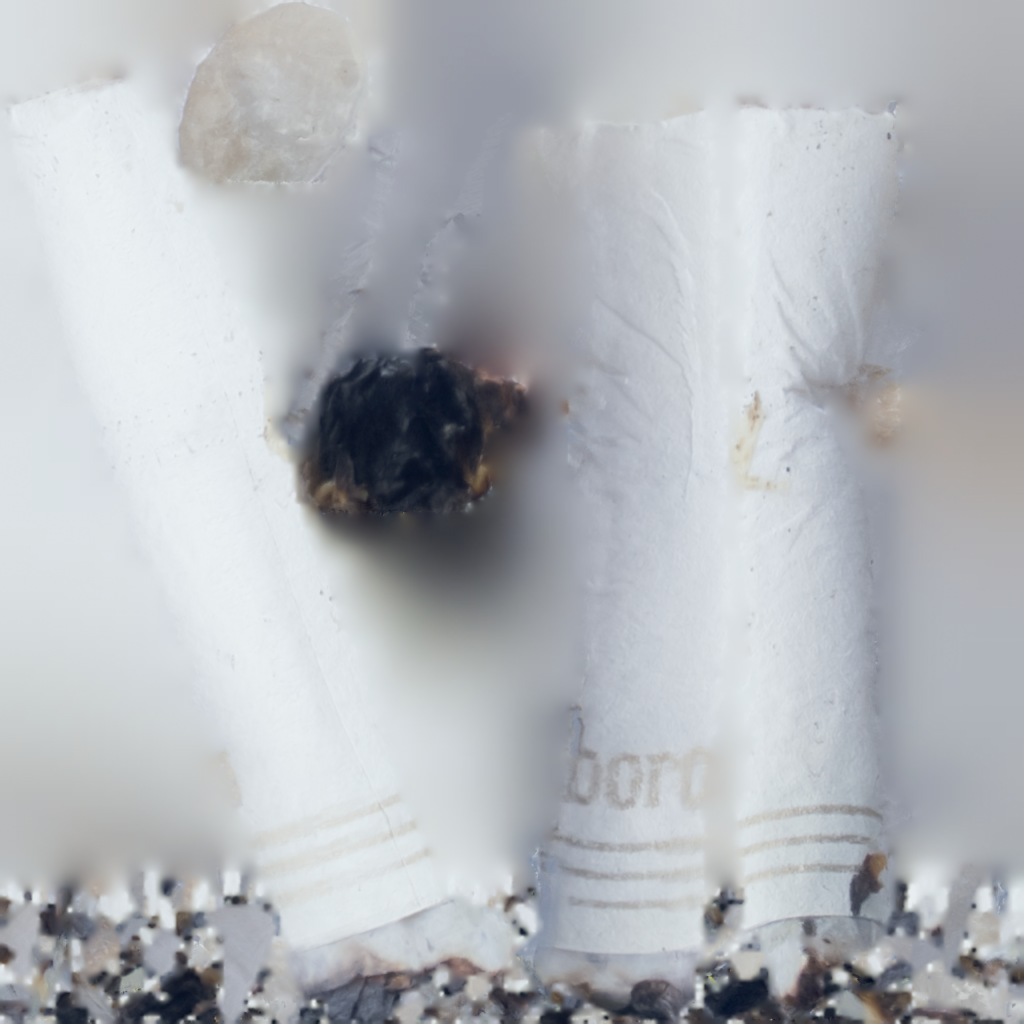
The left is before color correction and the right is after some color corrections to make the texture neutral so that it can work for all the other scenes.
Next, I dove into Maya and got to work by blocking out some of the scenes. I added models and materials and started rendering with all the needed AOV passes. Then I go into Nuke and piece the AOV passes back together and refine the composition. I usually go back and forth between a new render and working in Nuke till I get something I can take all the way to the final image. It would take too long to talk about each step in detail, so I’ll talk about a few specific topics for each of the four images.
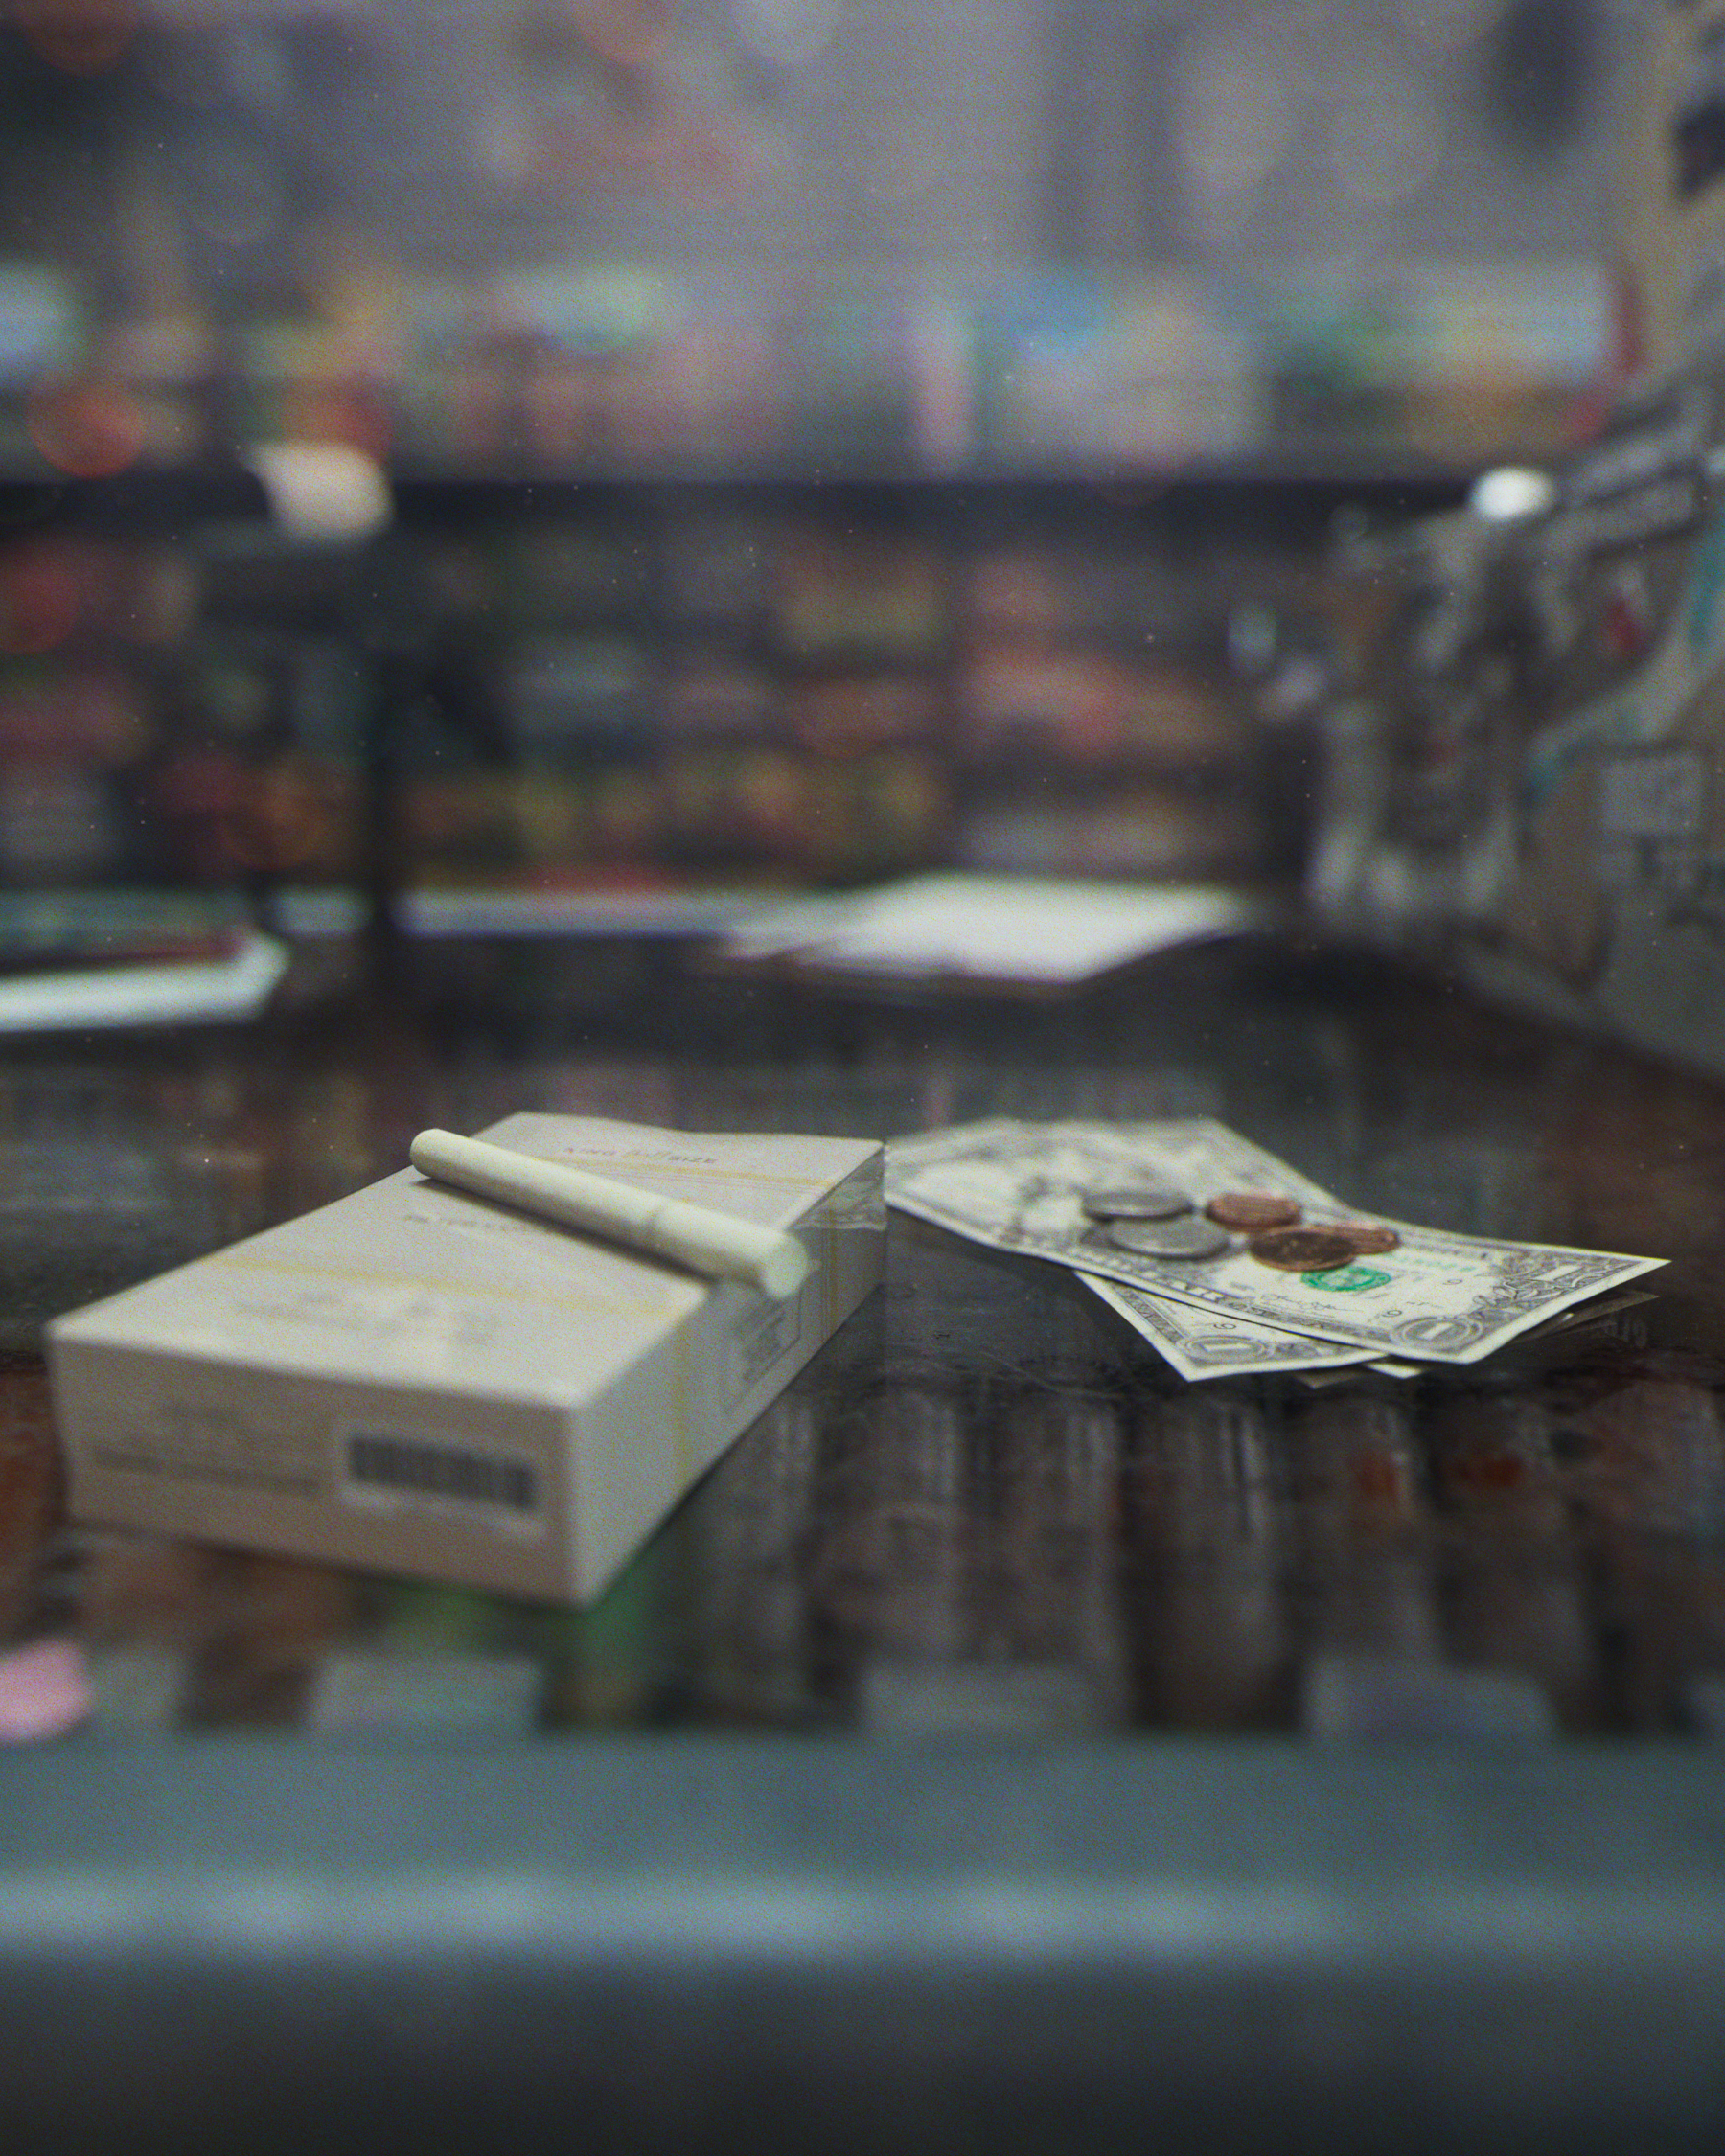
Gas Station
The first image of the life cycle of a cigarette is in a gas station. It’s first up in the sequence because you buy a cigarette at a store before using it: simple. A dimly lit cool white fluorescent light flickers above the counter as a pack of cigarettes is purchased for $5.55.
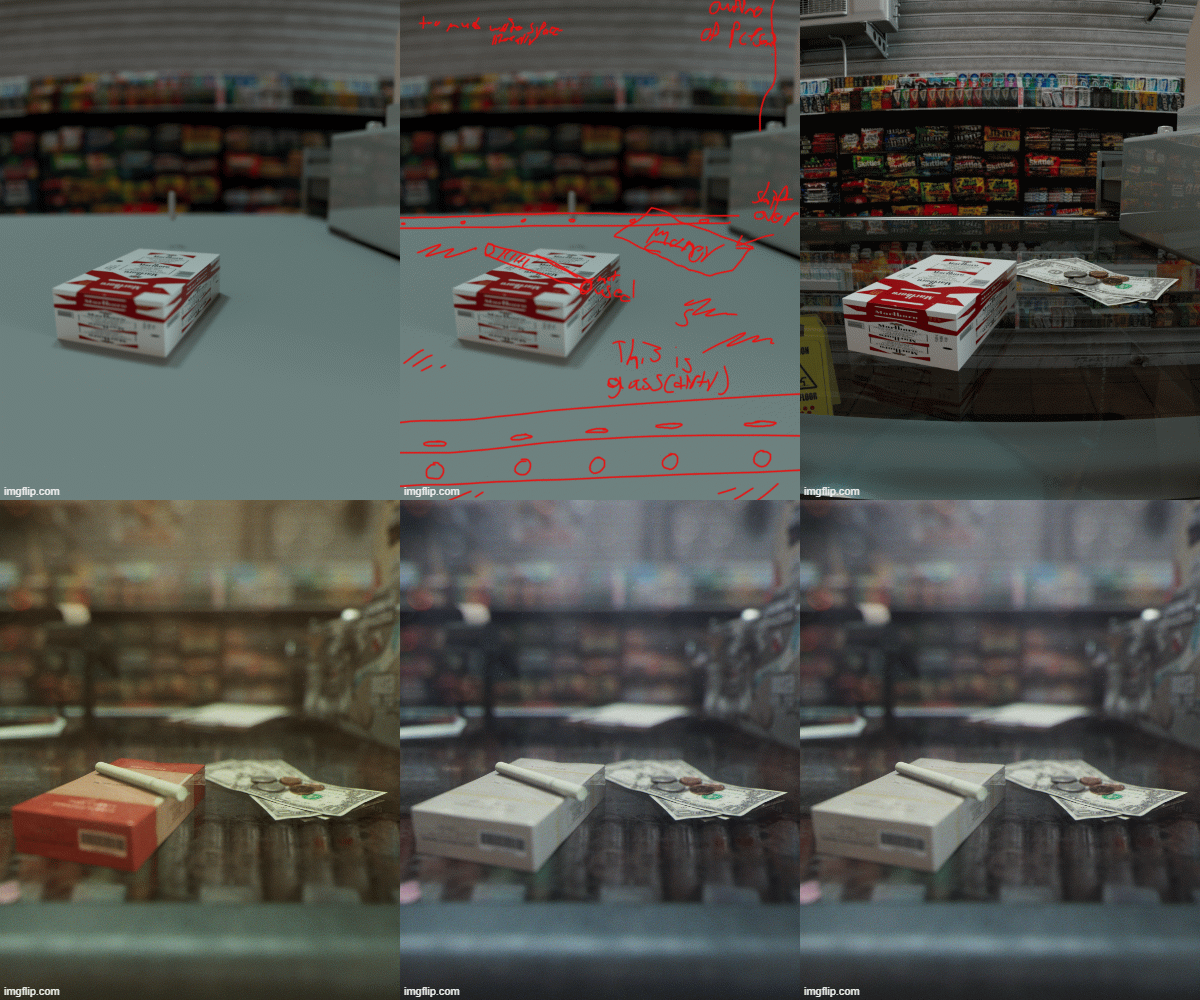

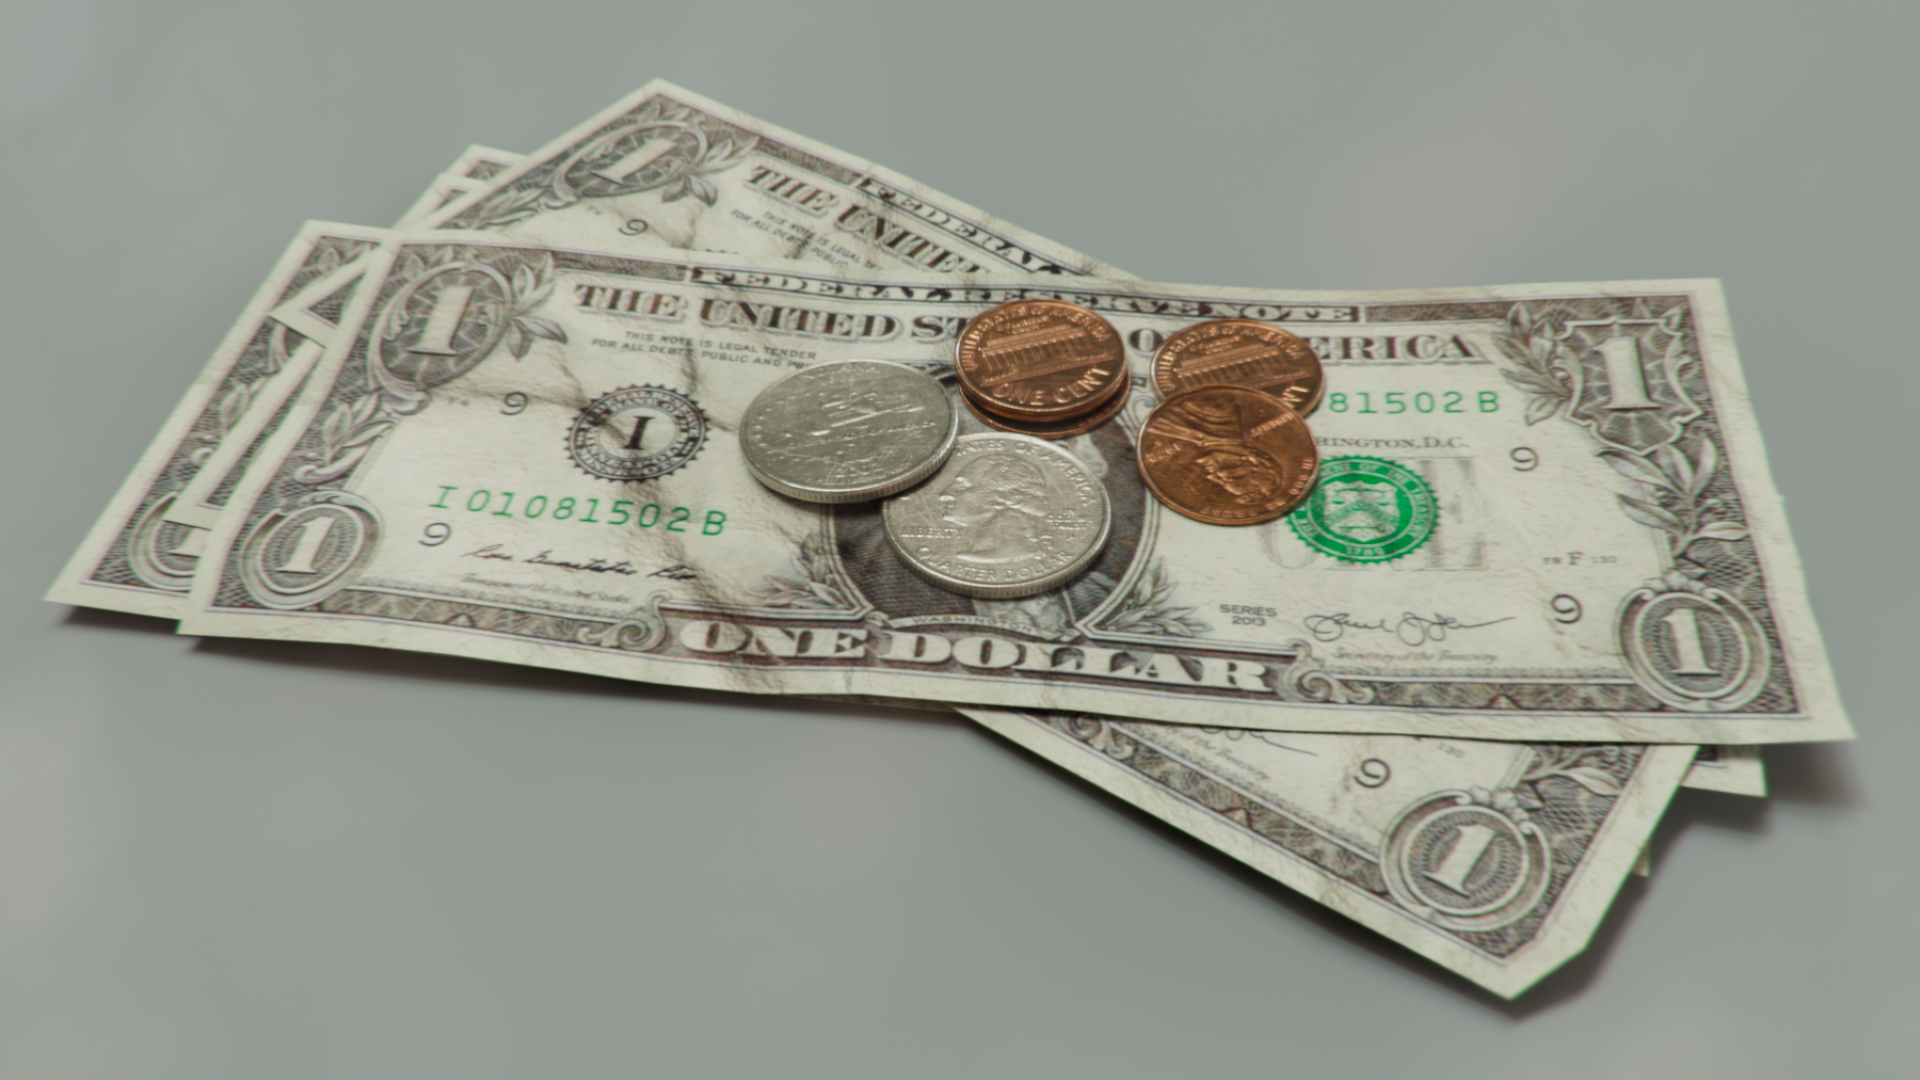
With the gas station, I knew I wanted the scene to take place on a glass counter in a gas station. With this scene, I needed a lot of assets to fill the space and no way I was going to model and texture it all just to be thrown out of focus. Because of this, I wanted to gather some assets online to help fill the space. I think this is sometimes a disputed topic for 3d artists of whether you are allowed to use someone else’s stuff in your own scenes and still call it your art. Let me tell you it is OKAY to use assets that you didn’t make from start to finish. It is important though, to be honest, and not advertise as something you “modeled”, but in reality just downloaded. I use a couple of websites to find assets, but the highest quality one in my opinion is PolyHaven. They have free high-quality HDR images, models, and textures. They license their work as CC0 so that anybody can use the assets for anything. Also, I’ll use sites like Turbosquid, CGTrader, and Sketchfab to get free assets, but usually what I download from those sites is just a starting point. I’ll usually need to retopologize, UV map, and retexture the assets, but it’s usually faster to start with something instead of starting from scratch especially when working with lots of assets. For example, the coins and dollar bills on the counter were downloaded from Sketchfab, but I still had to do a lot of refining to the geometry and a lot of texturing to get them to look realistic. In the end, the assets weren’t originally mine, but I made them mine by alternating all their characteristics. It’s similar to how musicians sample other musicians’ work in their songs.
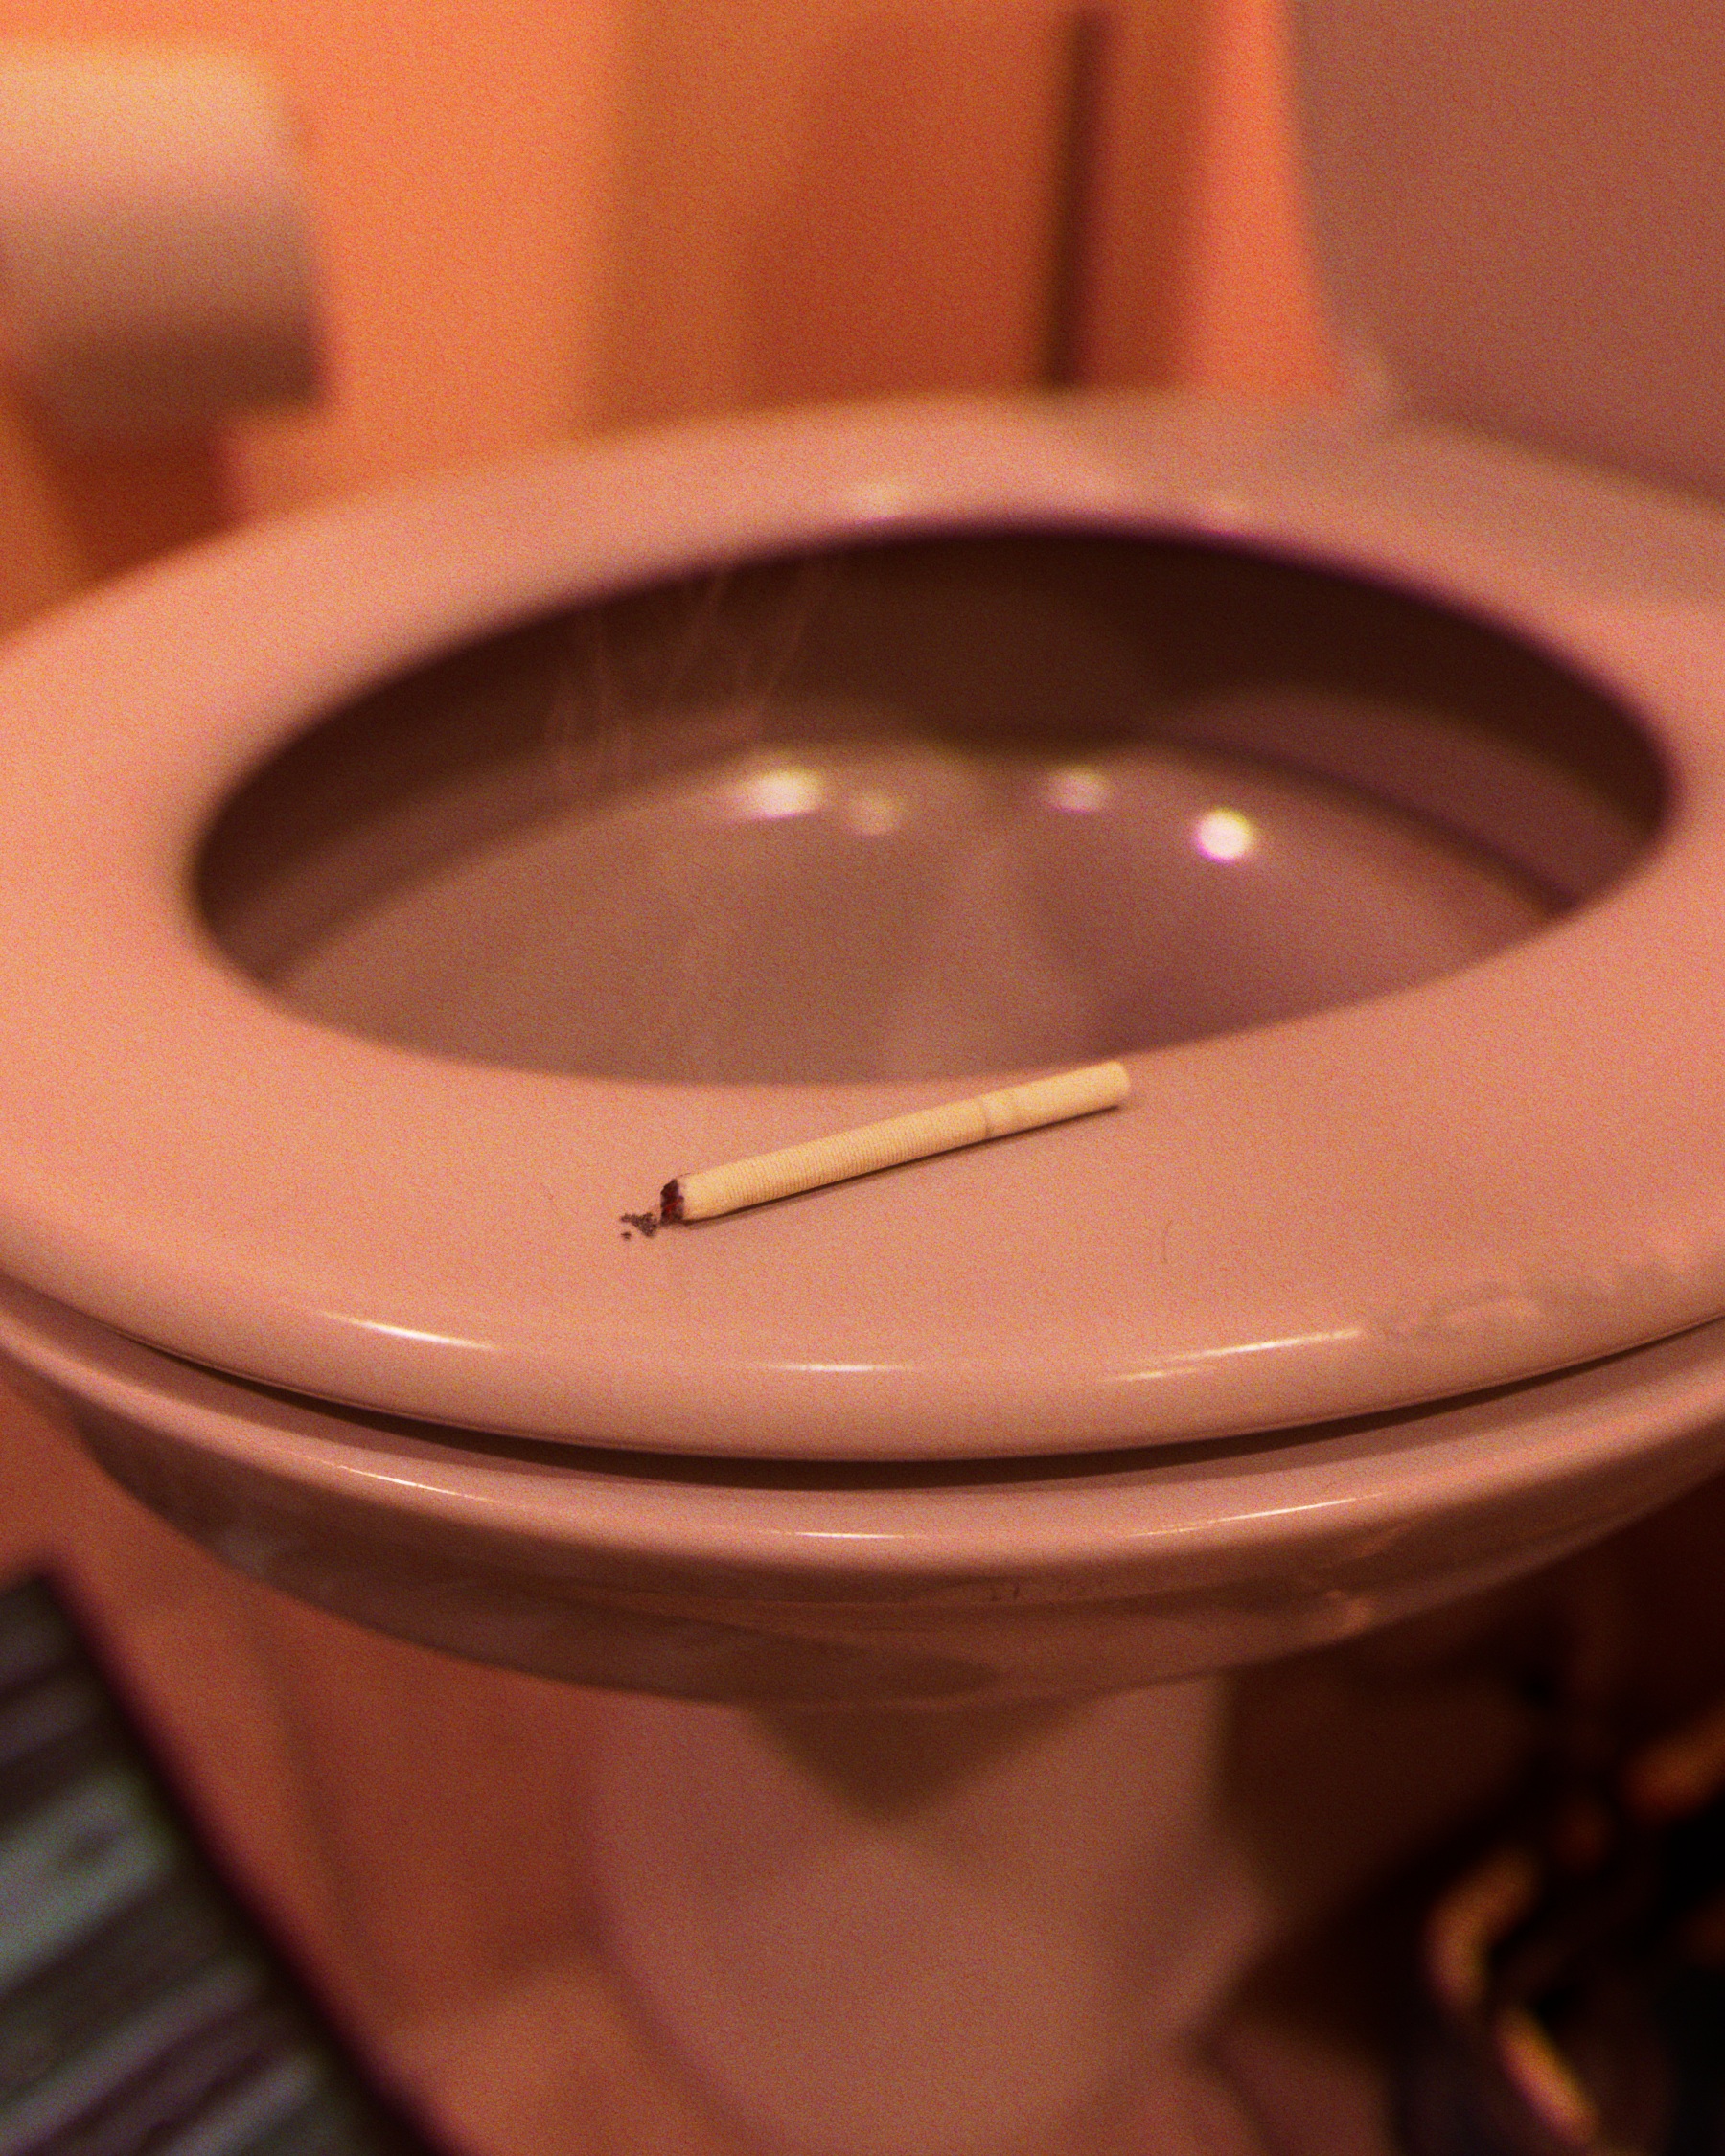
Bathroom
The second image in the sequence is where the cigarette rests on the toilet. The small studio apartment bathroom is lit by a warm yellow light that bounces off the reflective toilet.
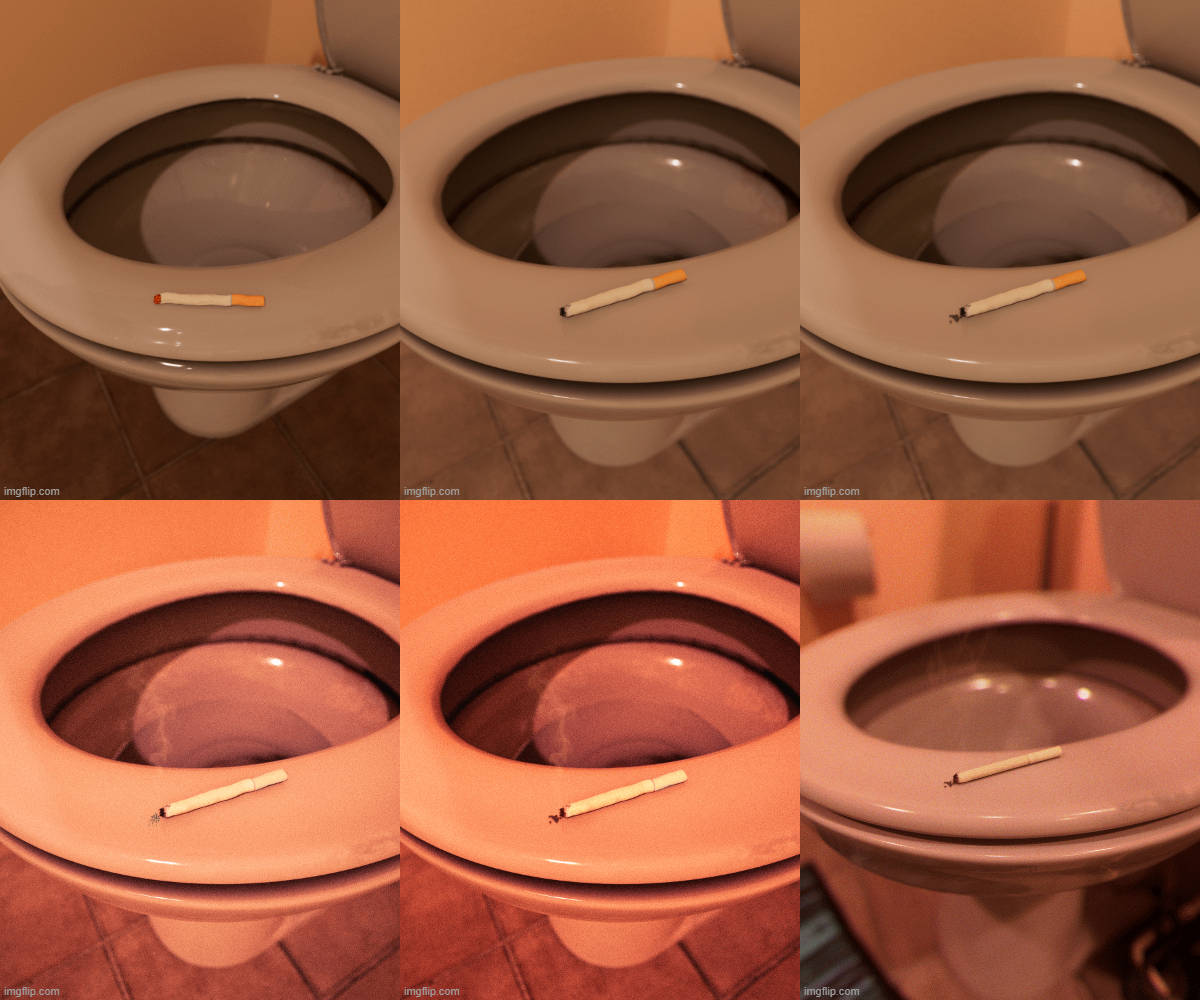

For me, this one was all about finding the correct settings and place to put the 3d camera. The original top-down view was interesting as it featured more of the toilet, but I still wanted the cigarette to be the focal point. One of the great things about GPU rendering with Arnold is that it is very responsive. It’s not quite like real-time rendering yet, but it’s good enough to ideate through plenty of camera views in a short period. I ended up with a focal length of 35mm and achieved the depth of field using the new bokeh plugin in Nuke. It’s not necessarily new, but it’s now included with vanilla Nuke. The tool was originally created by Peregrine Labs which you can read about here. When the rendering time of the image gets too long, and I know that I’ll want to play with the depth of field post-render, it’s easier and faster to render out a z-depth pass and create an artificial depth of field. In the end, it’s all artificial so whatever gets you to the final image works. Also, with the toilet scene, I knew there weren’t going to be too many assets, so I wanted to focus on little details like hair and dust on the toilet. The dust is almost invisible, but you might be able to spot a hair or two on the seat. Is it gross? Yes. But is it realistic? Also yes.
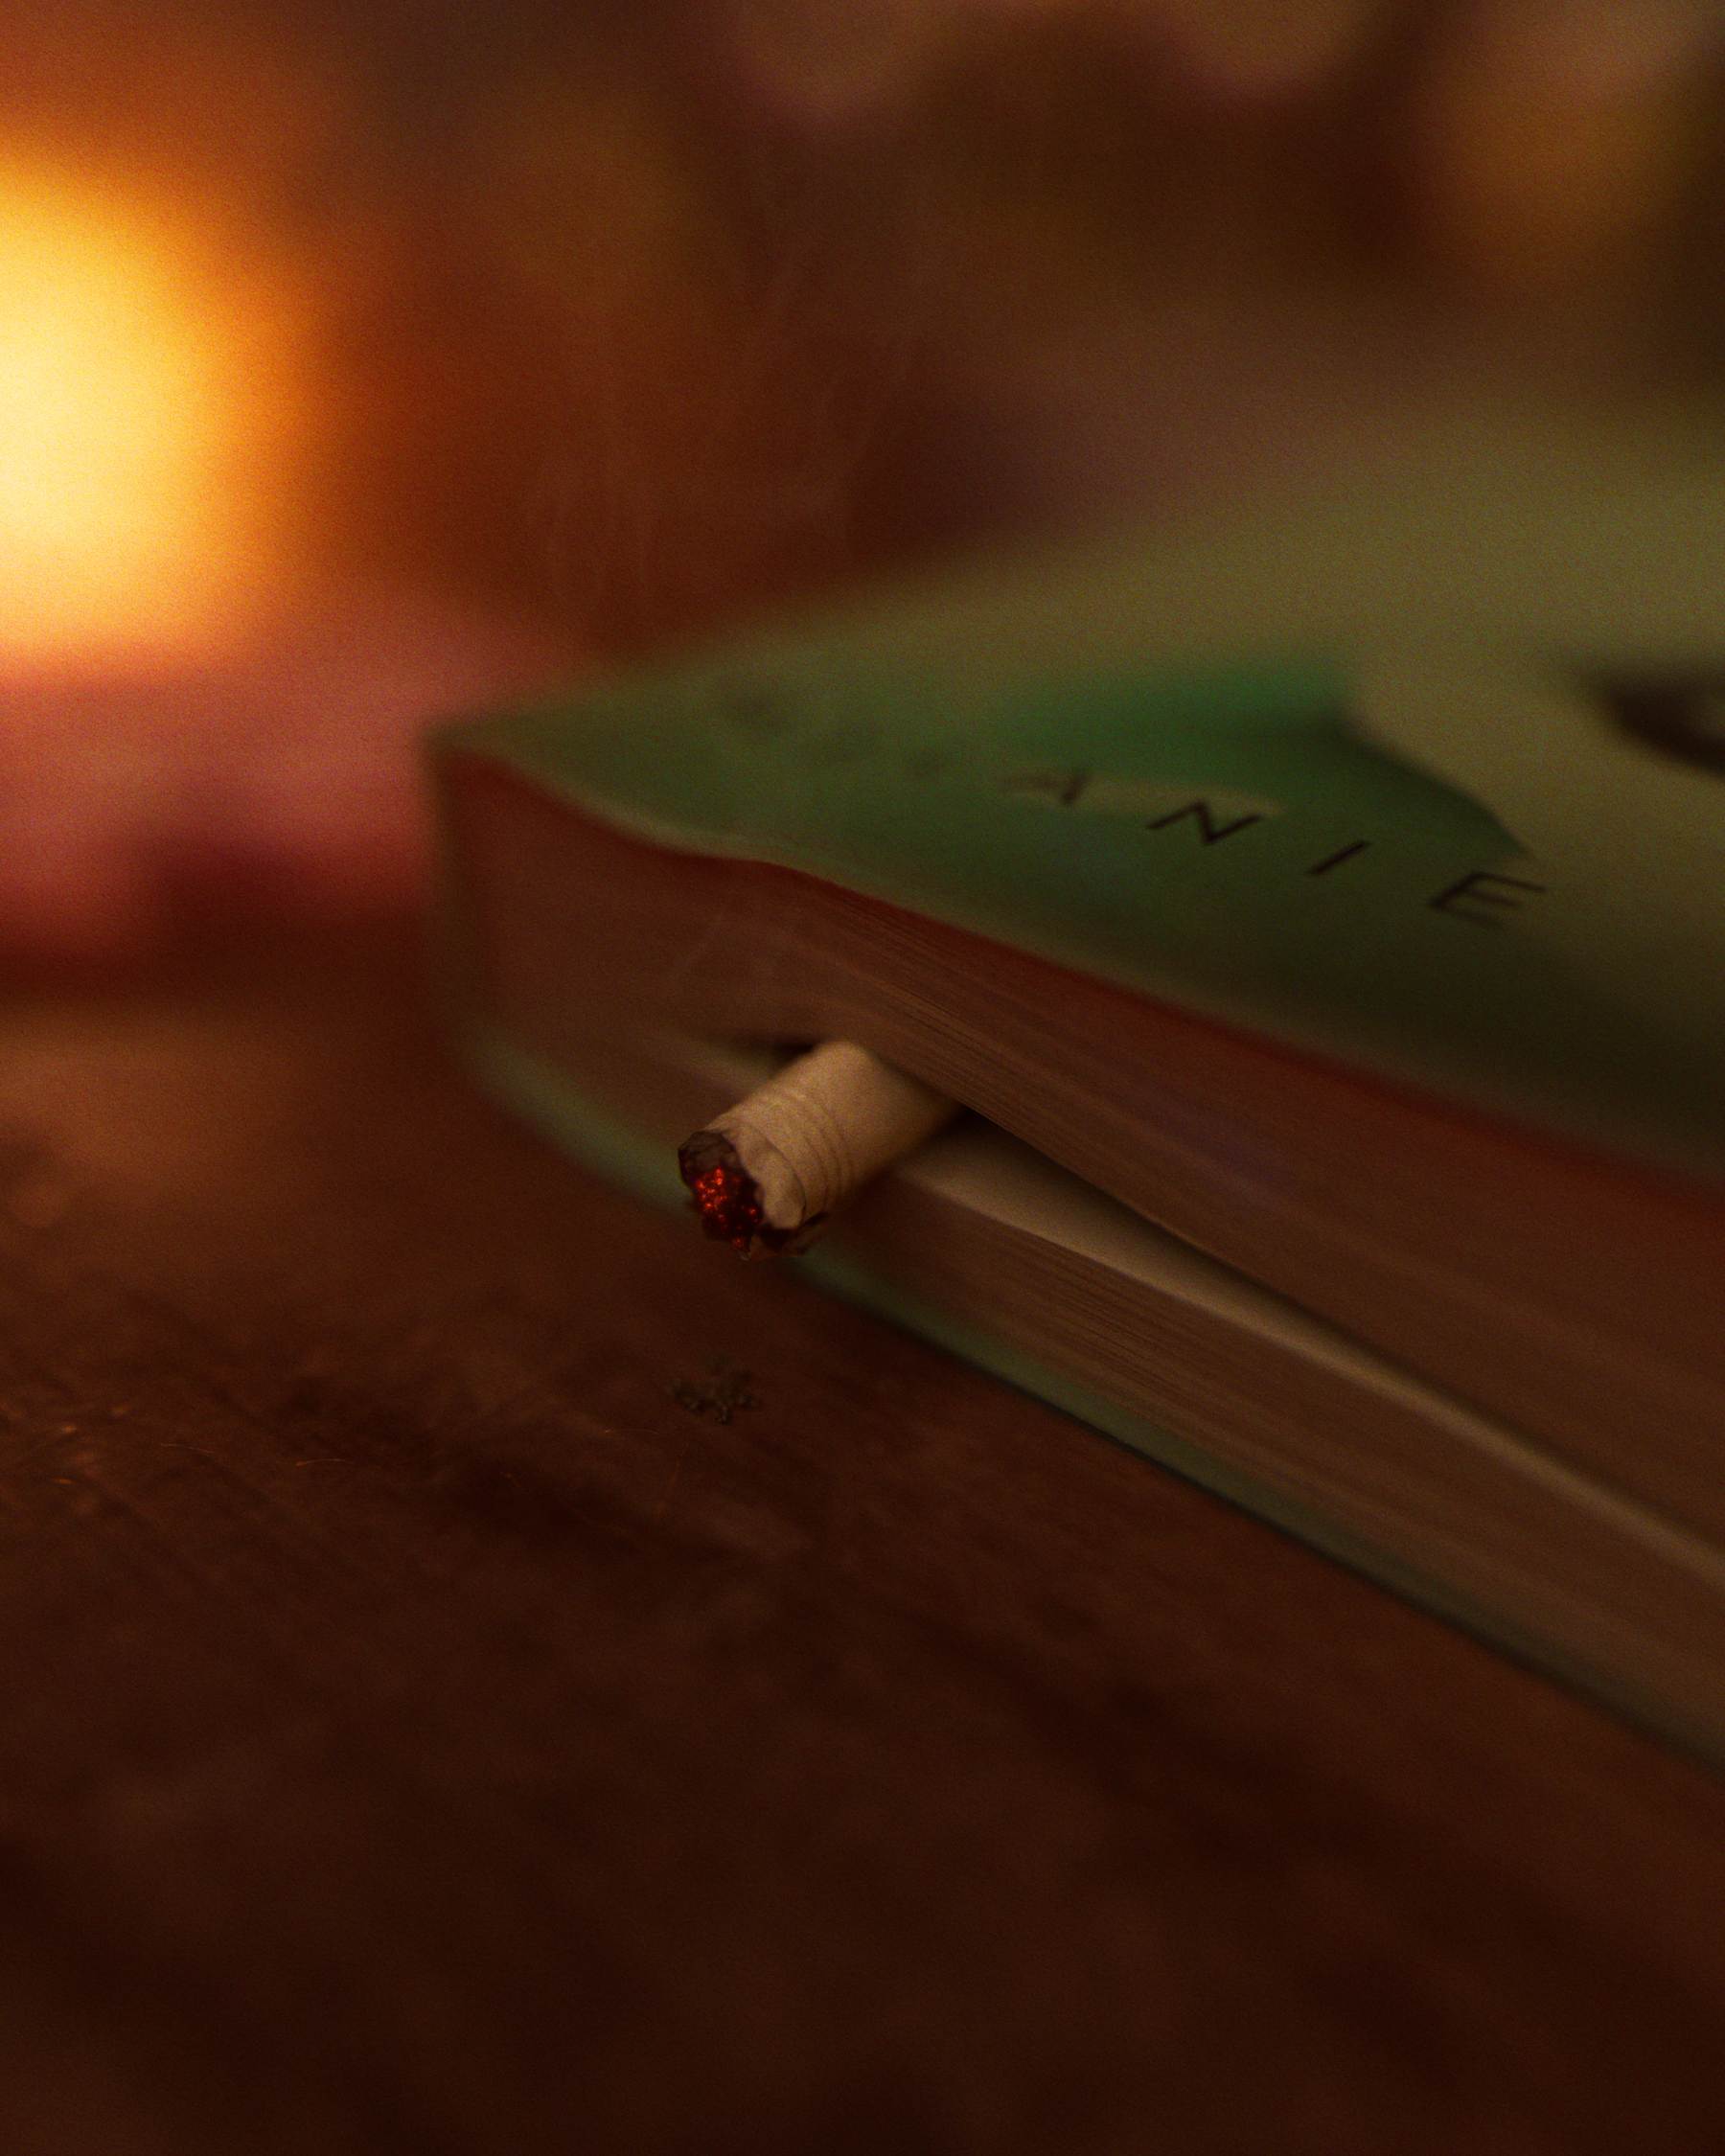
Book
The third image shows a cigarette sandwiched between the pages of a book as though it were a bookmark as the smell of smoke permeates throughout the room.
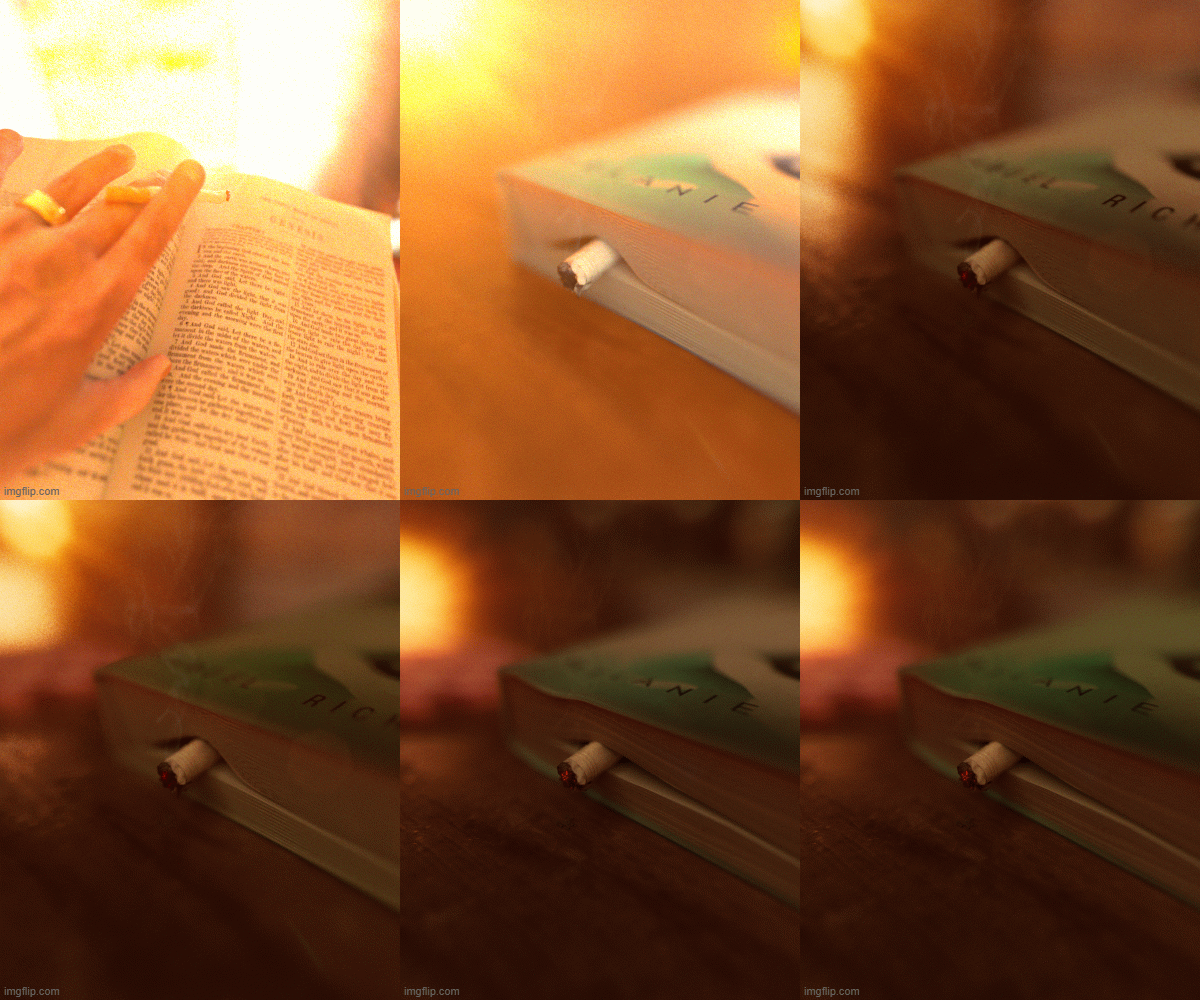

This one was all about making the cigarette look as realistic as possible. The depth of field has a shallow focus which focuses on the cigarette sticking out of the book. One of the more fun elements to play around with in this scene was to get the embers on the cigarette. In the end, I actually just painted them on in Nuke using a noise map. Here’s the little technique:
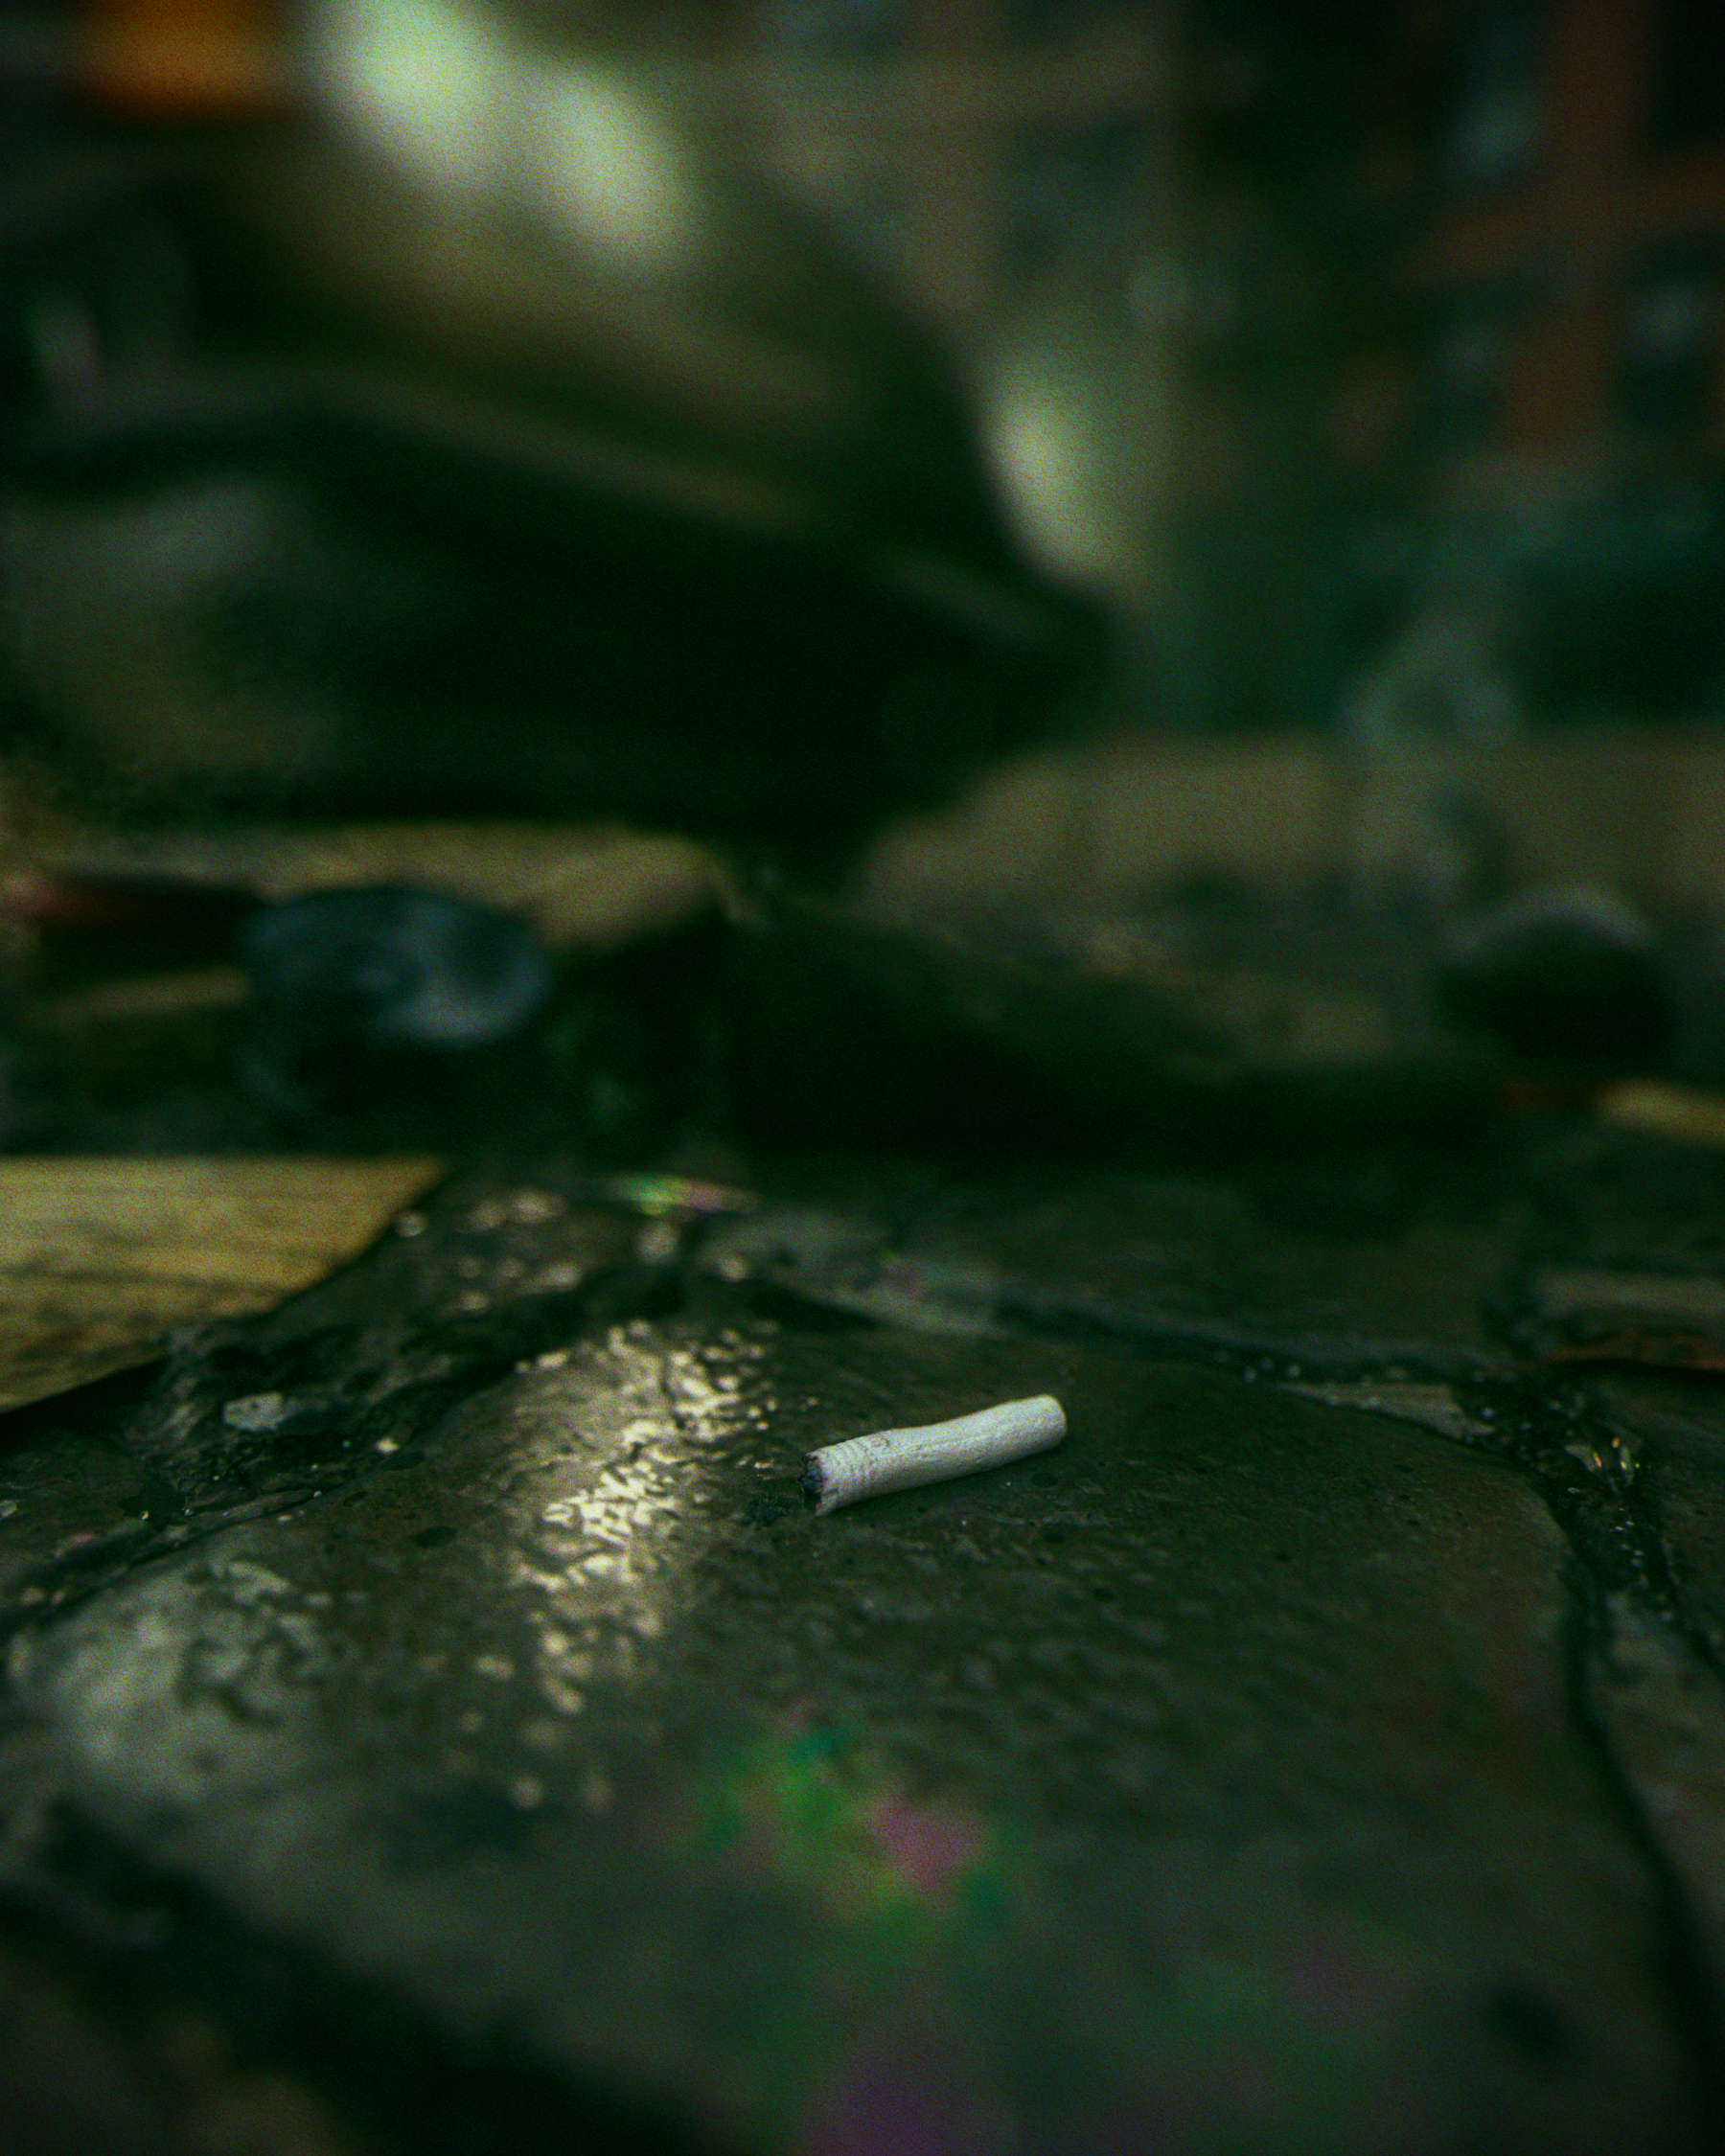
Sidewalk
Finally, the last image finds the cigarette in the final stage of its life cycle in the dark, dreary, and pungent city street as it slowly dissolves into the wet cobblestone soon to become nothing more.
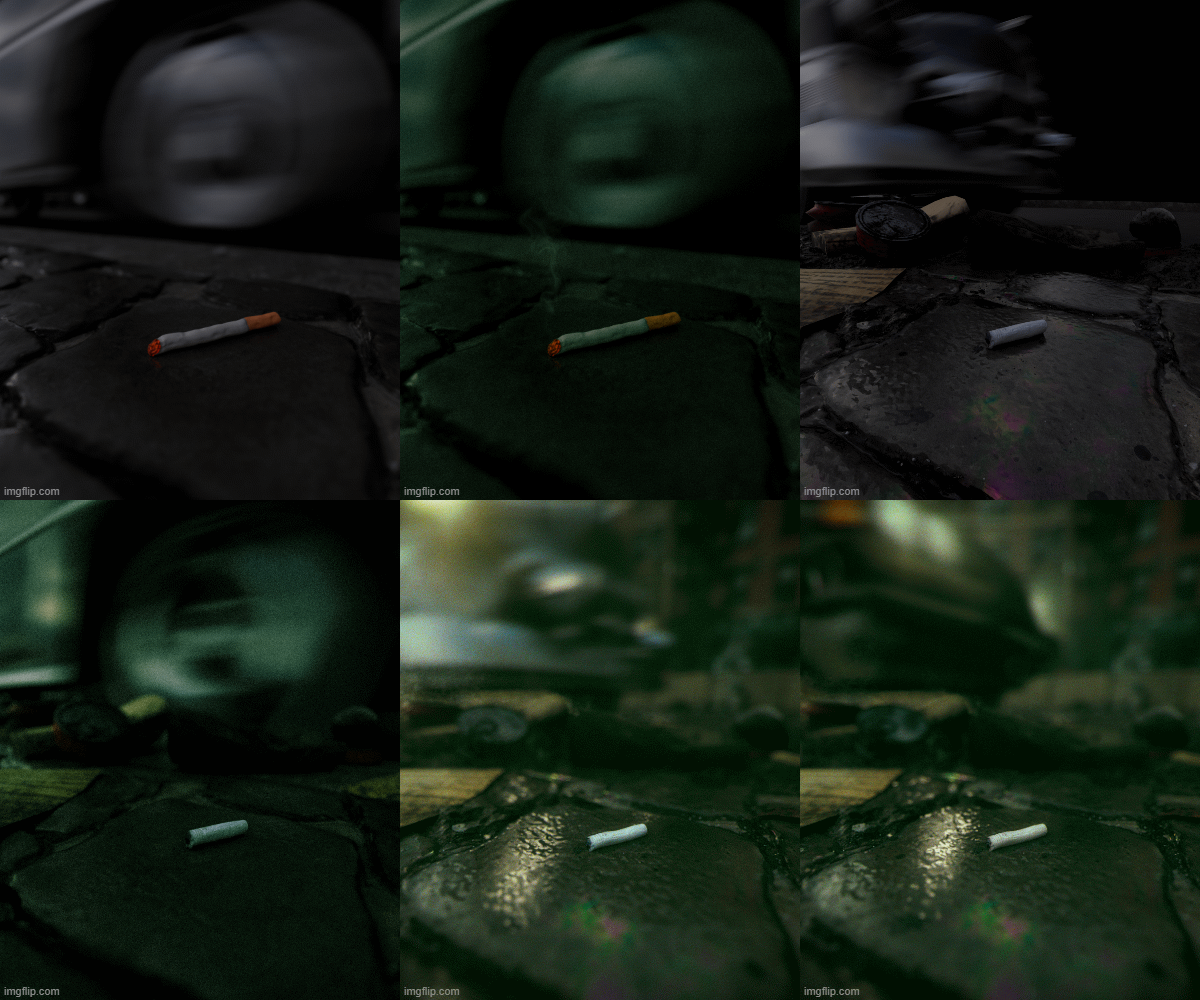

This image was all about the textures, and by god did I crash Maya a lot using the Hypershade graph while testing my materials.
I started with a cobblestone tiled texture from PolyHaven and built it up from there. I was going for a rainy day in New York City where you can see all the dirt, grime, and gunk on the sidewalk from a previous downpour. Another part of this shading network was the oil that leaked onto the street. This one took a lot of tweaking to get the desired iridescent look. I mostly used the Arnold thin film to help achieve this look. When you’re looking to achieve a very specific result, documentation is usually the most helpful place to get the information you need. Another challenge for this image was getting the car in the background to look like a car. Sounds simple, but when it’s moving by quickly with a lot of motion blur, it can be a difficult shape to read. I ended up switching the model of the car, to get a better shape and I also created some headlights with volumetric lighting helping to create a hazy almost foggy street look.
I love doing these projects and challenging my skills because at the end of the day, the project is all about working on my craftsmanship and creating pretty images for the eye. Thanks for taking the time to read about this project and I hope you learned something new!